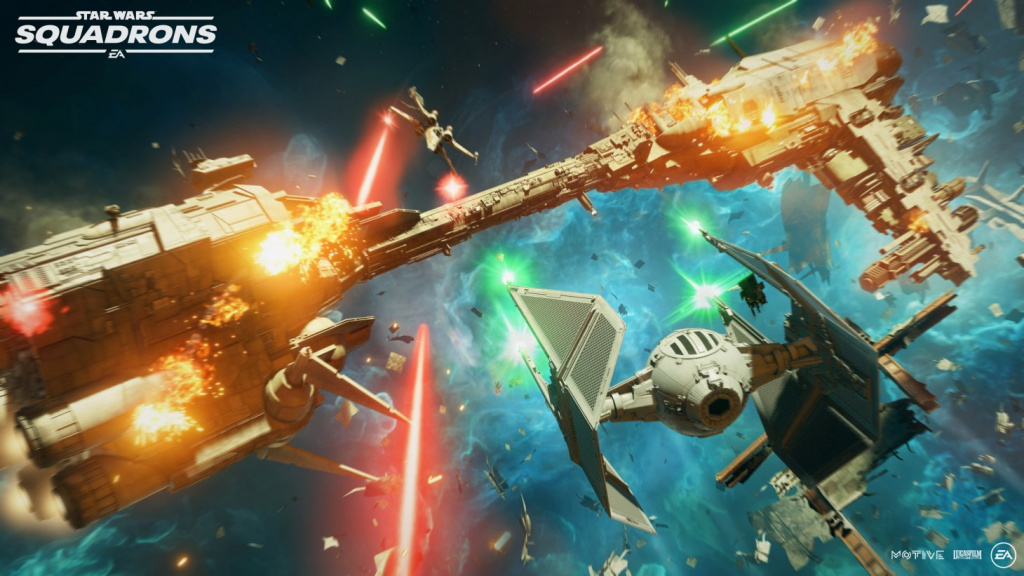
Star Wars: Squadrons is finally here and Star Wars fans will once again have the opportunity to engage in epic space dogfights almost 20 years since 1999’s X-Wing Alliance.
For inexperienced players, the game can be quite challenging, as Squadron’s flight model isn’t for the faint-hearted and mastering it will take some time.
With this article, we want to help you to understand some basic and advanced combat elements that will help you to understand all your options during the battle and leverage them to your advantage.
With that being said, let’s jump into them.
How to manage Power Distribution
(Picture: EA)
Careful and strategic use of Power is one of the key elements of Star Wars: Squadrons gameplay.
Proper understanding and mastering of this concept will give you a huge advantage in fights.
Starfighters in Star Wars: Squadrons have three power systems: Engine Power, Primary Weapon Power, and on some ships, Shield Power (not all ships have shields).
- All Starfighters have the same fixed amount of power available.
- By default, the power is distributed equally between the systems.
- At any moment, you can pull power from other systems to another in order to give that system an advantage.
- The D-pad / keys 1-4 / POV thumbstick is used to direct power to a particular system.
- D-pad left / 1 / POV west will transfer power to the engines.
- D-pad up / 2 / POV north will transfer power to the primary weapon.
- D-pad right / 3 / POV east will transfer power to shields.
- D-pad down / 4 / POV south will instantly rebalance the power levels.
- The power transferred will be drained in equal portions from the other systems.
- Blue power meter and blue throttle gauge for engines, red power meter and red charge bar for lasers, and green power meter and green shield status for shields.
- When you draw power from systems to increase the power of another, the system from which you are taking power will have reduced performance.
- Adding power to the Engine will increase your top speed.
- Adding power to Primary Weapons will charge them faster.
- Adding power to Shields will recharge your shields quicker.
- When you fully fill the power meter of any system, that system will become overcharged and will unlock a unique advantage from that system.
- Overcharged engines will start to fill a boost meter which you can use for an enormous burst of speed for a short period.
- Overcharged shields will generate an additional layer of shields.
- Overcharged primary weapons will deal significantly more damage.
Defensive combat manoeuvres
How to Boost and Drift
(Picture: EA)
Boost and Drift are two basic defensive manoeuvres that will help you escape in crucial moments and remove the threat from your tail.
- Boost is a mechanic that will grant you a huge burst of speed, but at a cost of manoeuvrability.
- In order to use Boost, you first need to overcharge your engines.
- To overcharge your engines, press D-pad left / 1 / POV west to transfer power to your engines.
- You will notice that the blue bar (engine power) is filling, and when it’s full, a yellow meter will start to fill.
- The yellow meter shows the amount of boost you have available – the more you have, the longer you can boost.
- You can start using it immediately when there’s at least some charge in it.
- To initiate boost lick the left thumbstick / L3 / press Space / JOY 9.
- While boosting, the yellow boost meter will start to drain, and once it is completely empty, the boost will disengage automatically.
- You can also disengage manually at any time by clicking the left thumbstick / L3 / press Space / JOY 9 a second time.
Drifting is a mechanic that you can use while boosting. If used skillfully it can help you to stay alive in some intense moments.
- To drift while boosting, click and hold the left thumbstick / L3 / press and hold Shift / JOY 9 and turn your ship in the desired direction with the right thumbstick / R3 / Mouse X-axis / JOY 0 axis.
- Drifting allows you for some very useful manoeuvres, that will help you to escape the enemy and make a counter-attack:
- A brief period of directional control that will allow you to fire perpendicular to your direction of travel.
- You can do a sudden 180-degree turn to fire at your enemy or incoming missiles.
- You can trigger another boost (if you have available yellow meter charge) and make sudden sharp moves, like a 90-degree turn around an obstacle to shake pursuit or evade a missile.
How to prevent lock-on
(Picture: EA)
In Star Wars: Squadrons in order to shot on enemies, players need to lock onto their target.
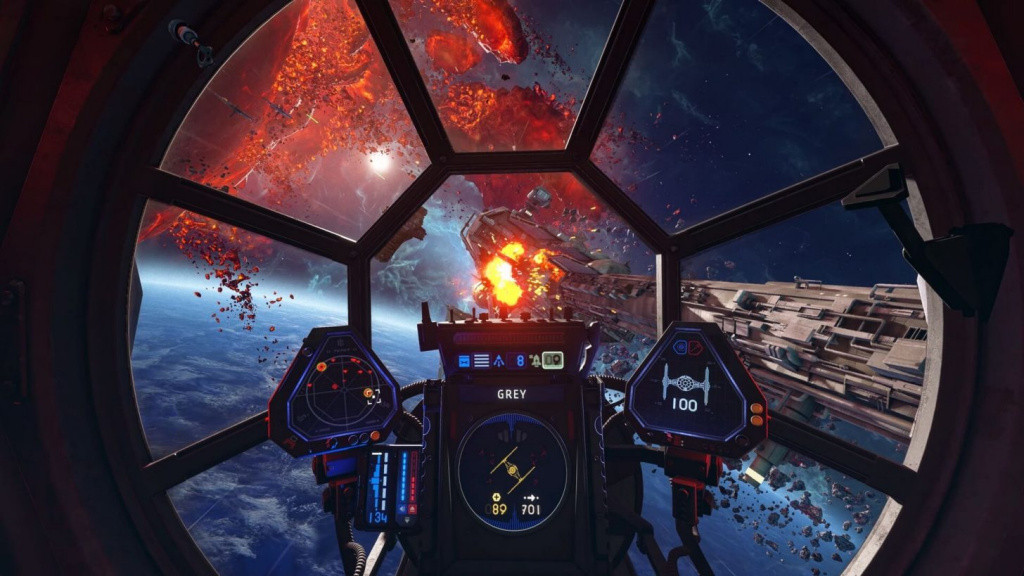
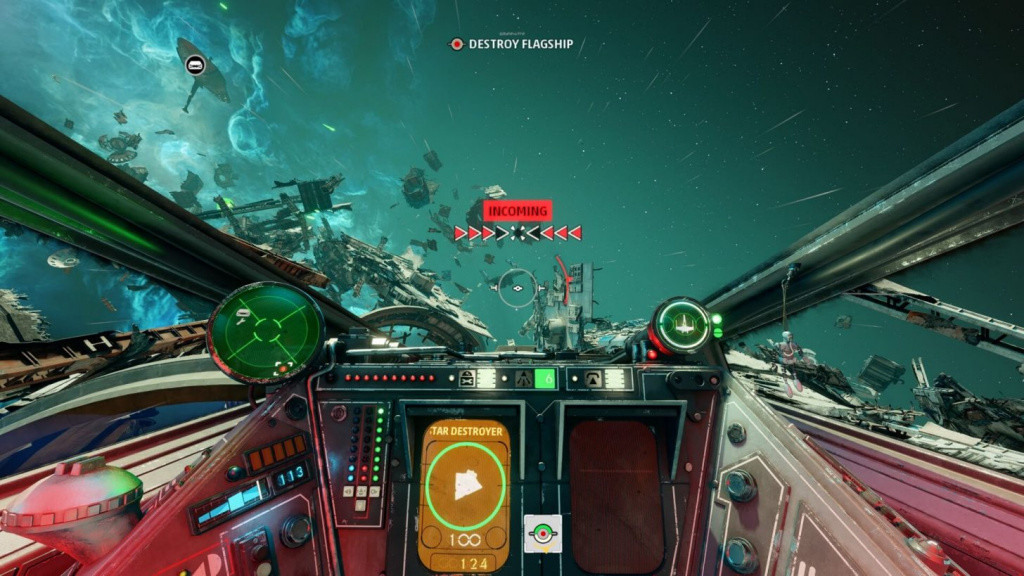
When an enemy missile locks on you, your dashboard in the cockpit will indicate an impending threat with the “incoming” sign.
If you don’t want to race with the missiles, you can try to do your best and prevent lock-on.
- The best way to do that is to start making erratic, sudden, and unpredictable movements which will make you a hard target to focus on.
- You can also leverage surroundings to your advantage. An environment like asteroids or space stations can hide you from their sight and when they can’t see you, they can’t get a lock on you.
- You can install to your starfighter some components that will prolong enemy lock-on, like the Scrambler Shield and Dampener Hull.
How to evade missiles
If you didn’t manage to outmanoeuvre the enemy and they did get a lock on you, then you should try and escape these incoming threats.
- Make sharp and sudden turns in different directions.
- Set your throttle to half speed for better manoeuvrability.
- You can use your boost to outrun certain missiles.
- You can use your drifting skills to drift around obstacles in order to avoid missiles or make them hit into your cover.
How to use countermeasures
- Countermeasures are one of eight available types of components that you can use to customize your build.
- Countermeasures prevent missiles from hitting your ship.
- There are four types of countermeasures, all with their own advantages and disadvantages.
- All countermeasures are active components.
- When the missile is within the range of installed countermeasure, you can activate it and save yourself from certain death.
How to focus shields
(Picture: EA)
Some starfighters in Star Wars: Squadrons have shields, and you can focus shield power to some specific point on your ship in order to protect important parts in the battle.
- Starfighters with shields can focus shield power forward, to the rear, or balance (all sides equally protected).
- To focus shield power, press X / Square / C / JOY 7 which brings up a selector menu where you choose which side you want to be protected.
- When you go head to head with another fighter it’s best to focus shield power forward.
- When you are being chased by the enemy, focus shield power on your tail to decrease his damage output.
How to use Emergency Power Converter
- Starfighters that are not equipped with shields will always have a bit more power per system since that power is spread across only two systems instead of three.
- Starfighters without shields do not have an option to Focus Shields, but they do have an additional ability called Emergency Power Converter.
- You can instantly transfer all power from one system to the other, and thus instantly gain the advantage of overcharged engines or overcharged primary weapons.
- To use Emergency Power Converter, hold X (Xbox One) / Square (PS4) / C / JOY 7 and using the left thumbstick/mouse wheel / POV to navigate the pop-up menu.
- You can use this ability when you are in dire need of a boost to escape or when you want to apply a sudden burst of heavy damage to your target.
- It’s important to notice that this will leave your other system empty for a short time, meaning your weapons will charge at a slower pace or your speed will be significantly decreased.
Attacking combat manoeuvres
(Picture: EA)
How to lock onto enemy starfighters
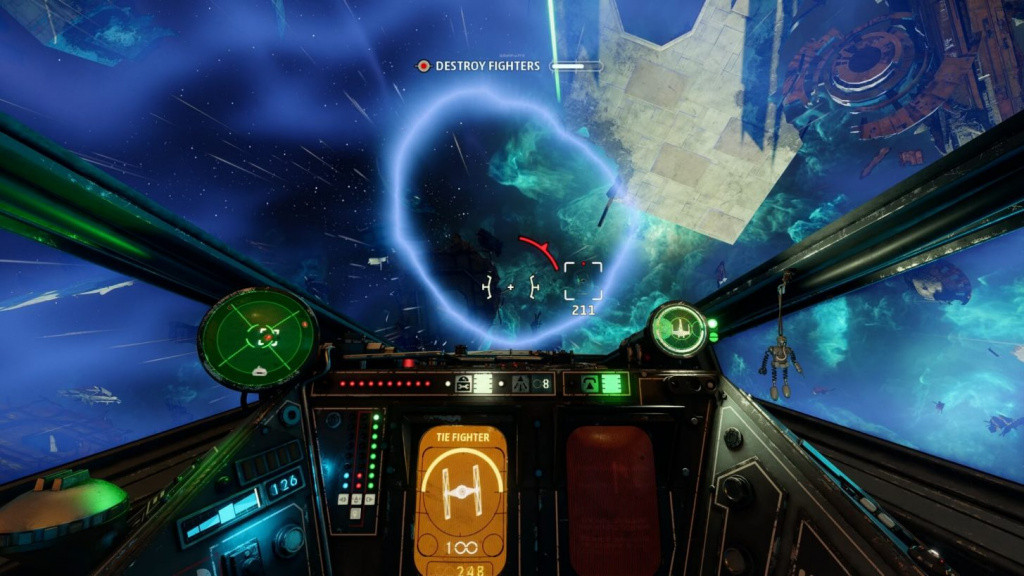
- Once when you find and select your target you will need to lock on them in order to fire a missile at them.
- To begin the lock-on process, line up your target so that it is close to your crosshair.
- Once you do that an indicator will appear which will show that lock-on is in progress.
- While it is in progress you need to make sure to keep your target near the crosshair, which will not bee easy since your enemy will likely try to outmanoeuvre you with erratic moves.
- Once the process is over and you have your target locked, press the appropriate button to launch the locked-on missile at your enemy.
How to change targets
There are five methods of changing targets:
- If you enable Auto-Target Attacked Hostiles, then whatever you shoot at is your new target.
- Manual Reticle Targeting is performed by pressing the Select Target button (default LT / L2 / T / JOY 2) and selecting anything that is directly in front of you.
- Target My Attacker by double-tapping A / double-tapping Cross/ pressing G / double-tapping JOY 5 (by default). This will target the enemy that is the biggest threat for you at the moment.
- Cycle Targets by pressing A / Cross / F / JOY 5 (by default). This will cycle through enemies (or allies) that match the criteria from the Targeting Wheel, brought up by holding LT / holding L2 / pressing 5 / JOY 10 (by default).
- If an ally has pinged something, double-tapping Y / double-tapping triangle/pressing B / double-tapping JOY 8 (by default) will Acknowledge Ping – selecting the target of the ping as your target.
This is just our first of several Star Wars: Squadrons guides that will be going live over launch weekend, check back soon as we explore the best loadouts, controller configurations, and take a deep dive into fleet battles.
Hungry for more Star Wars: Squadrons info? Follow us on our dedicated Squadrons Twitter for all the latest news, leaks, and guides.


