
While there are varied kinds of bosses that you will encounter when playing through Armored Core VI: Fires of Ruibicon, some bosses are more unique than others and offer you a different style of engagement compared to just shooting your way through to victory. The Cataphract boss is one such boss, and it throws a tough yet balanced kind of challenge at players.
Now, if you're looking for some tips or strategies to use when facing this boss, then you're in luck. Below we've broken down all the vital information you'll need to beat the Cataphract boss in Armored Core 6.
Cataphract Boss: General Encounter Tips
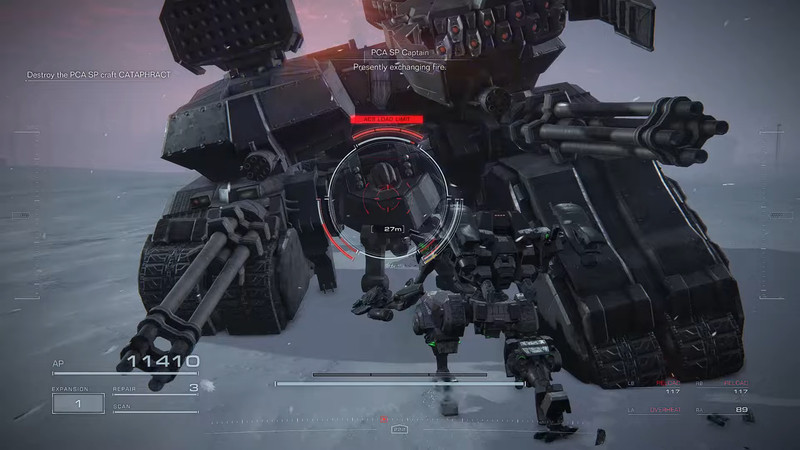
The Cataphract is a formidable foe that boasts heavy armor and packs a powerful punch. However, like most tanks, it harbors a vulnerability – its knees. Notably, despite its imposing size as an Armored Core, the Cataphract sports small and vulnerable legs in the middle of its body below its head. So, to gain the upper hand, you must maneuver to the front of the Cataphract's Armored Core and relentlessly target its unprotected kneecaps. This strategic assault will cause it to stagger, opening up opportunities for substantial damage.
While the Cataphract can unleash devastating attacks, they are rather sluggish and can be evaded with nimble maneuvering. The Gatling guns may prove bothersome, but swift dashes can easily avoid them. Precision is the linchpin in this battle, so swiftness is an asset. An optimal recommendation for your Armored Core would be a bipedal, high-speed configuration with robust armor.
Concerning weaponry, opt for options with significant stagger potential, such as Songbirds, rocket launchers, plasma rifles, or Stun Needles. Prioritize weaponry designed for direct hits rather than downward trajectories, as the Cataphract's Armored Core's weak spot lies on its frontal surface rather than the top.
How To Beat Cataphract in Armored Core 6
Cataphract Attacks to Watch For:
- Spread Missile Salvo: This attack involves the release of a volley of missiles that spread out and dispersed across the area. These missiles lack homing capabilities, making them relatively easy to avoid, provided you can anticipate their trajectory.
- Turret Barrage: The Cataphract initiates a relentless barrage of projectiles from its turrets. To evade this, you can perform a strafing maneuver or execute a Quick Boost to either side, swiftly moving out of harm's way.
- Homing Missile Salvo: This attack involves the rapid launch of numerous low-impact missiles, each with homing capabilities. To evade these homing missiles, execute a Quick Boost to either side of the incoming salvo or boost into the air, making it challenging for the missiles to track your movements.
- Charging Onslaught: In this maneuver, the tank's treads grip the ground, building momentum, and then it charges forward, bulldozing anything in its path. To avoid being caught in this deadly charge, execute a Quick Boost away from its path just as it begins its charge toward you.
- Hammer Slam: The tank's frontal wheels rise before suddenly slamming down onto the ground with tremendous force. To evade this devastating attack, boost upward and hover in the air or quickly perform a Quick Boost when you observe the tank charging toward your location.
Cataphract Strategy Tips:
The battle arena against the Cataphract offers ample space without obstructions, allowing for freedom of movement to evade the enemy's relentless missile barrages and gunfire. This vast area sets the stage for a strategic showdown. The Cataphract boasts formidable armor enveloping its entire form, save for a single vulnerability at its frontal section, housing a Bipedal MT as its pilot. Your primary focus should be directing your firepower toward this exposed area to conquer the boss.
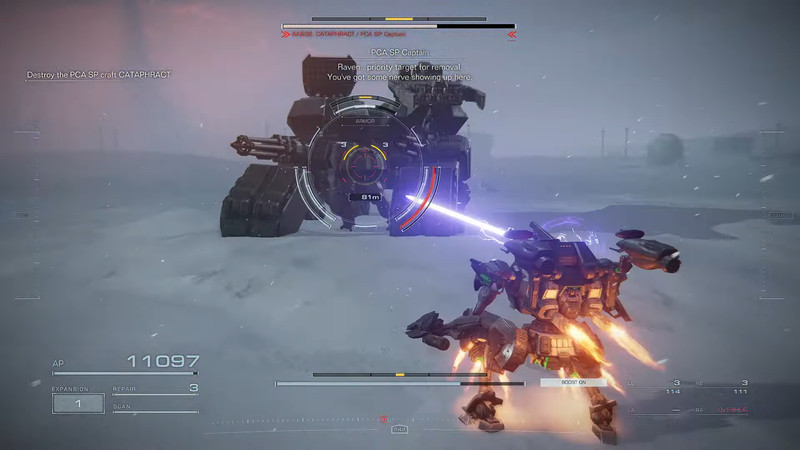
Despite its appearance, the Cataphract exhibits remarkable mobility, darting around the arena swiftly to evade direct assaults. However, the boss's Achilles' heel lies in its vulnerability to aerial attacks. To exploit this weakness, it is advisable to equip the Tetrapod or Reverse Joint legs, offering superior midair mobility.
In terms of weaponry, the use of plasma rifles proves optimal, delivering substantial impact damage while chipping away at the boss's AP. These rifles offer exceptional tracking capabilities, facilitating precise targeting of the Cataphract's front. While melee attacks are a viable option, their effectiveness is limited unless you can consistently stagger the boss. Consequently, it is recommended to equip a dual plasma rifle setup for your arms and complement them with either plasma cannons or multi-lock missiles (excluding vertical missiles) as shoulder weapons.
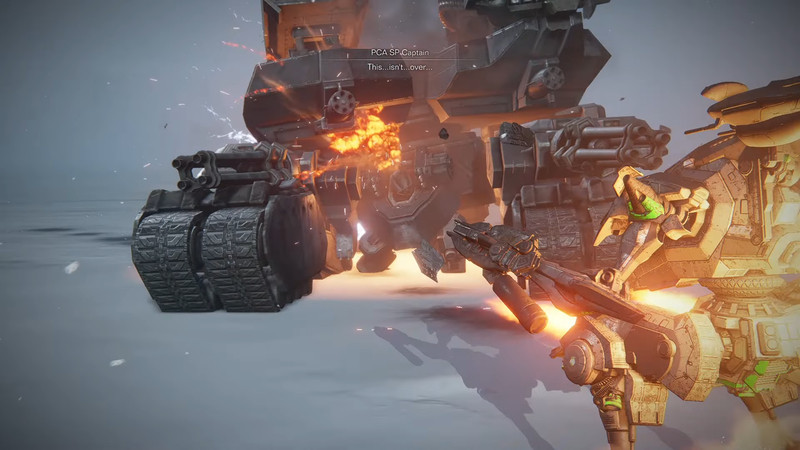
Mastering the Cataphract's defeat hinges on patience and a keen sense of when to strike its vulnerable front. Additionally, employing a reliable mid or long-range Fire Control System (FCS) in conjunction with a lightweight leg configuration (Bipedal, Reverse Joint, or Tetrapod) enhances your ability to track and target the boss's frontal weakness, reducing the reliance on hard lock-on targeting.