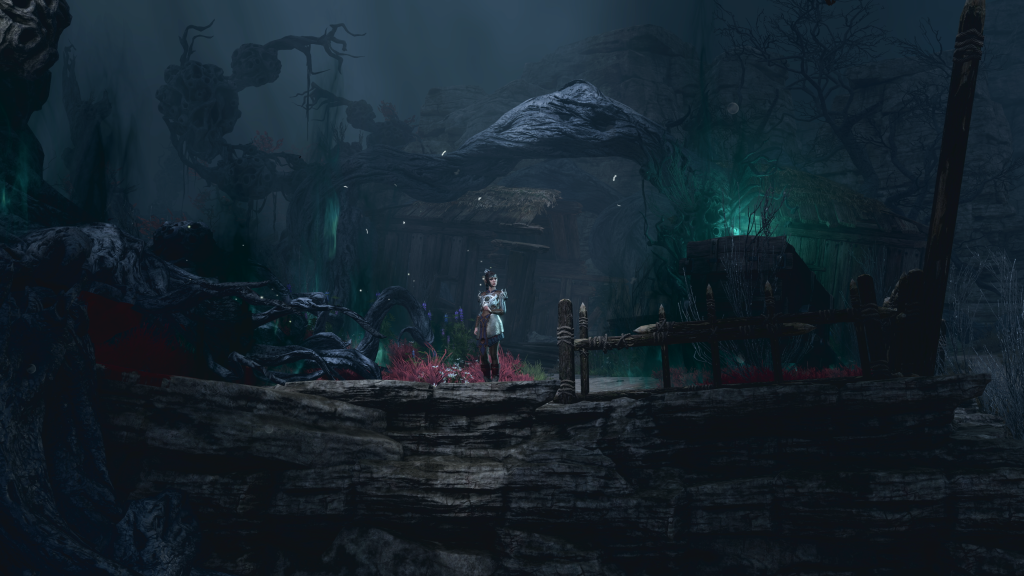
Baldur’s Gate 3 features an array of tricky puzzles and dangerous traps, all of which have the potential to damage your party of just leave you feeling stumped. In Act 2, whilst finding ways to take on Ketheric Thorm, your party might find themselves in the Thorm Mausoleum where you’ll uncover a number of secrets and mysteries surrounding the deadly necromancer.
As you push your way through the Thorm Mausoleum, you’ll eventually come across a room with various paintings on the wall alongwith some suspicious buttons, and no obvious way to move forward. The combination of these three elements hints at a puzzle that needs to be solved in order for the way to open up. But, in order to solve this puzzle, there are a few things that players need to be aware of.
How To Solve Three Paintings Puzzle In Thorm Mausoleum
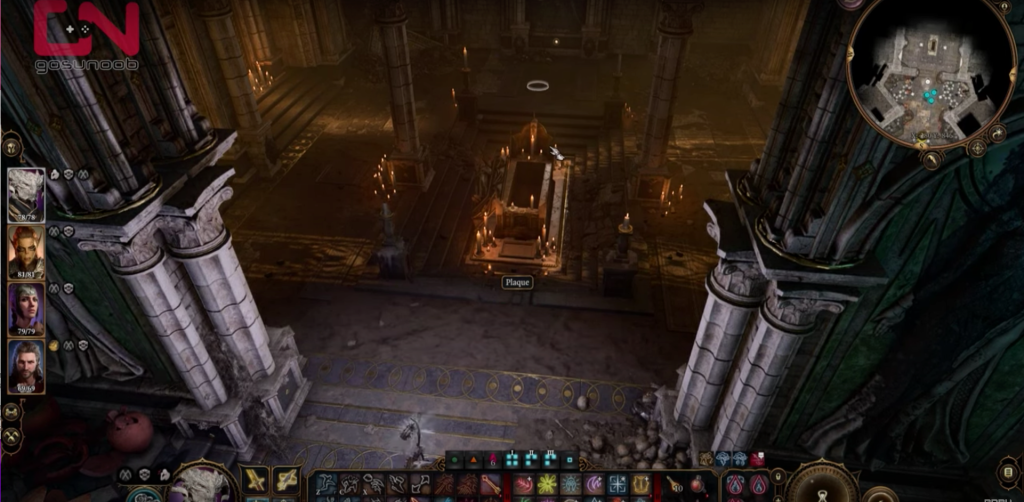
Before you begin to work out the order for which the buttons underneath the three paintings need to be pressed, it’s worth doing a little bit of surveying. Scattered around the central tomb are an obscene amount of traps. It’s wise to have Astarion (or your own character if they’re stealthy enough) steadily work their way around the room and disarm any traps that they uncover.
With the traps disabled you can now move around the room without fear of your legs being burned off or worse. You can now safely turn your attention to the three distinct paintings: Moonrise Towers, Grief, and Ketheric Thorm. Underneath each painting is a button.
As you may have guessed, the trick to solving the puzzle is to push the buttons underneath each painting in the correct order. But, what is the correct order? Here’s what you need to know:
- Moonrise Tower: Enter the chamber and head to the left.
- Grief: To the right of the entrance. The painting depicts a man knelt next to a body.
- Ketheric Thorm: The last painting in the room, depicting Ketheric Thorm on a throne.
What Happens If You Push The Buttons In The Thorm Mausoleum?
If you successfully press all three buttons underneath the paintings in the correct order, then you’ll be able to progress to the next area. The wall behind the painting of Ketheric Thorm will open up and you’ll be able to pass through to an elevator that’ll lead you further down.
It’s important to note that from this point onwards you’ll want to have Shadowheart in your party. Not only will she prove to be a useful party member in any fights to come, but the section has a big influence on her personal quest.
That’s all you need to know about the Thorm Mausoleum puzzle and how to solve it. Act 2 has some significant choices to be made which will have a big effect on the rest of the story, so be sure to take your time and complete as much as you can.