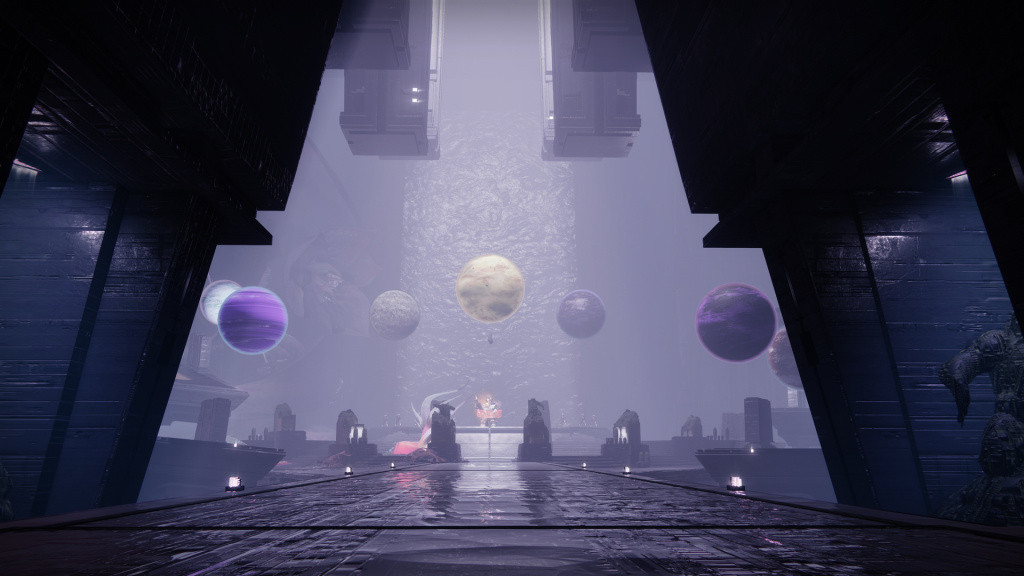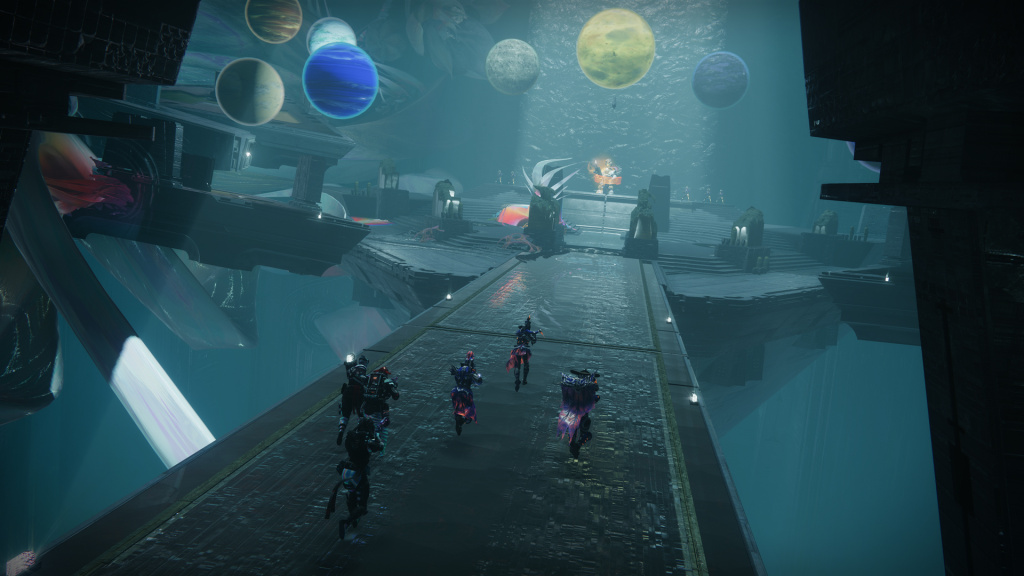
This may be one of the coolest encounters in all of Destiny’s raids. You may recognize it from the final cutscene of The Witch Queen campaign as the room that introduces us to the Witness. This room completely abandons the main mechanic from the first two encounters and instead focuses on moving planets. Here, the goal is simple: Move planets from the Dark side of the room to the Light side of the room and vice versa. After that, do damage to the boss, and rinse and repeat.
How To Beat The Macrocosm Encounter In Root Of Nightmares
There will be 4 platforms with a set of three planets floating above them as well as three planets floating above the middle of the room and a triangle formation. When you first enter the room, the right planet will be glowing white while the left planet is black.
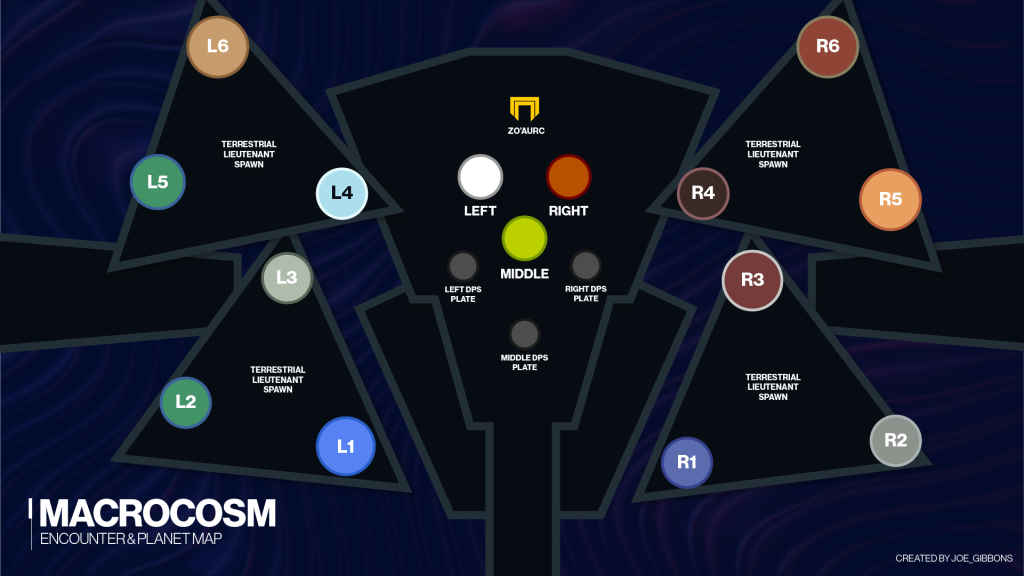
This denotes the Light side of the room and the Dark side of the room, respectively. The planets on the platforms are numbered 1-6 on both sides. The close platforms have 1-3 and the far platforms are 4-6. See the map below for your callouts.
To begin, we recommend splitting the group up into three teams of two. The first team is going to be clearing adds. Kill everything you see when you see it except for the yellow bar Colossi that spawn on the four platforms, those are for the other guys. We recommend one player stay in the back of the room near the rally banner location to focus on those guys while the other player hangs out near the boss spawn. Adds will typically hang around these areas and spawn in fairly large numbers, so bring things to keep you healed and weapons that do well to clear enemies.
The other two teams will split up into two groups with one team being close Dark and Light and the other team being far Dark and Light. The naming convention here isn’t what will matter the most, but make sure you focus on your platform first, and your teammates across the room second. As the encounter gets rolling, there will be a couple of waves of ads that eventually will spawn a Centurion near each of the four platforms. After they have been killed by the add clear team, a yellow bar Colossus will spawn on each of the four plates. Killing it will grant the player the Planetary Insight buff, allowing them to see the affinity of the planets on their platforms.
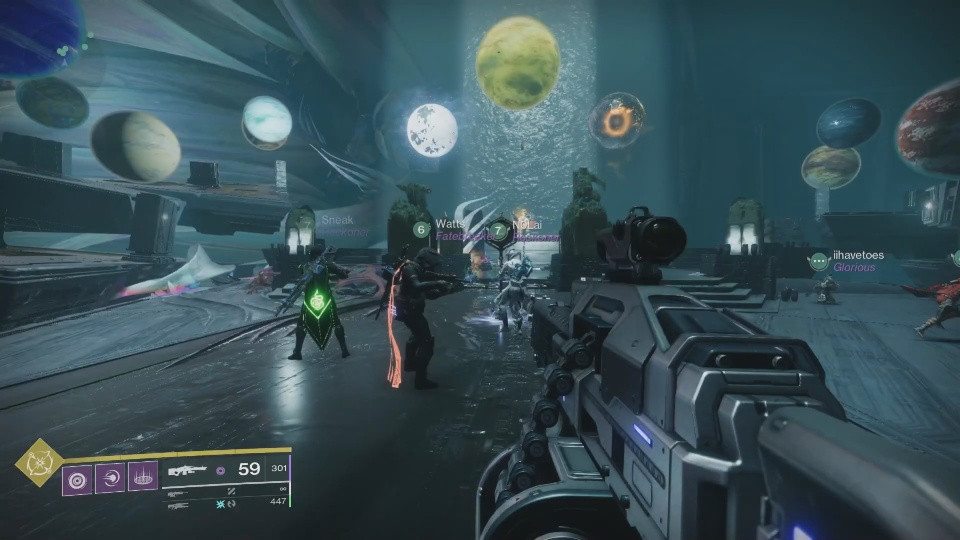
If you’re on the Light side of the room on the close platform, you will have two Light planets and one Dark planet with all planets having a white orb underneath. Call out which planet is Dark so that the player on the opposite side of the room from you knows which spot they need to move their planet to. After you’ve made the call out, stand under the planet and interact with the white orb to get the Planetary Attunement for that spot. Once your teammate across the room has called their spot out, bring the Planetary Attunement to their spot and deposit it by interacting with the Planetary Alignment interaction. This will be the same but flipped for the Dark side of the room. Each side of the room will need to move a total of two planets from the Light side to the Dark side and vice versa, one on the close platforms and one on the far platforms.
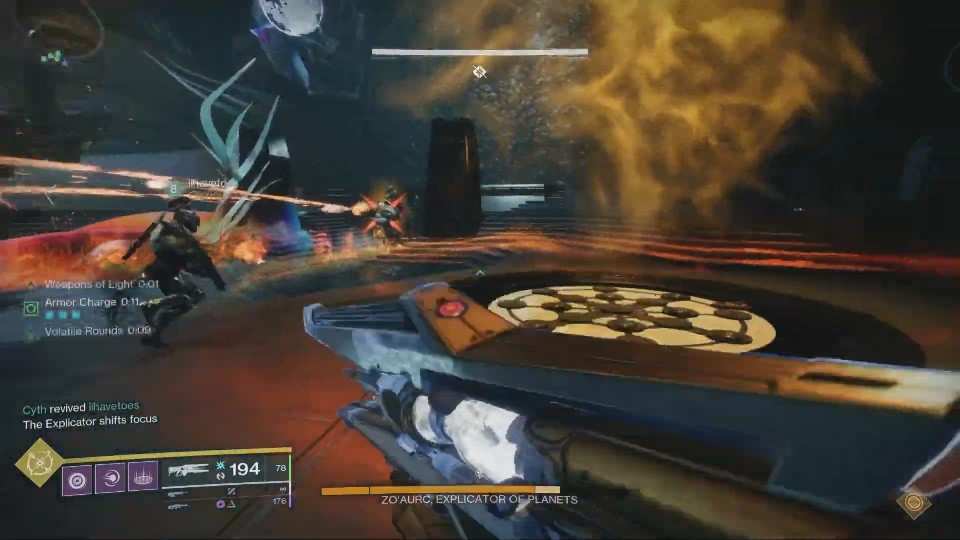
After this has been done correctly, a short time will pass and the planets will move to their respective new spots and a new wave of adds will spawn in with more of the Centurions. Kill them to spawn the yellow bar Colossi on each of the platforms again to gain Planetary Insight once more. After you have Planetary Insight, you’ll be able to see the affinity of the three planets in the middle of the arena. Here, you’ll need one player to call out which planet doesn’t match in the set. There will always be either two Light and one Dark planet or two Dark and one Light planet. After the odd one out is called out as either Left, Middle, or Right, three players must bring the Planetary Attunements that match the planets to the three plates in the middle of the arena. After this, the plates will glow to match the Light and Dark affinities of the planets and it will be damage time.
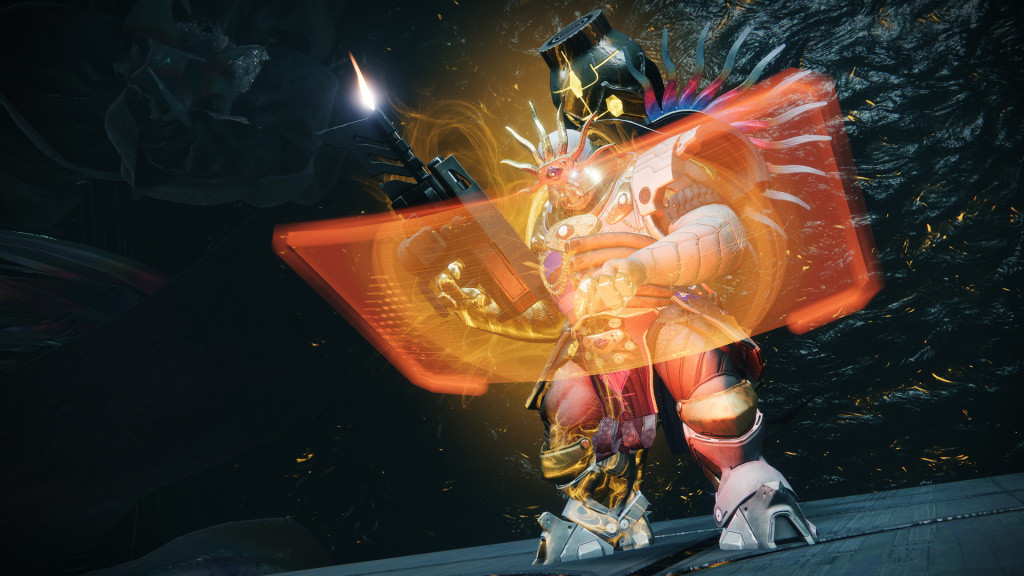
The boss will hop down into the arena at the front of the room and glow either blue for Light, or orange for Dark. Have everyone stand on the plate that corresponds to the color of his aura to deal damage. After a short time, he will send out a Darkness tornado-style attack that will kill anyone still on the plate. Have everyone hop off the plate when his hologram display appears and he starts typing on it as this is the sign that he’s about to attack. After everyone is off, head to the plate that is the opposite affinity of the one he just had. His aura affinity will never be the same color twice in a row, so if you started on Dark, head to the Light plate and start damaging him immediately. After that, head to the third plate, and your damage phase is done, time to do it all again. Note that the boss’ aura will always start Dark and continue to glow whatever color the damage phase ends on, so make sure you wait to step on a plate until he’s jumped down. This means that if the damage phase ends on a Light aura and plate, wait until you see him jump down and get into position before you call it out.
This boss will only allow for four damage rotations before he Enrages and wipes the team, so make sure you’ve brought enough firepower to take him down before then. We recommend a couple of Wells of Radiance and a Divinity if you’re having a hard time with it. After you’ve repeated this process a few times and slain Zo’aurc, you can collect your loot and get ready to face off against Nezarec, the Final God of Pain.
