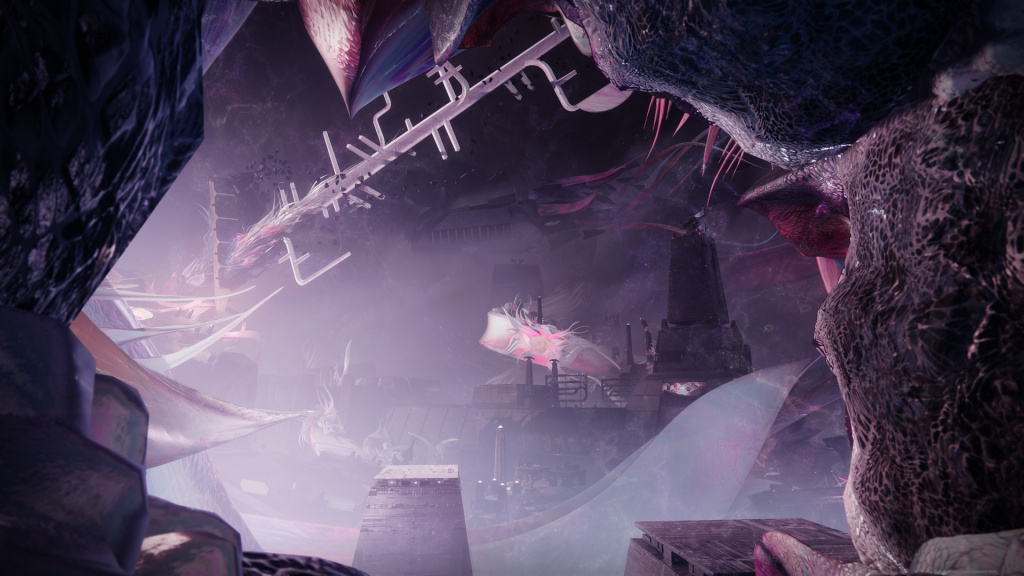
Once you’ve completed the cataclysm encounter you’ll be [What happens directly after that leads you to the Scission section?], that’s when you’ll come across the second main section from the Root of Nightmares raid, the Scission encounter.
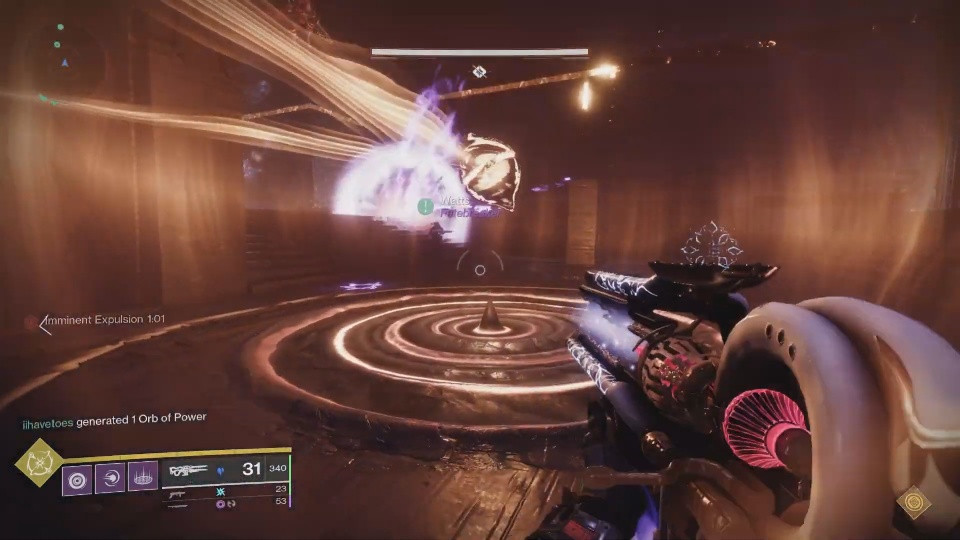
Here, you’ll continue to build on the Seeds mechanic from the previous Cataclysm encounter. Upon entering the space, you’ll notice that the room is split into two sides, left and right, and that it will ascend upwards for a total of 3 floors on each side.
Like the first encounter, the right side of the arena has the Seeds and the blue, Field of Light buff aura. Those keen-eyed players among you will also notice that there is now also a Darkness Seed with an orange aura surrounding it. When shot, the Darkness Seed’s aura grants the Flux of Darkness buff. This works functionally exactly the same as the Field of Light buff, but each one will only allow players to activate their respective plates.
How To Beat The Scission Encounter In Root Of Nightmares
Here, split up the teams into two teams of three, one right or Darkness, the other will be left or Light. The goal of this encounter is to activate the plates of your respective Seeds, but the catch is that plates will alternate between each side of the room. I recommend that each side have 2 players focus on the Seeds while the third focuses on adds. One of the Seed-focused players will be the traveler, the other will stay on their assigned Light or Dark side of the room.
To get the buff across the gap and make sure that you can shoot the black orbs at each plate, there are physics-based launchers with floating Darkness relics in front of them that you would have seen on your way to the Scission encounter. Standing up against the front of the launchers will yield the best results, but if the Light and/or Dark travelers equip an Eager Edge sword, it wouldn’t hurt to help with guaranteeing that you make it across. The rest of the plate mechanic works identically to the first encounter. The Traveler players will need to return to their respective sides to gain the buff for their plates after each activation, while the home players can rebuff and activate as their turn comes up.

The third player will also want to collect the buff as there will be orange bar enemies that are immune unless you have the Field of Light or Flux of Darkness buffs. Just makes sure that you’re calling it out when you’re ready to refresh the buff so that the add-focused player can renew theirs, too. Remember that shooting the buff before a plate has been activated will Disrupt the sequence and likely cause a wipe if it happens to the traveling players.
After clearing all of the plates in both sequences, a group of the orange bar adds will spawn in with a yellow bar miniboss. You must have the buffs for either side to kill these enemies. Once you’ve done so, the Darkness relic for the last launcher will appear in front of the farthest launcher from the plate where you began to work on that floor’s Seeds. Activating it will take you up to the next floor. Continue this cycle on the second and third floors, and you’re done. Congratulations, you’ve made it through the Scission and now it’s time for the Root of Nightmares jumping puzzle!
How to Beat The Jumping Puzzle In Root Of Nightmares

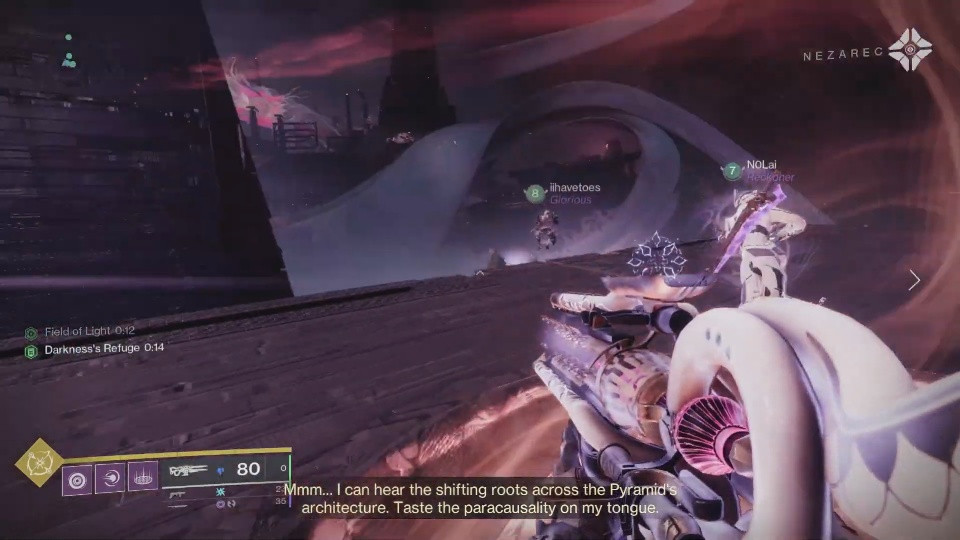
This jumping puzzle is relatively simple: Get from one side of the expanse to the other. To do this, you’ll have to use the launchers from the earlier traversal sections and the Field of Light buff in tandem with the Flux of Darkness.
There will be a large shockwave sent out in set increments. If it hits you, you will die immediately. To avoid this, all you have to do is grab the Field of Light buff from the Light Seeds and take it to the Darkness Seeds to get the Darkness’s Refuge buff. This will grant you roughly 15 seconds of immunity to the shockwave, and allow you to continue. There will be adds scattered throughout, but they’re all fairly easy to dispatch. Once you’ve made it all the way across, it’s time to move some planets around.