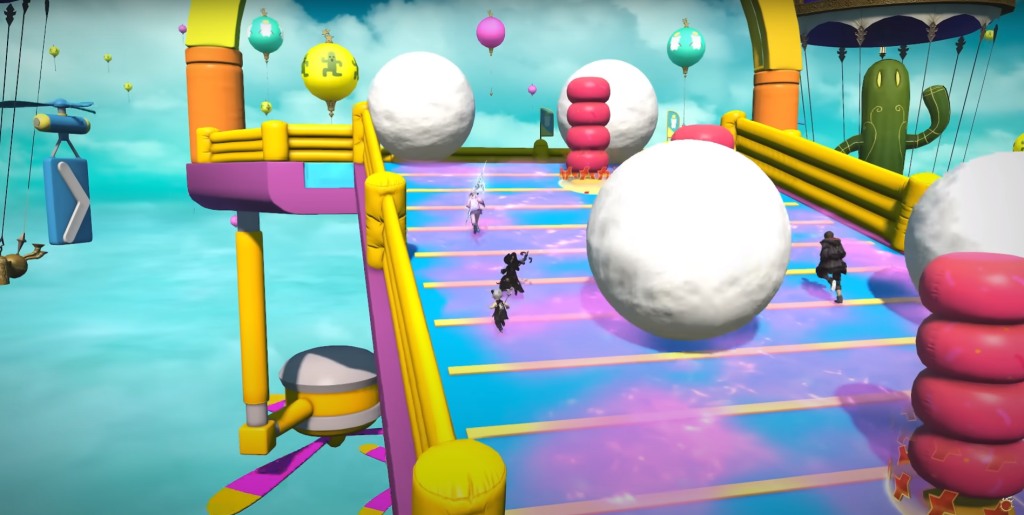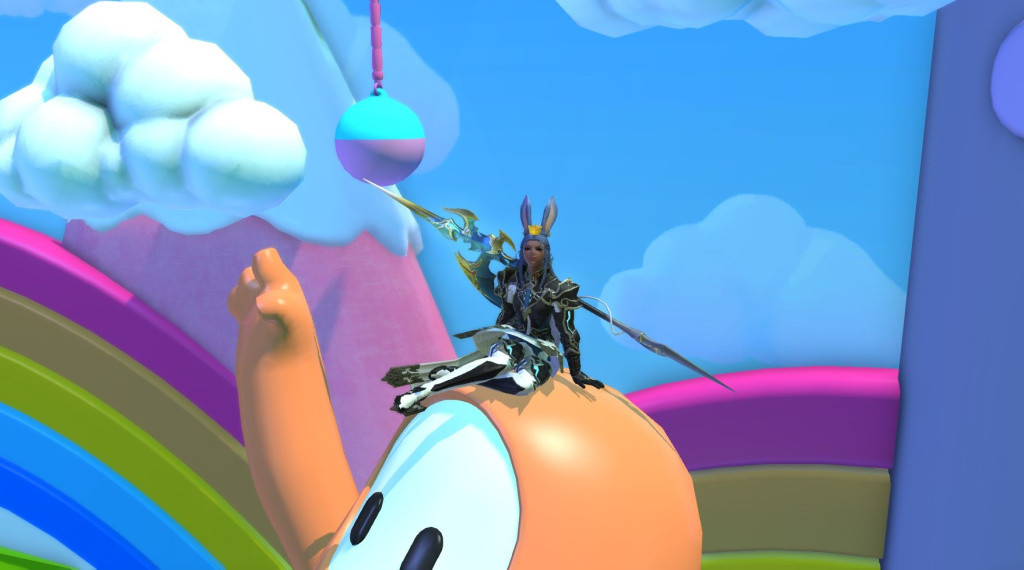
The FFXIV x Fall Guys collaboration is currently live in the Gold Saucer. Players must compete in three stages of platforming challenges as they navigate through a whacky obstacle course. Depending on your individual placement, the rewards you can earn will be greatly increased. Because of this, there’s plenty of incentive to try your hardest to make it to the final stage and, hopefully, win the entire game!
So, if you are curious to learn more about each stage, we’ve got you covered. This article will cover each of the Blunderville stages, including key strategies to make sure you come out on top!
Table of Contents

FFXIV x Fall Guys Blunderville Collaboration Guide: How To Come First
By participating in the Blunderville event, players will be able to earn currency known as MGF (Manderville Gold Saucer Fame). This currency can then be exchanged in order to obtain limited items including accessories, mounts, and more. Because this event is limited, time is of the essence when it comes to buying out the shop. Getting as much currency as you can per run is of the utmost importance. So, we’ll break down what each stage will throw at you, and how you can combat it.
Blunderville Stage 1
Manderville-Can Parade
-
Participants: 24
-
Winners: 16
If you’ve ever played Fall Guys before, this stage should feel very familiar. This is a classic Fall Guys race to the finish, complete with swaying balls, narrow bridges, spinning rotors, and more. A lot of the obstacles in this race will telegraph their movement patterns, so it becomes less a case of chance and more a case of keeping your eyes peeled for when to make a dash for it!
In particular, the spinners will not rotate constantly. They will alternate in a set pattern, so players will need to time their dash accordingly. Following this, players will be inflicted with the spinning debuff and will need to move while spinning. This shouldn’t be too difficult, and players familiar with the Alzadaal legacy dungeon will be used to this. Finally, several boulders will fall down to try and crush you. Simply dodge out of the way to avoid being stunned.
Gentlebean’s Fever
-
Participants: 24
-
Winners: 16
This is yet another race with obstacles that must be avoided. The axes will telegraph their attack pattern, so once again, look for an opening before moving. After this, the cones will launch you into the air if you are hit by the AOE; otherwise, touching them will stun you. Make sure to avoid the AOE, as it could result in you falling off the side.
Beyond this, a die will appear above your head that quickly counts down. Once it reaches zero, you’ll explode. It is recommended to drop as low as possible and explode outside of the AOE of an attack. If you explode and then are struck by a follow-up attack, your run is likely over. Alternatively, simply stop moving before the explosion icon appears and you should be able to avoid the explosion entirely, and carry on as normal.
Finally, as a set of disappearing logs appears, players will need to run across one log until a second one appears. Simply jump to the new log and continue running to reach the goal.

Blunderville Stage 2
The Gold Swiveller
-
Participants: 16
-
Winners: 8
This is a survival race where a gust of wind will constantly try to push you over the edge. Make sure to keep the inside track wherever possible and run against the wind. The wind will gradually speed up until only eight players are left. There isn’t much strategy that can be utilized in this stage aside from forcing the other competitors to the outside as much as possible. This stage is all about positioning.
Saucery Siege
-
Participants: 16
-
Winners: 8
This event is a little confusing as it involves acquiring a colored buff and then delivering crystals to that color’s area. The red area will require you to dodge several fists, the yellow area will have you fighting off against the same gust of wind as above, and the blue will have you timing your movement through several barriers.
Red Area Tips: This one is all about dodging the telegraphed attacks again (which you should be used to by now). It is vital to avoid being hit, as doing so will result in losing all your crystals.
Yellow Area Tips: Putting your back to the wall will help you avoid being blown away by the strong wind.
Blue Area Tips: There is more telegraphed attack dodging here, but you will also need to navigate through several moving barriers. Time your movement so that right when a barrier is about to start moving, you quickly dart to a stationary one.
Blunderville Stage 3
Manderville Mountain
-
Participants: 8
-
Winners: 1
This is the final hurdle and will require players to put all of the skills they learned this far to the test. It is important to keep an eye out for all the telegraphed AOE attacks while making your way to the top of the mountain! Players will need to dodge past the telegraphed attacks of the spinning obstacles while also dodging left and right to avoid the AOE attacks.
Remember, just like in PVE content, once an AOE hitbox is gone, you can stand in that area without worry, even if the animation of the attack has yet to play out. Additionally, just like in Mario Kart, you can start the round by already running to get ahead of the other players.