Destiny 2‘s Season of the Witch is in full swing, and with that comes the usual seasonal missions each week. Week 5 of Season of the Witch has brought a new type of mission with it, however. What is the Imbaru Engine puzzle and how do you solve it? Let’s take a look at how to complete the Imbaru Engine Mission in Destiny 2: Season of the Witch.

Table of Contents
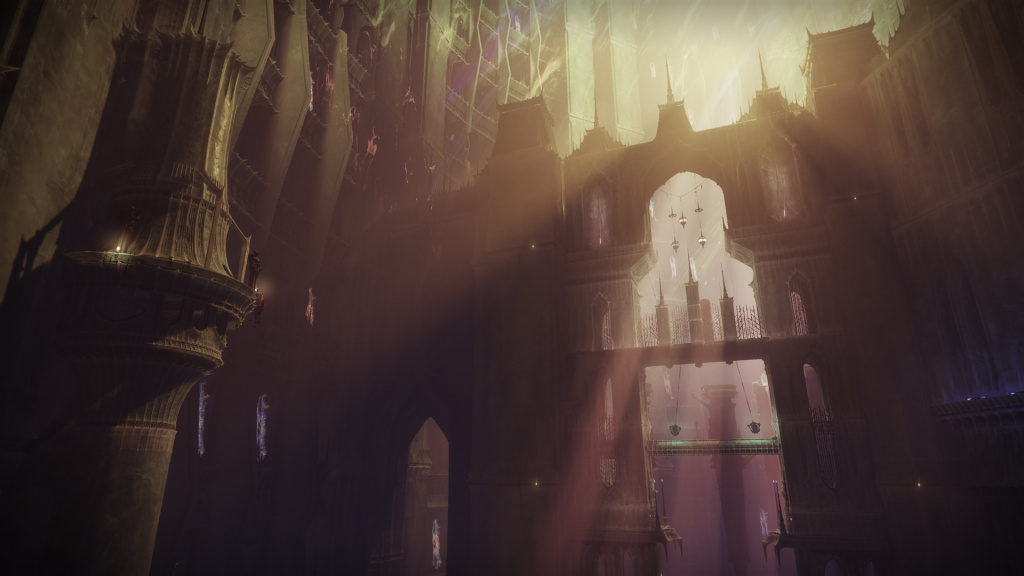
How To Complete The Imbaru Engine In Destiny 2: Season Of The Witch
The Imbaru Engine is meant to be the Guardian version of Savathun’s interpretation of her brother Oryx’s sole purpose in life. This mission, however, presents itself as fairly simple puzzles each week starting in Week 5. These only take a little bit of time and patience to solve once you get into the main room where the puzzles take place.
How To Complete The Test Of Cunning In The Imbaru Engine (Week 5)
This puzzle requires that players complete three rounds of opening chests to reveal the purpose of the Imbaru Engine. In order to do this, you must choose the chest with the correct “X” Hive symbol rather than the “jellyfish” symbol. Each round increases the number of chests to find and open, there are only as many chests as you need to open in each round.

If you open the Jellyfish symbol chests, you will be forced to restart the puzzle!

As you advance, there will be more chests to open. The second wave is simple enough. Open the chests that don’t have the Jellyfish symbol!

Once you’ve gotten past the first two rounds, you’ll have to find 3 “X” symbol chests among a room full of around a dozen chests that have the Jellyfish symbols pointing toward them. Make sure not to mess up and take your time! Find those chests and be thorough in your search.

After you’ve completed all three waves, you’ll nab yourself a Seasonal Challenge as well as the Triumph Mother Morph! Congrats, Guardian! You’ve completed the Imbaru Engine’s puzzle and advanced the Seasonal storyline. Go back to the Helm to wrap it all up.

How To Complete The Test Of Strength In The Imbaru Engine (Week 6)
To unlock the Test of Strength in Week 6, you must first collect the Strength Opaque Card in the Savathun’s Spire activity.This card is found on the right-hand side of the room just before the final encounter to the left of a portal.

Grab that, take it to the Lecturn in the Athenaeum, and then you’ll be able to access the second puzzle in the Imbaru Engine.

This puzzle is interesting and forces a little bit of trial and error. In the first several steps, you’ll have to proceed by killing the Knights on the plates. Each plate has a pointed arrow that directs you to the next plate.

Once you’ve made it into the second room, you’ll come across some Cursed Thralls on your path. Once you’ve killed the first Cursed Thrall, you’ll want to switch so that it’s every other plate that you’re killing enemies one, leap-frog style.

Each time you succeed, you’ll see “Your Match Continues…” in the Feed. If you fail, you’ll get the message “Your March Is Halted.” and everything in the room will attack you until you die.

Continue doing this for a few more plates and eventually, you’ll see the message “You Conjor War” in the feed and pop that beautiful “The Knight Morph” Triumph.

How To Complete The Test Of Navigation In The Imbaru Engine (Week 8)
To unlock the Test of Navigation in Week 8, you must first collect the Navigation Opaque Card in the Alter of Spires activity. This card is hidden within the Crystal in the arms of the Statue in the encounter space behind the spawn in location.

After you grab the card, you’re free to leave the activity and head back to the Lecturn of Divination in the Athenaeum. Claim the card by clicking it twice and you’re all set.

Once you’re in the Imbaru Engine, skip the puzzles until you find the third hallway. This will take you to the Test of Navigation.

This puzzle is best handled with Hard Light, the exotic Auto Rifle that allows you to swap between the three Light elements with a long hold of the reload button. Once you start, all of the doors in front of you will have 3 of the Hive Runes around each one, all with one of the three Light elements.

To solve the puzzle, look at the doorframe behind you. This will show you which element you’ll need to shoot and the location of it on each door. For the first puzzle, you’ll need to find the door with the Arc Rune on the left side of the doorframe.

Find the door with the corresponding Arc Rune and then shoot the Rune. If done correctly, the door will open allowing you to continue through. The next puzzle is the same, but this time you’re looking for the Solar Symbol on the top of the doorframe.
The third iteration will require you to find the Void Rune, but it will be hidden by symbols in front to trick you. Move around the room until you find the correct Void Rune.

After this symbol, the final puzzle looks a bit trickier, but it’s essentially the same. The answer is the Solar Rune on the right-hand side of the door, but the symbols are all in the center of the room.

By standing on the platform to your right, you’ll see that the correct Solar Rune is the one that it hovering to look like it matches our answer doorframe, positioned to be on the right-hand side of the door. Shoot that Solar Rune, go through the door and you’ll complete the Navigation Test Triumph!

That’s everything you need to know about how to complete the Imbaru Engine in Destiny 2: Season of the Witch! For more on Destiny 2, make sure to check out our guides on how to get a god roll Warden’s Law Hand Cannon and Season 23’s release date!