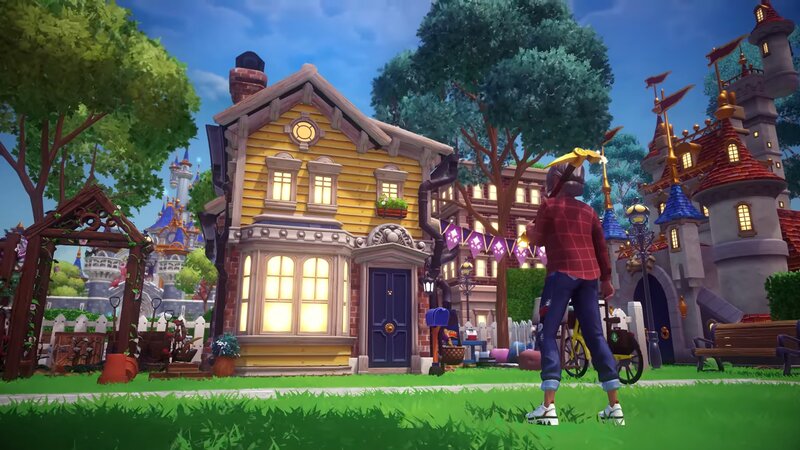
Building a house in Disney Dreamlight Valley is one of the first things you’ll need to do to store your valuable collectibles. Although the initial home setup can be simple, you’ll eventually need to upgrade your house to increase your storage capacity; however, things can get tricky.
So if you’ve been struggling with this and want to know more, then you’re in the right place. This guide will explain everything you need to know to increase your storage and upgrade your home in Disney Dreamlight Valley.
Disney Dreamlight Valley – How To Upgrade House
To improve your home, you’ll need to do some work and enlist the help of one of your new friends, Scrooge McDuck. Scrooge is one of the first NPCs you’ll encounter in Disney Dreamlight Valley, which is good because completing a few of his quests is the key to upgrading your house.
You’ll receive a quest called Valley Economics 101 after you’ve set up his shop as part of Scrooge McDuck’s Grand Reopening. It’s a simple quest, requiring only seven items sold to Goofy at his stall.
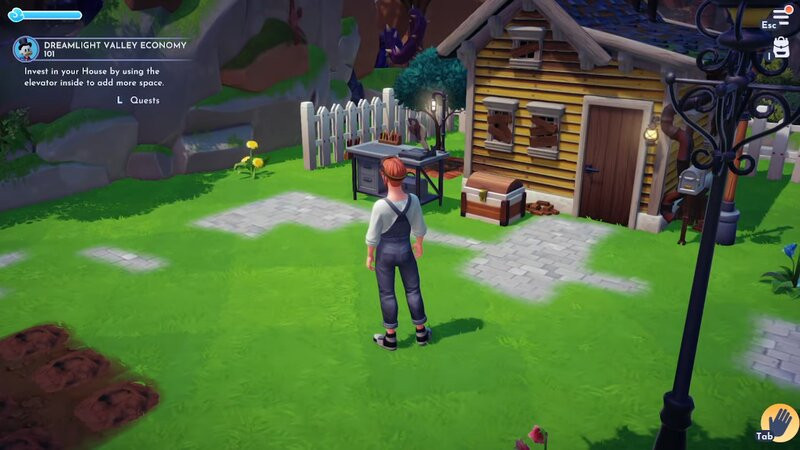
Once you’ve completed the Economics 101 quest, return to Scrooge, and he’ll tell you that he’s installed an elevator in your house, allowing you to upgrade the interior. The elevator appears inside and to the left of your front door, allowing you to expand your main space and access additional rooms for the prices listed below.
-
First main room expansion cost: 1000 coins
-
Second main room expansion cost: 2000 coins for second room expansion
-
Additional rooms cost: 3000 coins for 10×10, 2000 coins for 8×8, 1000 coins for 6×6
The storage capacity increase is tied to your upgrades in Disney Dreamlight Valley. Once you’ve completed any one internal upgrade, Scrooge will have erected a builder sign outside your home the next time you return. This will allow you to improve the exterior of your home while also increasing the storage capacity of each chest you build.
You can construct as many chests as you want, but they will only have one row of storage capacity at first. This is enhanced by upgrading your home’s exterior for the prices listed below.
-
First external upgrade cost: 2000 coins (additional storage row unlocked)
-
Second external upgrade cost: 20,000 coins (third and fourth storage row unlocked)
-
Third external upgrade cost: 75,000 (storage upgrade level unknown)
It should also be noted that if you unlock the second stage of the exterior upgrade, it also unlocks the second floor of your home. Which gives you more space to expand your interior once again.
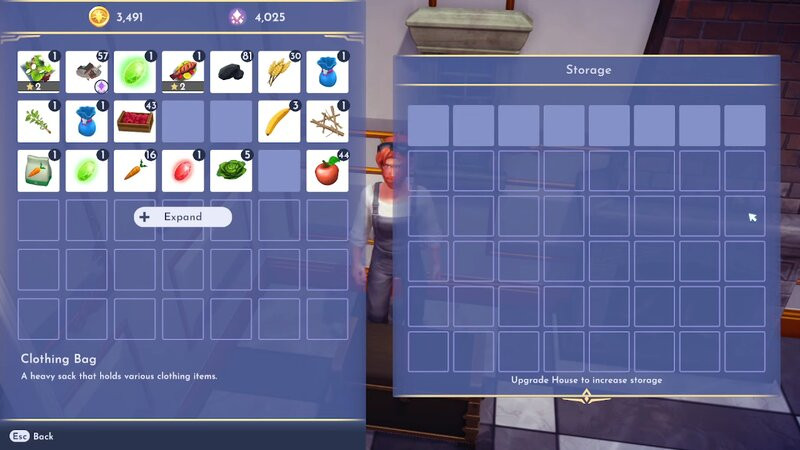
You can have as many chests as you want in Disney Dreamlight Valley, giving you access to as much storage as you need, but naturally, the larger the chests, the better. Also, ensure you place them near cookers or stoves and crafting tables to access your items inside instantly.
For more Disney content, check out our section dedicated to the latest Dreamlight Valley news, guides, tips, features, and more.
Featured image courtesy of Disney.