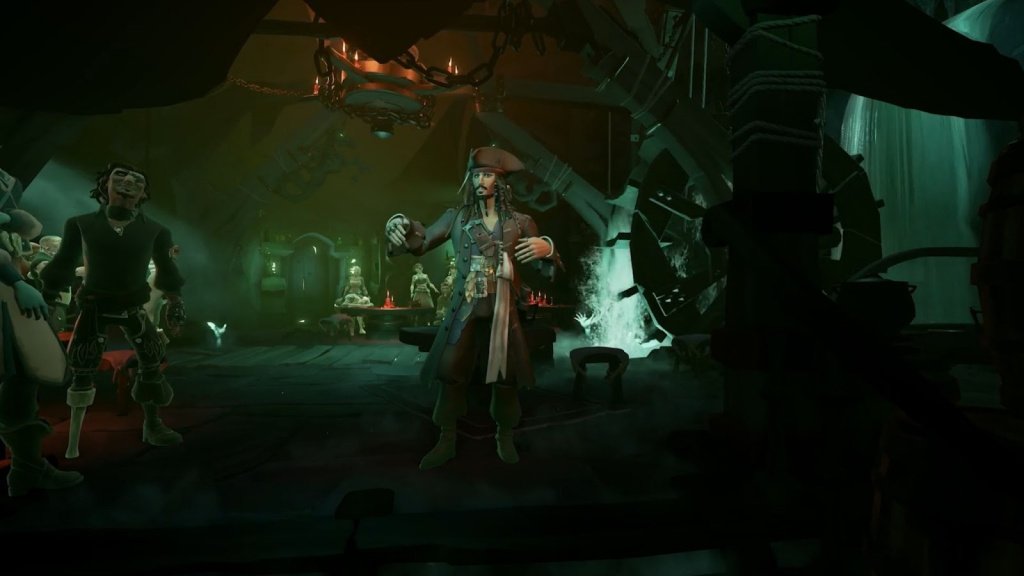
The beginning of your adventure within the new Season 3 expansion in Sea of Thieves takes place at any outpost. A Pirate’s Life is begun by talking to The Castaway at the outpost of your choosing. Once you talk to them, you can head inside their shack to find five Tall Tale books. The first tale, A Pirate’s Life, will set you on the course of the new storyline.
After you activate the tale, The Castaway will tell you of an imminent threat in Sea of Thieves. In the distance, a huge green light will descend from the sky and you need to sail into the rock formation that it goes into. Make sure your ship has no treasure on it before proceeding.
A guide to Pirate’s Life Tall Tale
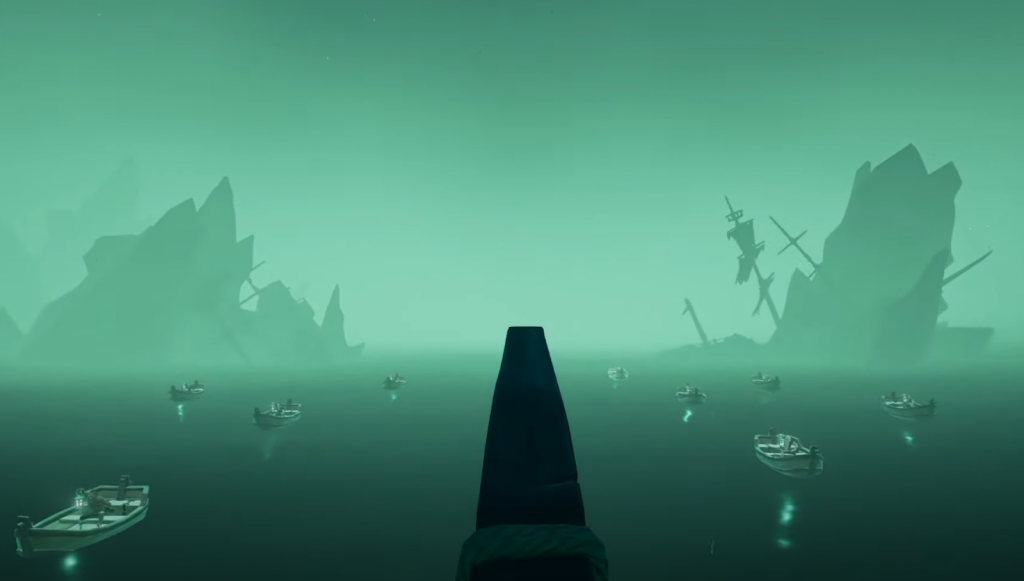
This will cue a cutscene and introduce you to the A Pirate’s Life questline. After the cutscene, you’ll be sailing through the Tunnels of the Damned. Eventually, you’ll get off your ship and run on land until you see a statue of a Wraith. This will be your checkpoint should anything go awry. Once past the statue, you’ll be greeted with Dead Man’s Grotto and several puzzles to solve. These puzzles will need the Flame of Souls though, which you can find up ahead at a campfire.
At the campfire, hold your lantern up to the green flame and it will absorb it. The flame is an essential part of this Tall Tale, so make sure to find any lantern you can throughout the map.
Once you have the flame, you’ll see some cutscenes and then ascend up a spiral staircase. However, you’ll be stopped and told you need a handle to open the door. Head back down the stairs to the waterfall. Go through it and head right to find a skeleton holding an oar handle. Interact with it and take the handle back to the door to open it.
After you’re through, you’ll need to do some platforming to get across the treacherous gaps to reach the other side. This isn’t too difficult, though, and has no real consequence for falling. On the other side, you will drop a drawbridge that helps you complete the platforming. Light two lanterns to open the following drawbridge and proceed to the next level.
In the next part of Dead Man’s Grotto, you’ll have to do more platforming in order to reach a ladder, which you can climb. At the top, you’ll see a weapons box with a sword inside. Equip the sword, as you’ll need it for the next part of the quest. Next to the weapons box is a rope, which you need to cut to continue the level. Follow the platforming, which involves using a pulley and jumping onto a mast, and cut the final rope to reach the end of Dead Man’s Grotto.
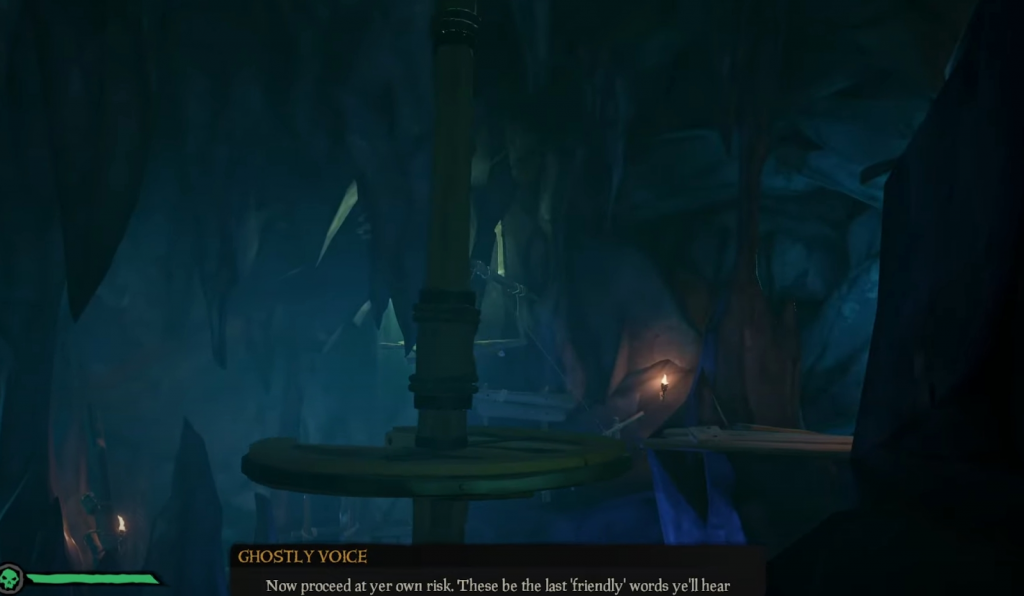
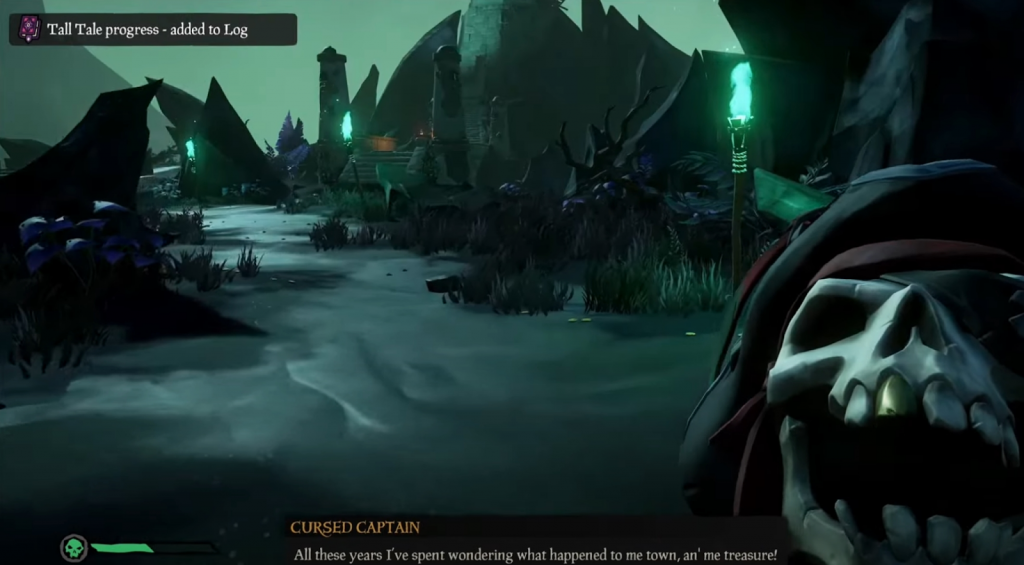
The next level is called Sailor’s Cave. You need to light a brazier to open the locked gate into the town, which is up the stairs to the left of the gate. Your primary objective in the town is to free a skull named the Cursed Captain. His cage is locked between two shipwrecks, so you need to climb high in order to free him.
There will be some stairs to the left of the captain. Go up them and keep following the path until you reach a bridge. Walk across and then jump down into the hole in the bow and swim to the cave. Here, there’s an elevator that uses a pulley to activate. Pull it, then use the following pulley to move two platforms. All that’s left to do is jump across the platforms, follow the path of the bow and free the Cursed Captain by cutting the rope on his cage.
He will drop down but you now need to find the key to open the cage. This is found in the town’s tavern. At the tavern, follow the ramp up until you reach a pulley, which will lower a chandelier and the key that’s on top of it. Go back to the captain, unlock him and he can now be your companion.
From this point, you need to go to the lighthouse. Ascend the lighthouse stairs and place the captain on the headless skeleton in the chair. Next, climb up the ladder to reach a brazier and light it with your lantern. You need to position the light using the controls to get the attention of the Ferryman, which will activate the next part of the quest.
Make your way down the lighthouse to reach the captain’s red-sailed ship, the Golden Hare. Once on the ship, place the captain’s skull on his former body in the captain’s quarters. He will then give you the key you need to access his rowboat. Inside the rowboat, sail to the Ferry of the Damned in the distance. Steer to the back of the boat and get off once you’ve docked. Climb up the boat to reach the Ferryman.
After you’ve reached the top of the ship, use your Flame of Souls lantern to light the Well of Fates, located in the middle of the deck. You’ll cause an explosion that allows you to head inside the second level of the boat. Light up the lanterns until the doors open. One of the rooms will contain some tombs that you need to open to reveal hidden lanterns to light. Once all of the lanterns are lit, Captain Jack Sparrow will be revealed in a prison cell.
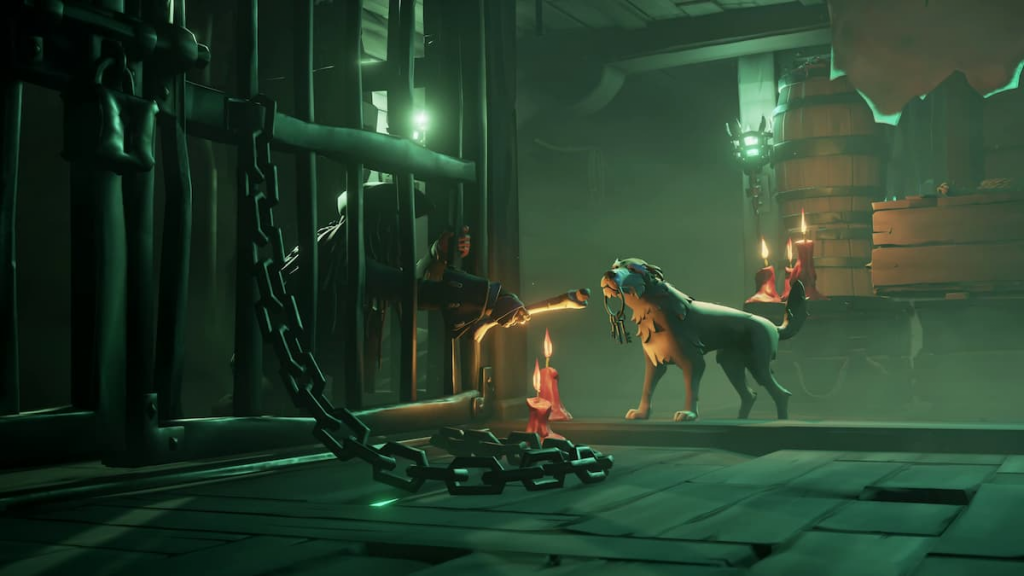
After some dialogue, the Flying Dutchman ship will appear and you need to get on the cannons of the Ferry of the Damned. You and Jack will both fire the cannons at the ship but eventually, the Flying Dutchman will send Ocean Crawlers you need to fight. Although, there’s no consequence to dying, so don’t worry too much.
Once the fight is over, you and Jack will go into more dialogue and that’s where the A Pirate’s Life Tall Tale ends. You can then access the second Tall Tale in the expansion, The Sunken Pearl.
This is just one of five Tall Tale missions, if you need help in the next quest check out our guide to the Sunken Pearl Tall Tale.