
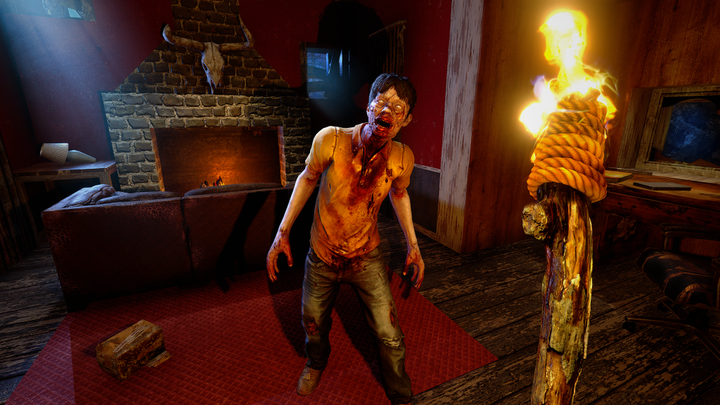
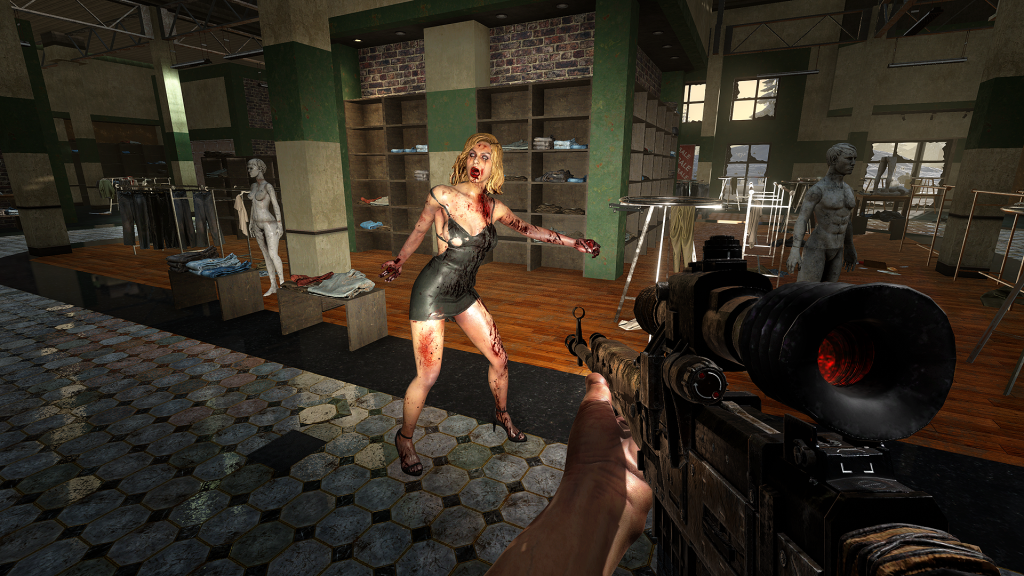
You can customize your experience in 7 Days to Die using mods. Mods can change the visuals of the game, or even alter the gameplay to make it easier or harder according to your preferences. Here's how to enable mods in 7 Days to Die so you can fully customize your experience.
How To Use Mods In 7 Days to Die
Enabling mods in 7 Days to Die in any world seed only requires following a few simple steps.
1. Create a “Mods” Folder
The first step to using mods in 7 Days to Die is to create a "Mods" folder in the game's folder. To do this, you'll first have to locate the folder. If you use Steam, the game will have the following path:
- C:\Program Files (x86)\Steam\steamapps\common\7 Days To Die
You can also find this path by right-clicking 7 Days to Die in your Steam Library and selecting "Properties." You can then navigate directly to the folder where the game resides, and where you'll need to put the "Mods" folder.
To use mods on servers, you willl instead need to create a “Mods” folder in the directory where the 7 Days to Die Dedicated Server is installed:
- C:\Program Files (x86)\Steam\steamapps\common\7 Days To Die Dedicated Server
2. Download 7 Days to Die Mods
Once you've created your "Mods" folder, you have a place to put any mods that you choose to download. The next step is to actually download those mods. You can surf the web to pick out any 7 Days to Die mods that appeal to you, and download them from their respective websites. You can use as many mods as you like.
3. Extract the 7 Days to Die Mod
Now that you've downloaded your mods of choice, find them in your files. From there, right-click them and choose 'Extract.' You'll need to Extract the folder with the "ModInfo.xml." file into it, and then copy that over to the "Mods" folder you created earlier. Do this for each mod you've downloaded.
4. Start 7 Days to Die
Now, you're good to go! Once you're done extracting your mods into the proper folder, you should be able to just boot up the game and see your mods in action. If your mods aren't showing up, you might want to entirely restart your computer. Now go enjoy your mods!
For more 7 Days To Die news, be sure to check out our dedicated section or take a look at some of our Guides & Tutorials just below:
MAJOR NEWS -
7 Days To Die Alpha 21 Release Date Speculation & News | How To Sign Up For 7 Days To Die Alpha 21 Streamer Weekend
GAME GUIDES -
How to Source Water | How To Get Clay Fast | Can You Sleep in 7 Days to Die? How To Use The Bedroll | How To Get Mechanical Parts Fast | Is 7 Days to Die Cross Platform With Cross-Play Support?