

The latest update for Sea of Thieves titled “The Sunken Kingdom” added a series of new places for all players to explore, with most of its secrets and treasures being inside six new Shrines spread across the map.
One of these, known as the Shrine of Hungering, was abandoned by the Sirens long ago as it’s now home to a shiver of sharks that wait for any fearless pirate to enter.

So, if you are looking for a chance to get through these to retrieve the coral riches hidden inside, here we will guide you around all you have to do to find the Shrine, uncover its secrets, and escape with the treasure intact.
How to find and complete the Shrine of Hungering
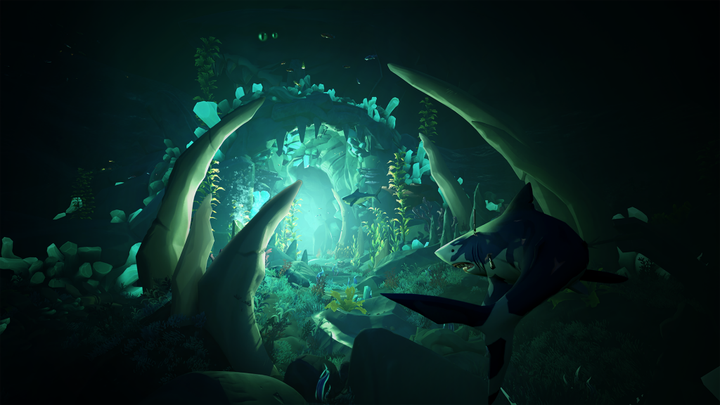
The Shrine of Hungering will be located in the Wilds, North of Galleon’s Grave Outpost. You will find its exact location easily if you look through the sky and spot some purple and blue lights swirling into it.
Once you get to the exact location where the light converges, it will be time to stop your ship and sunk into the water. You must swim to the Northside of the Shrine, close to a giant skeletal ribcage.
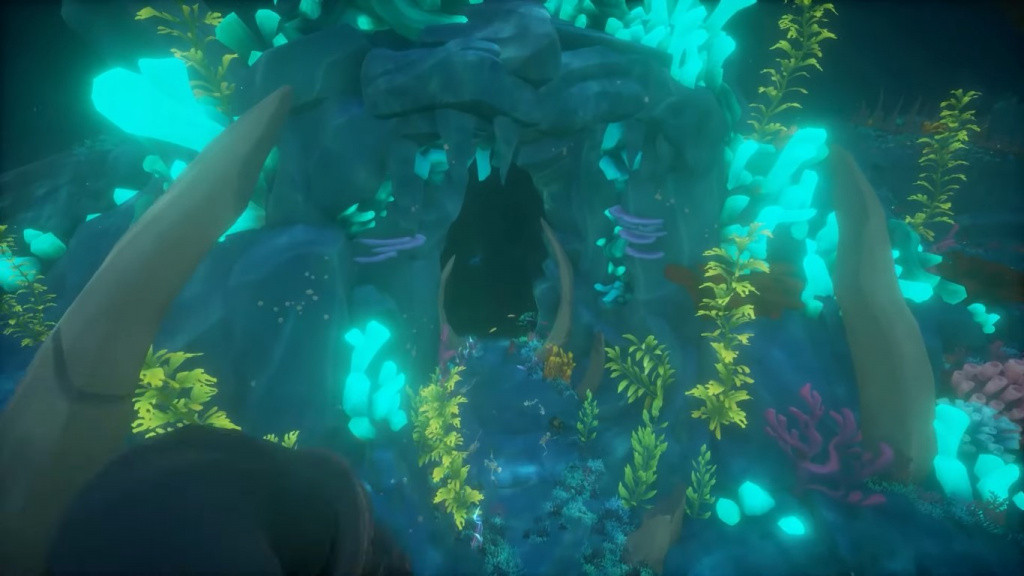
Its entry will be across from the main structure, so you have to look around for a large cave entrance. If you find it, then swim right away, following the path of the ribcage until you find some sharks.
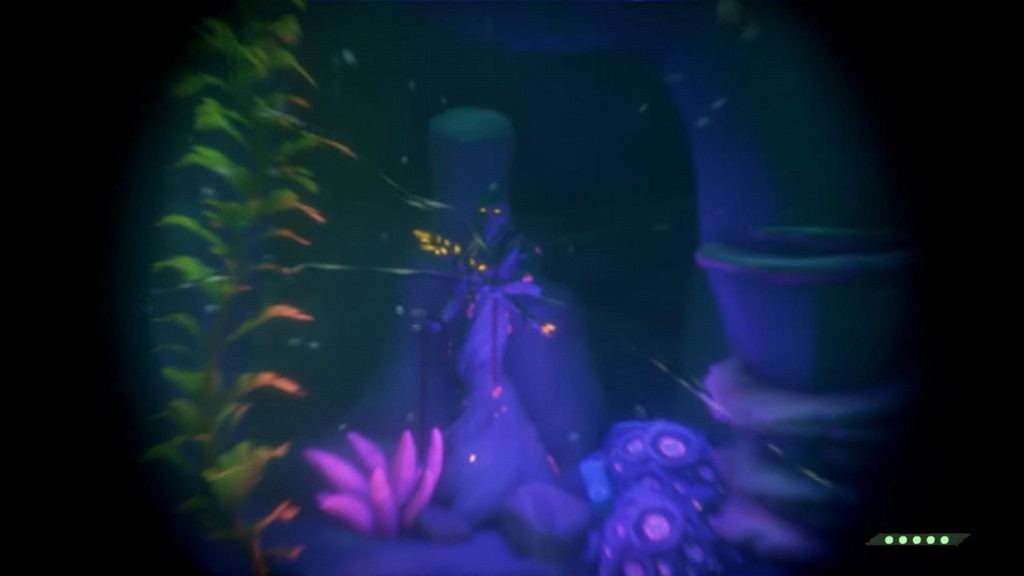
As these protect the Shrine from all intruders, you must fight your way through the entry, but don’t forget to refill your oxygen with the Undersea Vents. Continue swimming until you find the first journal of the Shrine, in the hands of a skeleton on the ground surrounded by some tall green plants.
After this, you will find the main chamber where the first Siren Statue Puzzle will be waiting. To solve it, you must take a look at the positions of the arms of the Siren Statues of the large mural and then move them to their right one by damaging the statue with your Cutlass or Firearm.
Once you positioned the three Siren Statue arms correctly, you will enter the solution by damaging the large Siren Statue holding a conch below the mural, causing the water level to rise.
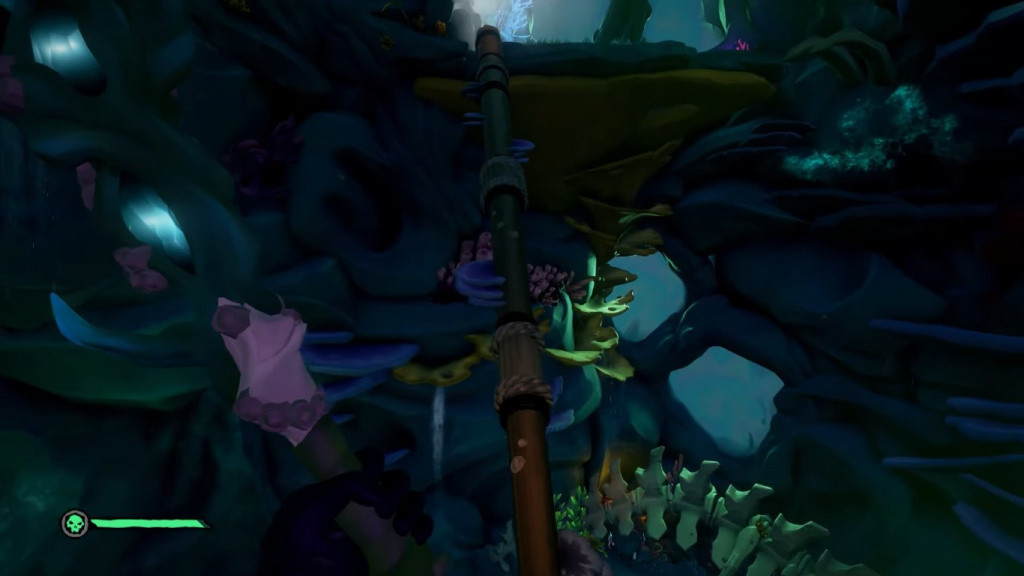
Swim up to a platform in the chamber with a geyser, stand on it, and it will get you to the next level with another Siren Statue Puzzle and the second journal. Here you will do the same as with the first statue by looking at the mural on the South East side of the chamber for the solution.
After you complete this puzzle, the water will rise again until you find a new series of platforms with Coral Skeletons. Fight with them and continue your path through these, a Kraken spine and over a big mast beam. At some point, you will find the Shrine’s third journal.
Check it, and then move on across some bones sticking out of a wall until you reach a large Megalodon jawbone, with more Coral Skeletons that will ambush you. Defeat them and then continue to the base of a Siren Statue, where the fourth journal will be sitting hidden in the grass.
Hop back over to the Megalodon jawbone and then hit the pink Coral Orb to go through the Siren Window inside its mouth. Then, swim through a small tunnel to another Siren Window, hit a pink Coral Orb, and at the base will be both the fifth and last journal and a smaller chamber filled with lots of treasure and sharks to kill.
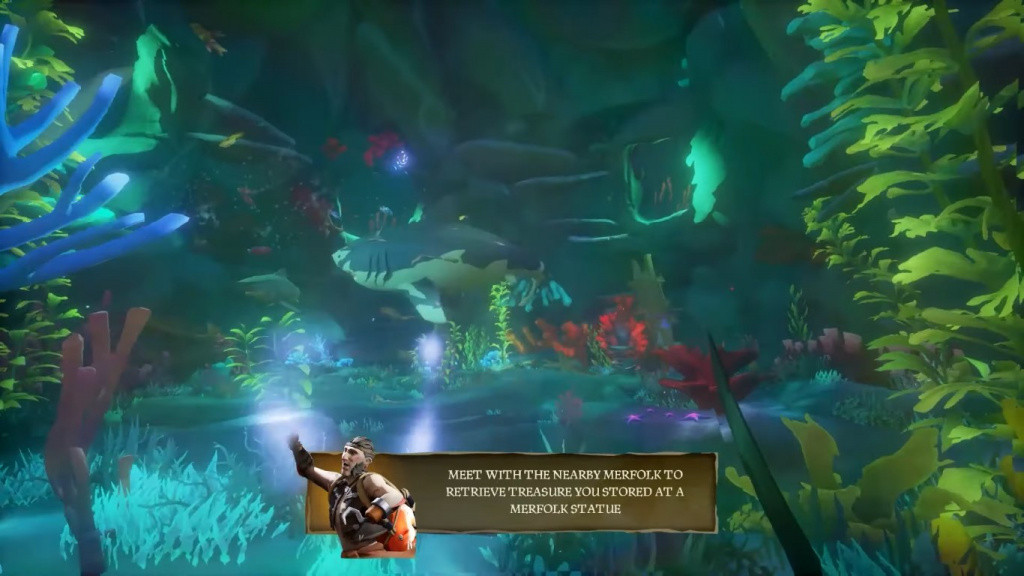
Once you got all treasures from the Shrine, don't forget to save all of them in the Sunken Merfolk Statue, then exit the Shrine using either the Siren Windows or the same Statue.
For more Sea of Thieves guides, why not check out the new Season 4 Plunder Pass content.
Featured image courtesy of Rare.
