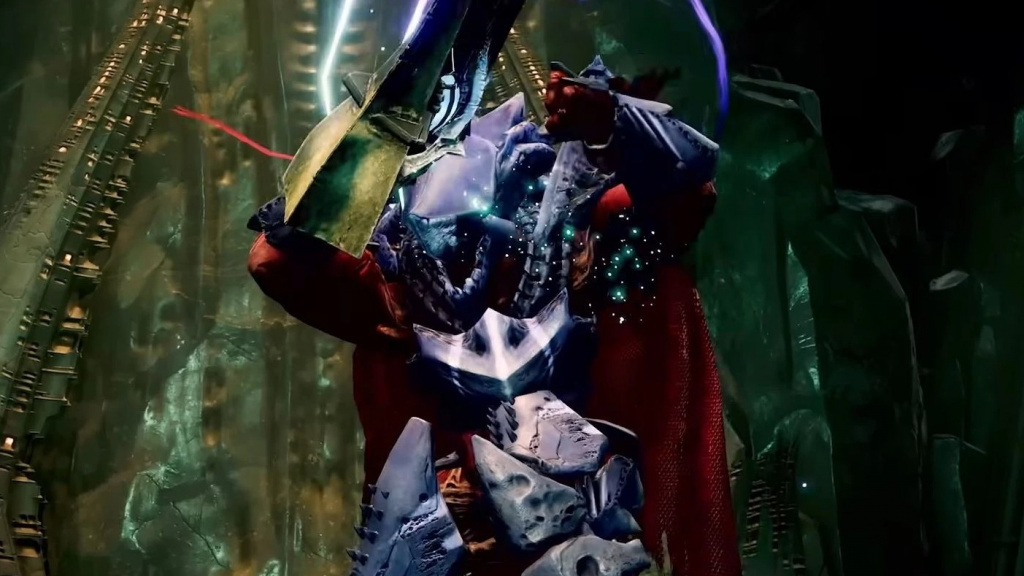
The first encounter of Master King’s Fall in Destiny 2 saw players running from side to side of the Totem’s room. This encounter was not too tricky and largely relied on players trying to stay alive while clearing ads quickly.
However, Master King’s Fall second encounter challenge in Destiny 2 presents a different difficulty from the first of the four bosses in this raid. For the challenge, Speed and high DPS are paramount. This guide details the best strategy to complete the Warpriest challenge in Destiny 2.
How To Complete Destiny 2 Master King’s Fall Warpriest Challenge
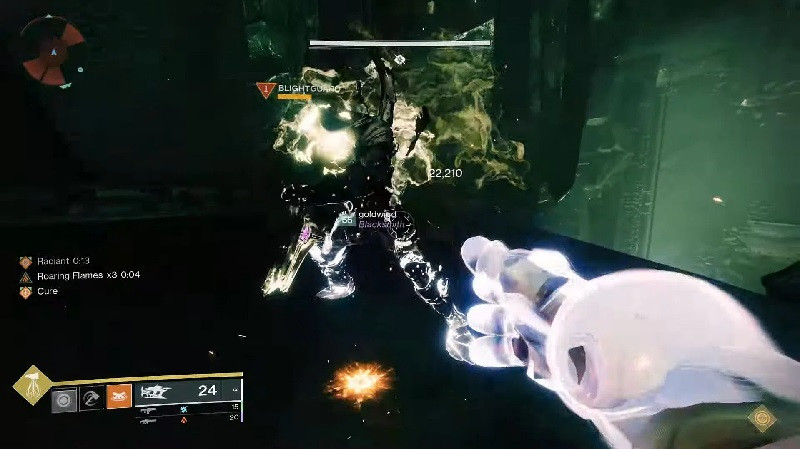
The Warpriest encounter is arguably the hardest challenge in the entire raid. As a result, Speed is of the utmost importance, especially when killing the Knights needed for the Brand Claimer buff in Destiny 2.
Since you need to claim the Brand of the Initiate buff within 5 seconds of becoming a Brand Claimer, it would be best to deal DPS to Warpriest on the right of the middle plate. Doing this makes it easier to kill the Knight, collect the buff and return to your team.
Players engaging from the right should find it easier than those on the left; we will explain the reason later. Otherwise, remember to keep those countdowns going and be ready to zoom from side to side to complete this challenge.
Master King’s Fall Warpriest’s Differences
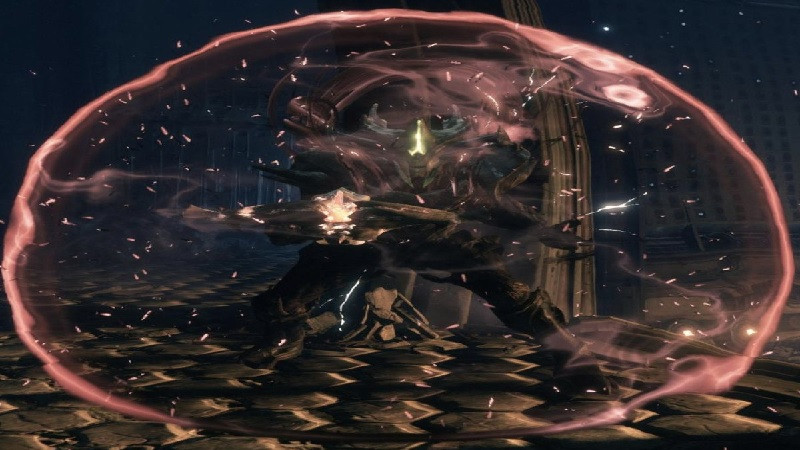
Depending on the enemies, you will encounter two different champion types. In the first half of your damage phase (i.e., the first two pillars), your foes will be Hive.
The Hive Wizards that appear in Normal Mode are here again and have Solar Shields. Then there are the Knights; these barrier champions spawn after the Wizards and trigger the Damage Phase. After passing two Damage Phases, your enemies become taken. The Acolytes running around all have Void Shields, while there will now be Overload Hobgoblins.
Best Loadout To Beat Warpriest In King’s Fall Raid
Although there are two champion types and different Shields to deal with in the second encounter, it is not necessary to run both concurrently. This is because you will only have to deal with each type at differing times.
Firstly, you will need something to break Solar Shields like Scouts, Autos, Snipers, or a weapon with an intrinsic Anti-barrier. Then, once the enemies shift, you can swap your Anti-barrier Weapon for Stun Overloads to take care of the Void Shields.
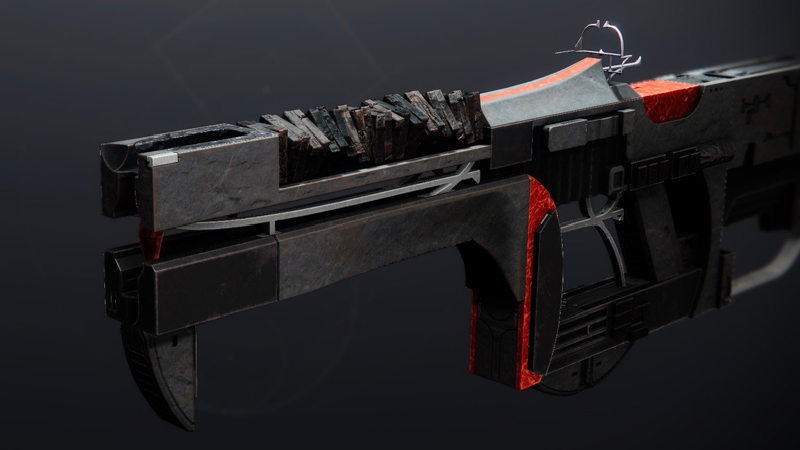
As for boss DPS, Linears are the best option in Destiny 2, and this encounter is no different: Cataclysmic, Taipan 4FR, and Reed’s Regret are all strong options. Arbalest is also recommended as a backup DPS when your ammo runs out.
Should you stretch out your Damage Phases, you should have enough time for damage. Divinity will help a lot here since it will give the 30% debuff and make it easier for players to hit crits while the boss moves around.
Also, at least one person (preferably the player running Divinity) should run Aeons. Upon finishing the Yellow Bar Wizards or Minotaurs, you will generate Heavy Ammo for your teammates. On the other hand, finishing the champions will generate Special Ammo. The player running Divinity is a good candidate because they won’t need heavy ammo for boss damage.
For those picking up the Brand Claimer, it would be best that the ones on the left and right sides are Arc Titans using Thundercrash. This way, players can get to the middle faster, especially those coming from the left. Should you not have a Titan for each side, a Warlock running Starfire Protocol and an Eager Sword is a good substitute. Since their primary DPS is Fusion Grenades, they will not need Heavy Ammo for DPS.
Running Solar with Blade Barrage and Star-Eater Scales for the Hunter subclass will be best since it is the highest DPS Super in Destiny 2. Warlocks on Solar with well as is always the case for damage phases.
Regarding Exotics, it depends on what you prefer running, but Starfire, Stag, and Boots of the Assembler are recommended. Titans, as mentioned above, will be on Arc with Thundercrash. Cuirass of the Falling Star is not required here since you are not dealing damage with it. Heart of Inmost Light or your preferred Exotic will be fine.
Destiny 2 Master King’s Fall Warpriest Challenge Loot
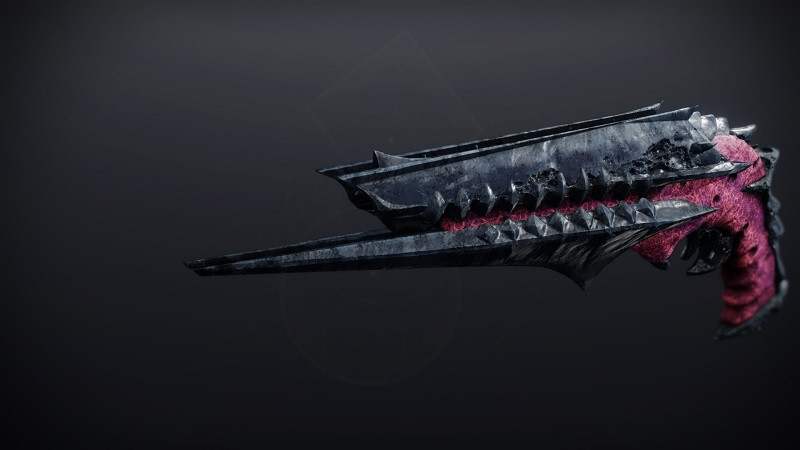
Like the Totems encounter challenge, completing the Warpriest challenge will reward you with a Harrowed weapon, with two random and two predetermined Perks.
A reminder that Harrowed Weapons can not be crafted. Additionally, regardless of completing the challenge, you will acquire high-stat focused armor depending on the week. For the second week, you will have high discipline roles.
Should you be attempting the challenge this week or when it is on rotation again, good luck, and remember to get those speedy shoes ready!
For more on the game, check our section dedicated to Destiny 2 news, guides, and features.
All featured images are courtesy of Bungie.