Table of Contents
- Of Queens and Worms Quest Steps
- Step 1: Meet with Mara Sov in the Enclave
- Step 2: Complete the “Birthplace of the Vile” strike
- Step 3: Visit Fynch
- Step 4: Locate a Cryptoglyph in the Temple of Cunning
- Step 5: Defeat Scorn in the Throne World to charge the depleted rune
- Step 6: Find the entrance to the Sepulcher Lost Sector in the Florescent Canal
- Step 7: Locate a larvae incubator at the end of the Sepulcher Lost Sector
- Step 8: Gather leads by completing three patrols in the Florescent Canal
- Step 9: Locate a Crytoglyph Rune in the Queen’s Bailey
- Step 10: Find the entrance to the Metamorphosis Lost Sector in Miasma
- Step 11: Locate the larvae incubator at the end of the Metamorphosis Lost Sector
- Step 12: Locate a Cryptoglyph Rune in the Alluring Curtain
- Step 13: Find the nearby Deepsight cache in the Alluring Curtain
- Step 14: Find the entrance to the Extraction Lost Sector
- Step 15: Locate the larvae incubator at the end of the Extraction Lost Sector
- Step 16: Visit Fynch and see if he can help Savathun’s worm
- Step 17: Complete the Parasitic Pilgrimage mission
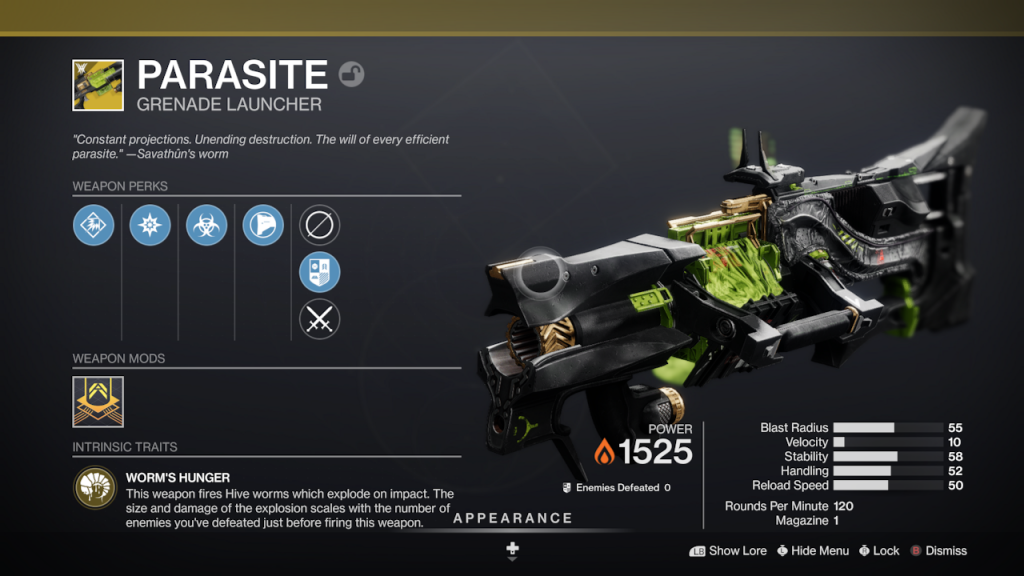
Destiny 2 The Witch Queen is a series first, offering more than just an incredible campaign. Quests, new loot to chase, and of course, exotic weapons to collect all debuted alongside the highly anticipated expansion. Perhaps one of the most exciting guns of them all is the Parasite exotic grenade launcher.
Indeed, getting your hands on it might be quite a grind, but nothing that can’t be done by both veterans and newcomers alike. So, without further ado, here’s how to complete the “Of Queens and Worms” exotic quest in Destiny 2.
Of Queens and Worms Quest Steps
There are 17 steps you need to follow to finish this quest but don’t be alarmed; many of these steps are straightforward, like talking with NPCs or doing some fetch quests.
The only prerequisite for you to get the quest is to finish The Witch Queen campaign since, lore-wise, it’s a direct follow-up continuing the story of the expansion. So, with that said, let’s get started.
Step 1: Meet with Mara Sov in the Enclave
This step is an easy one. Seek the Queen of the Awoken in Mars, and a cutscene will play out. She’ll then send you on a quest to revitalise Savathun’s worm in preparation for the impending arrival of The Witness; think Thanos from the Avengers.
Step 2: Complete the “Birthplace of the Vile” strike
Again, this step is self-explanatory. Boot up the strike from the Throne World map and enjoy a very story-dense mission before you eventually move on to the next step.
Step 3: Visit Fynch
Once you finish the strike, visit Fynch. He’ll help you re-energise the Cryptoglyph you found during the last mission. On to the next step we go.
Step 4: Locate a Cryptoglyph in the Temple of Cunning
Now it’s time to kill some ads. First, navigate to the Temple and wreak some havoc until a Ligthbearer Hive shows up, then crush his Ghost, and this step should be complete.
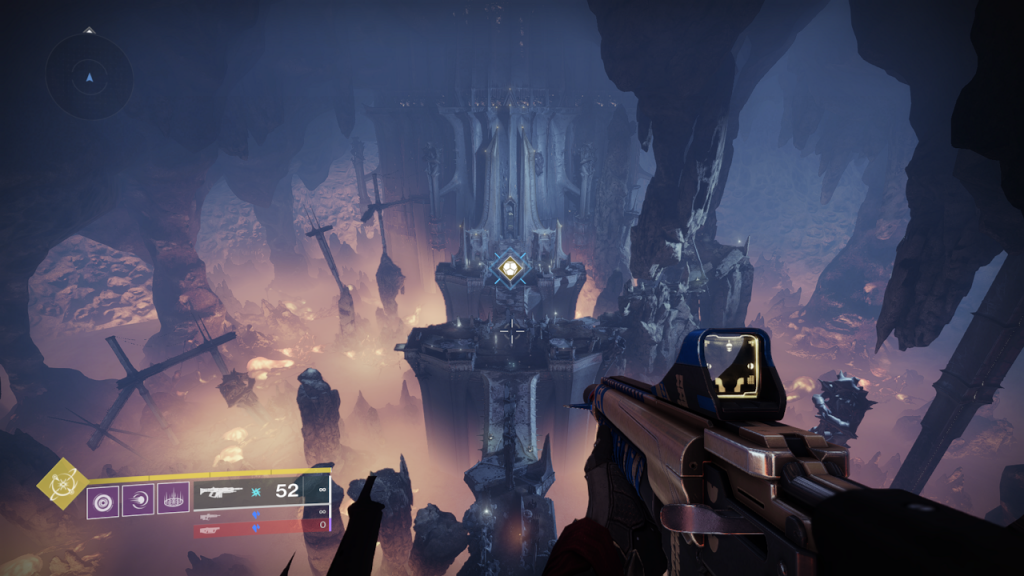
Step 5: Defeat Scorn in the Throne World to charge the depleted rune
Once again, this step is self-explanatory. Notably, you will need to kill 100 Scorn to charge the rune and complete this step. Scorn usual spawn in great numbers on Miasma and Quagmire. Run some patrols, do a Lost Sector, or a public event, and you’ll be good to go in no time.
Step 6: Find the entrance to the Sepulcher Lost Sector in the Florescent Canal
This step might sound harder than it is. Follow the waypoint until you reach the area near the Lost Sector. We’ve included an image of the entrance below to avoid missing it. Followingly, go through the opening to complete the step.
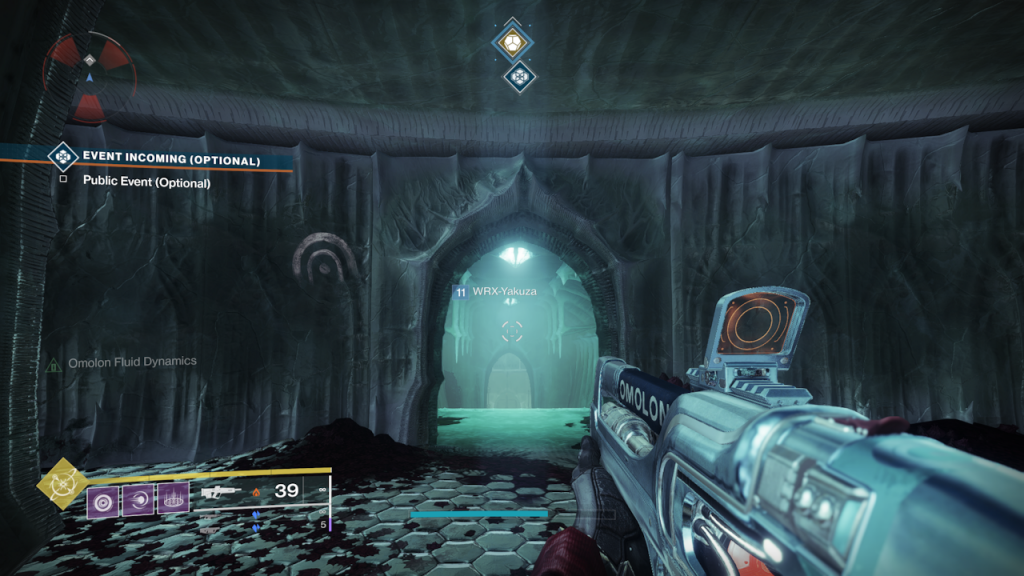
Step 7: Locate a larvae incubator at the end of the Sepulcher Lost Sector
Complete the Lost Sector as you usually would. Near the rewards cache, a new Deepsight spot will appear. Use it, and it’ll reveal a secret passage where the incubator is located.
Step 8: Gather leads by completing three patrols in the Florescent Canal
If you’re new to Destiny 2, patrols are beacons you can find in the open world. They usually involve simple tasks, such as killing enemies, securing a location, etc. Do three patrols, and you should be good to go.
Step 9: Locate a Crytoglyph Rune in the Queen’s Bailey
To find the Queen’s Bailey, head to the north side of Florescent Canal and go through the pathway that leads inside Savathun’s Light shaped side of the Throne World.
Once there, enemies should start spawning. Wipe them out until a Lightbeared Hive boss shows up and crush his Ghost to complete this step.
Step 10: Find the entrance to the Metamorphosis Lost Sector in Miasma
Now it’s time for our second Lost Sector exploration, only this time it’s in Miasma. First, head to the location where the waypoint marks and look for this sign. Then, go inside to complete the step.
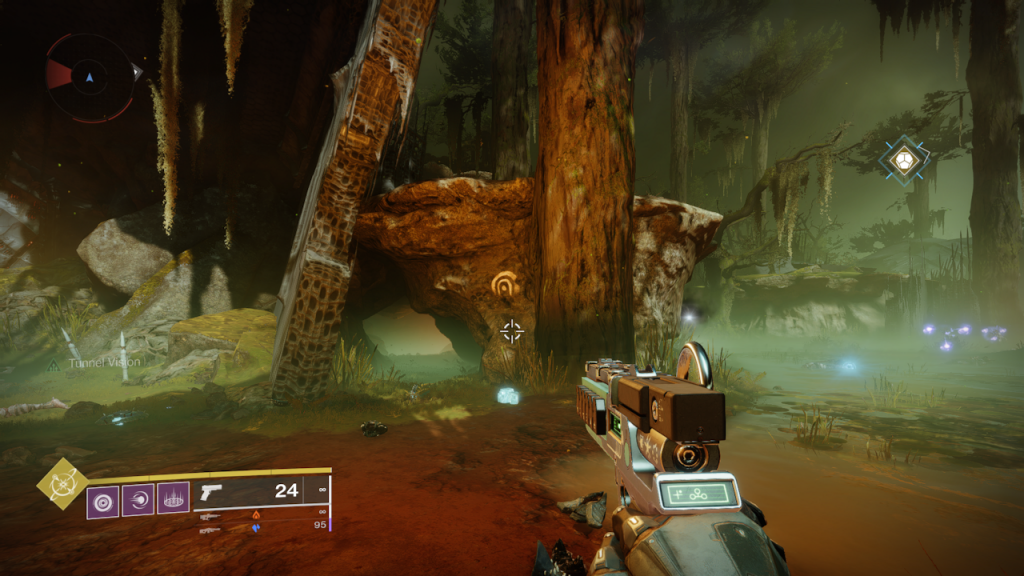
Step 11: Locate the larvae incubator at the end of the Metamorphosis Lost Sector
Similarly to Step 7, finish the Lost Sector as you typically would and use the Deepsight spot at the end of it to reveal a second incubator.
Step 12: Locate a Cryptoglyph Rune in the Alluring Curtain
Now it’s time to take a hike across the deep end of the Throne World. Follow the waypoint until you reach this area in the image below.
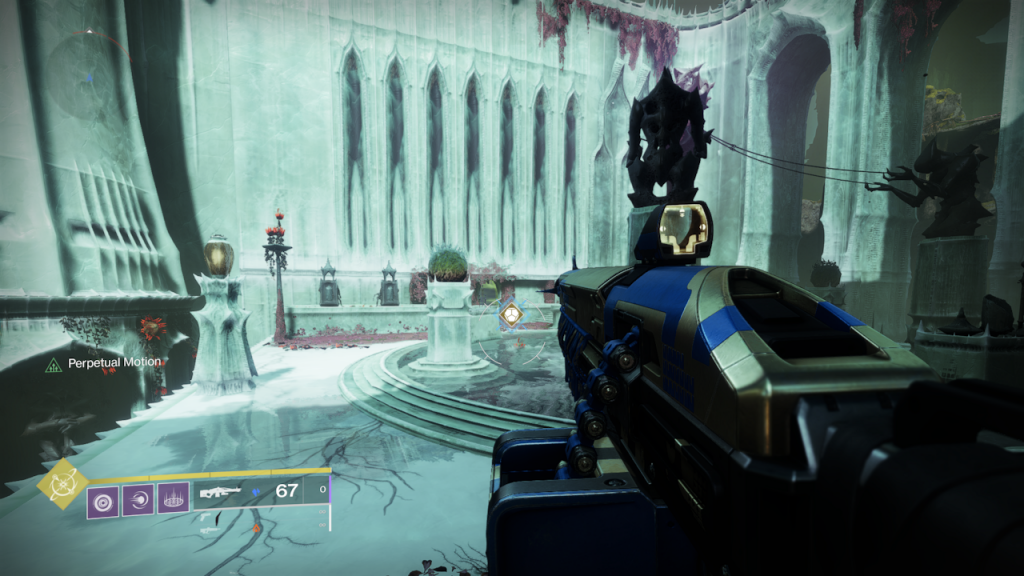
Next, do the usual enemy wipe until a Lightbeared Hive shows up. Then, eliminate him to reveal another rune, or so you thought. It turns out the Hive took this one, but don’t worry; it’s not too far away.
Step 13: Find the nearby Deepsight cache in the Alluring Curtain
Near the edge of the area you’re currently on, a Deepsight spot will appear. Use it to reveal the platforms depicted in the image below. There are torches in the picture, marked with a red circle. Shoot the torches, and the chest containing the rune will appear.
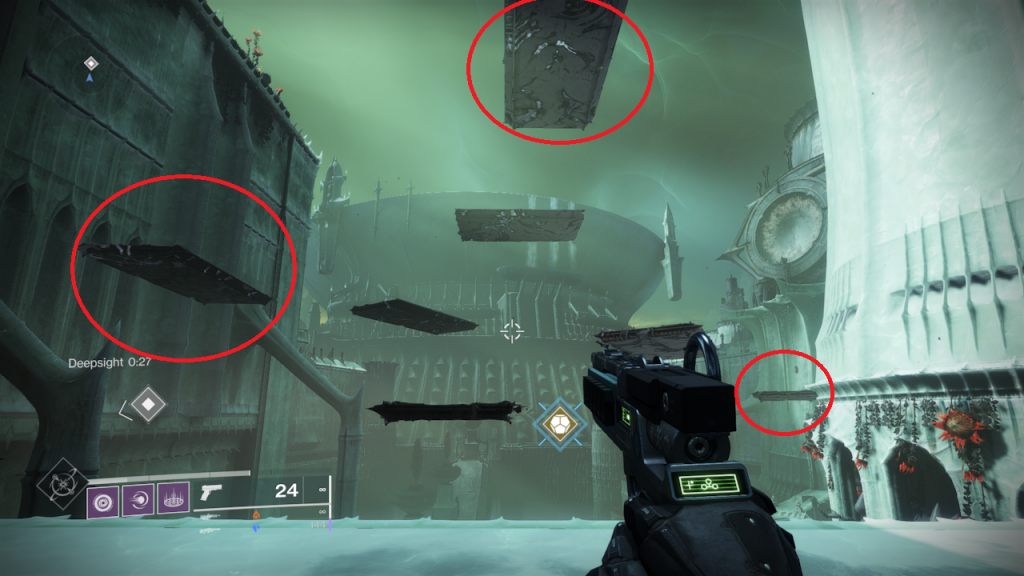
Step 14: Find the entrance to the Extraction Lost Sector
Now we head to the third and final Throne World Lost Sector. Similarly to the past couple, navigate to the waypoint and look for the entrance shown below. You’ll need to use the Deepsight spot to access it.
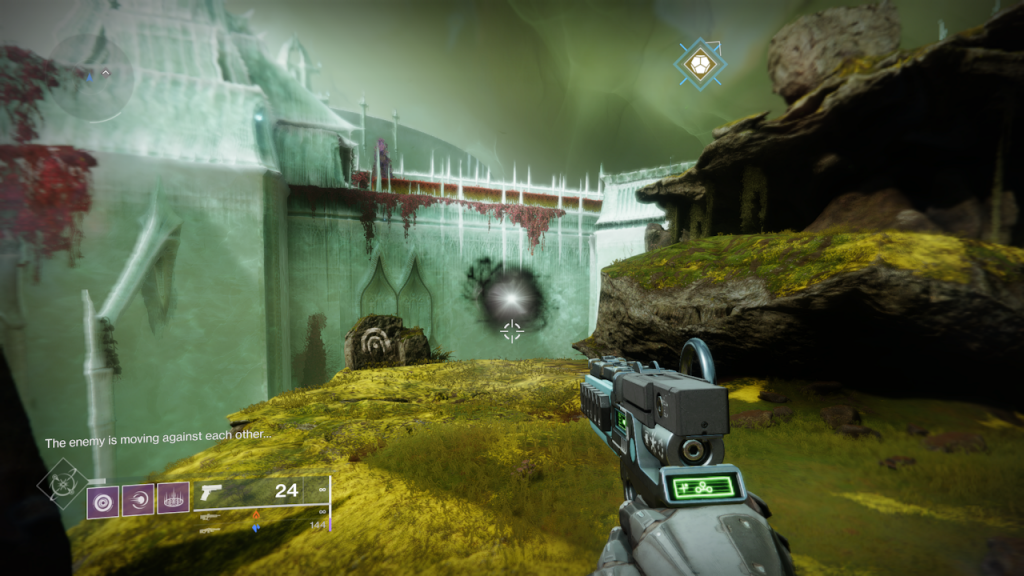
Step 15: Locate the larvae incubator at the end of the Extraction Lost Sector
Once again, I am asking you to complete the Lost Sector normally before using the Deepsight spot near the end of it. It’ll reveal the final incubator and rather bizarre dialogue.
Step 16: Visit Fynch and see if he can help Savathun’s worm
Head to Fynch, who’ll give you a unique item called the Hive Casing but make sure you have room in your Power Weapons inventory to help The Witch Queen’s worm. This will send you on your way to completing the final step of the quest.
Step 17: Complete the Parasitic Pilgrimage mission
The final mission is a spectacular send-off to the quest, which we won’t spoil for the loreheads out there.
However, if you’re trying to do it solo, our best recommendation when it comes to avoiding the worm dying after passing through the wells is that you speedrun them, cruising past the waves of Hive trying to stop you.
And that’s it – Mara Sov will hand you the sassy Grenade Launcher (it’ll make sense once you play the mission, trust me), a valuable tool in the upcoming battle with The Witness.
