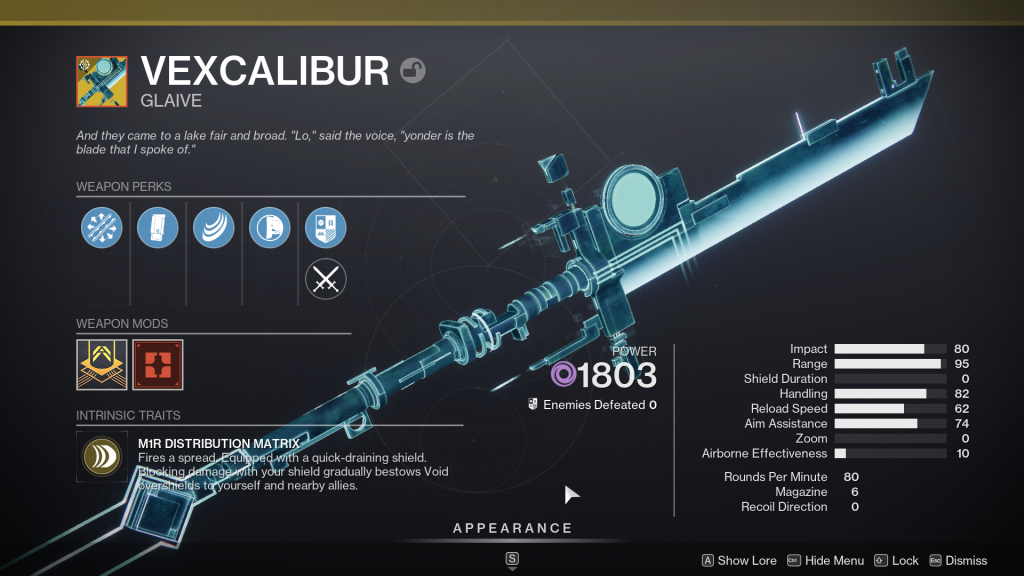
Destiny 2: Lightfall has been harshly criticized by its player so far, largely due to issues with the narrative campaign feeling like a step back from last year’s The Witch Queen expansion. While it may be too soon to say for sure, we have a brand new secret exotic mission on our hands that offers up a pretty sweet reward with Vexcalibur, an exotic Glaive.
Secret Exotic Missions aren’t new to Destiny, not by a long shot. This one, in particular, is called Node.Override.Avalon. In it, players run through the Vex Network to confront Brakion, the boss from the Pyramidion strike in Vanilla Destiny 2. Much like the Revision Zero exotic mission, this will be replayable week to week and features new and exciting improvements for the Vexcalibur exotic glaive that players earn upon completion. So, how do you get the Vexcalibur Exotic Mission? Let’s break it down.
How To Find The Vexcalibur Exotic Mission
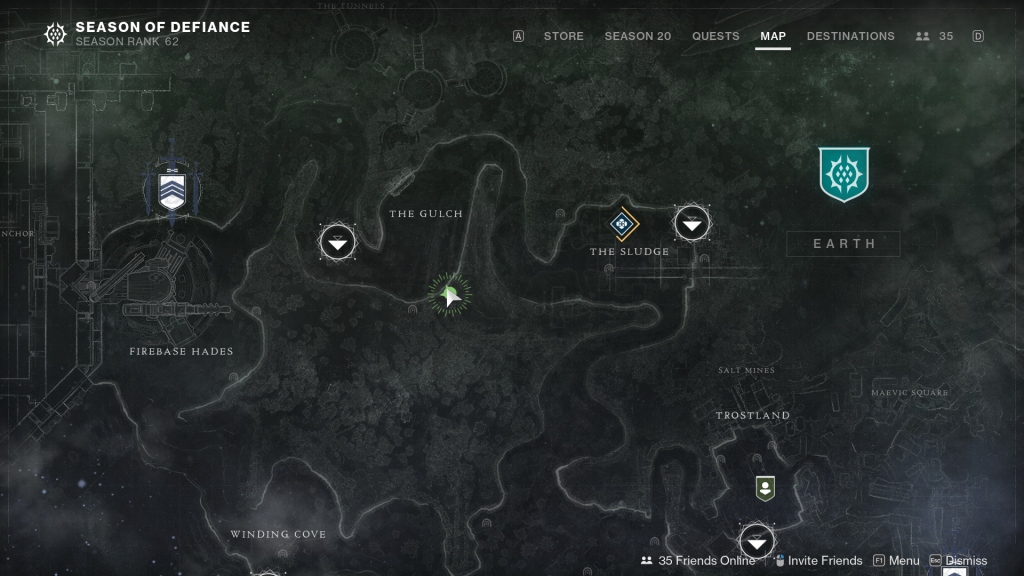
First, travel to The Gulch on the EDZ. Here, you’ll find that there are 6 Vex Nodes scattered across the EDZ. These can be collected in any order, but note that you only have 30 seconds to find each one. The timer will reset upon collecting another node, but if you run out of time, you will have to restart.
Some of these are hidden especially well, while others might require a couple of attempts at a jump, but all three classes are more than capable of collecting every node.
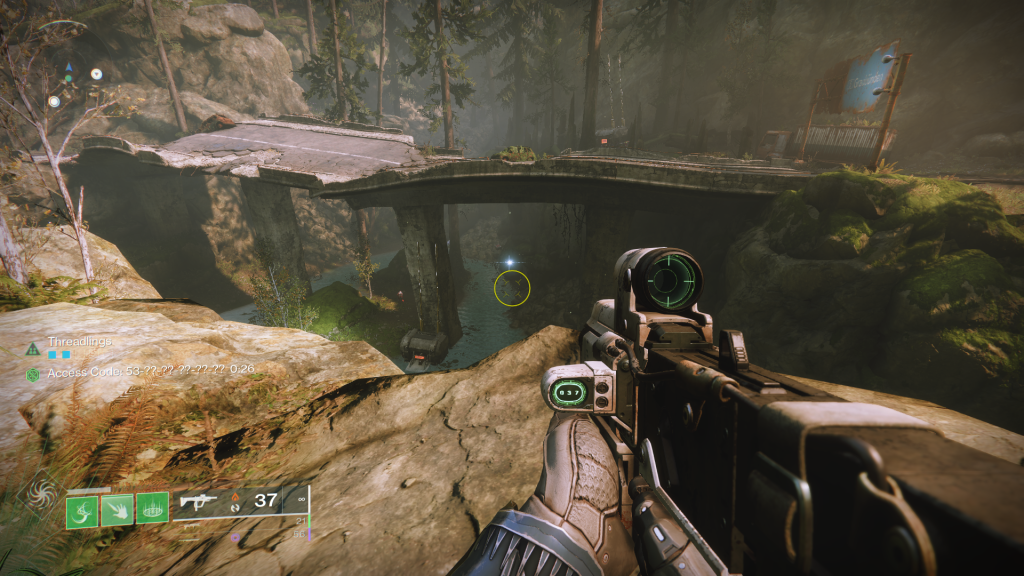
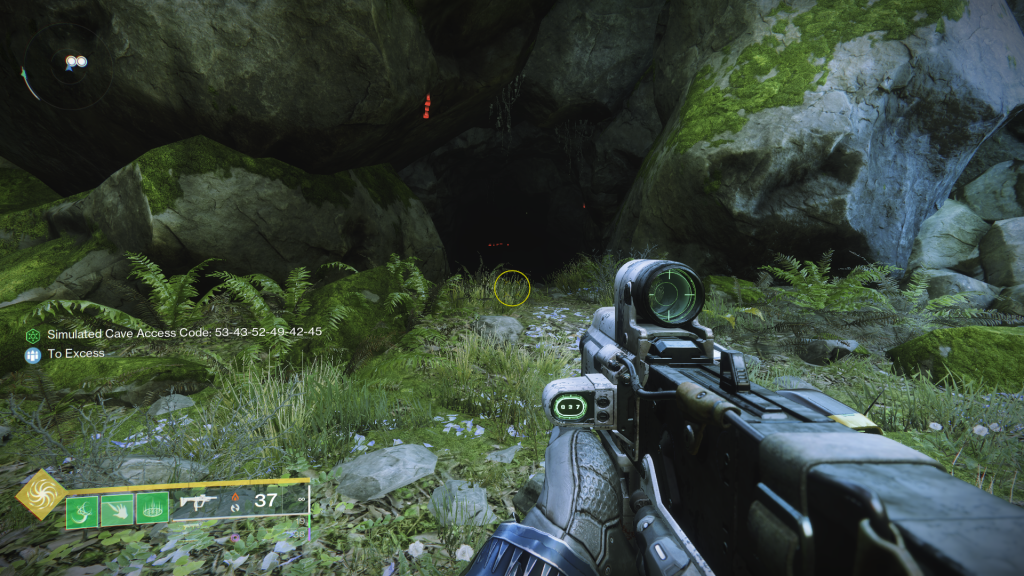
As you collect Nodes, you’ll see a string of text on the lower left-hand side of your screen. This is the Simulated Cave Access Code timer, and even though it’s a fairly random string of numbers, this is what you’ll see once you’ve collected all 6 of the Vex Nodes.
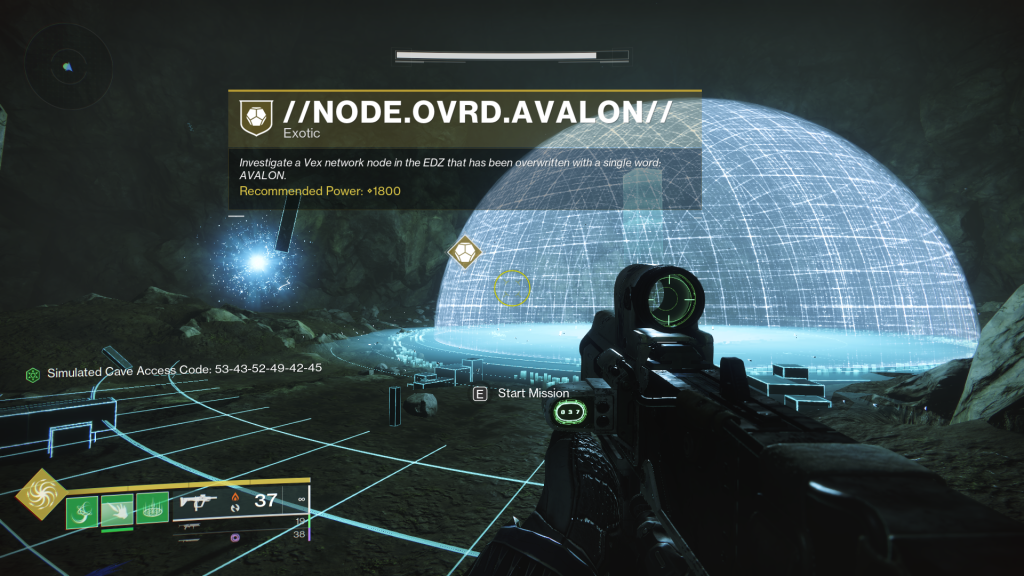
After collecting all 6 Vex Nodes, head to the cave in the screenshot below. This cave is up on the ridge after the road that goes over the canyon if you approach it from the fast-travel location. The location is also noted by the white cursor at the top of this guide.
Once you’ve entered the cave and listened to some dialogue from Mithrax, continue forward and the wall in front of you will fade away. Continue down and you’ll find the “Start Mission” point for the NODE.OVRD.AVALON mission. Also important to note is that this mission is recommended Power Level 1800, but it will bring your Power Level up to 1790 if you’re not there already, so don’t worry too much about being on level for it if you find this a bit early in your grind.
We also recommend bringing Void weapons like the Viest Stinger SMG, Void Fusion Rifles, and Void Shotguns as every shield in this mission will be void.
When you’re ready, hold your action button to start the mission. Immediately, you’ll be taken into the Vex Network on a mission to explore, directed by none other than Asher Mir, the Vanilla Destiny 2 Io vender.
How To Complete The Avalon Exotic Mission
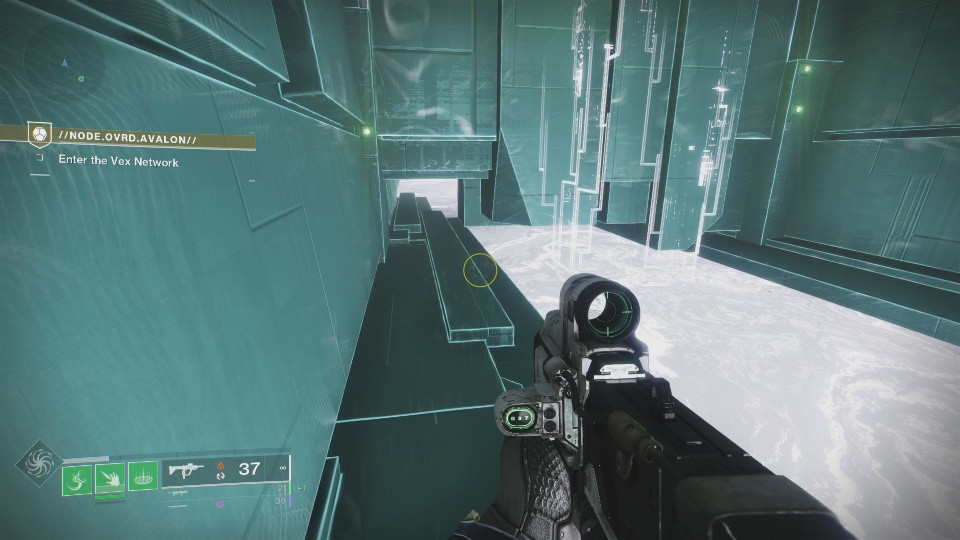
As you enter the Avalon mission, you’ll be confronted with winding rooms and narrow pathways. Follow the enemy pings on your radar to help you figure out where you go as you make your way deeper into the Vex Network. Keep exploring and eventually, you’ll find your way to the encounters.
How To Solve Vex Node Puzzles In The Avalon Exotic Mission
Similar to the Desperate Measures level of the Lightfall campaign, players will encounter multiple rooms with Vex Puzzles seen below. The rooms in which they spawn tend to be fairly chaotic with ads and orange bar Minotaurs running rampant. These puzzles will rotate 3 times every time you encounter them, so keep an eye out for them.
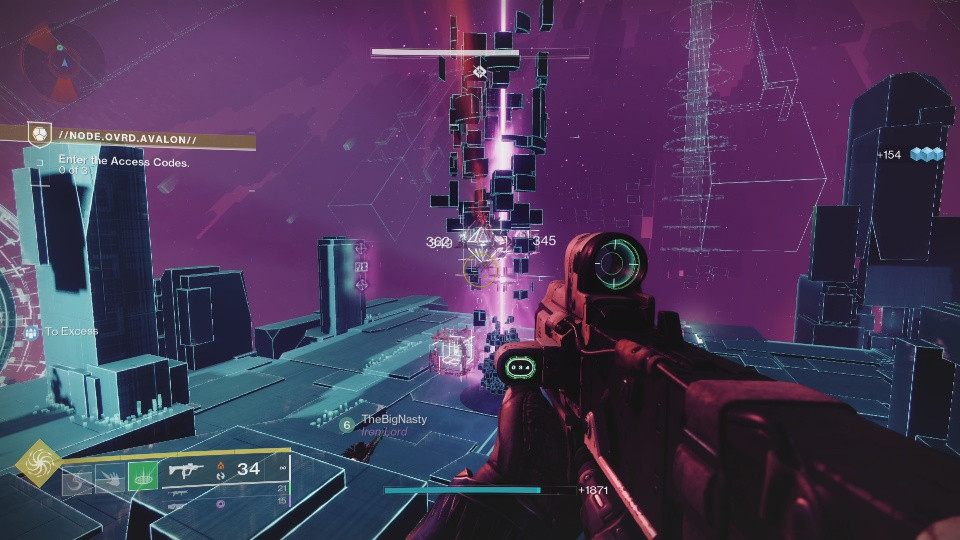
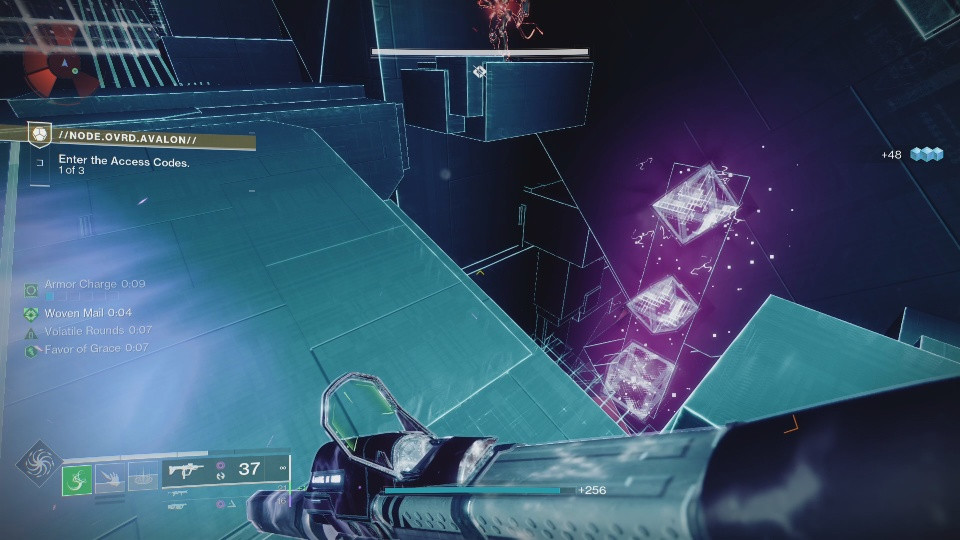
As shown above, each puzzle has a Node Stack that it will show you. The Node Stack is seen on the left and will be in random sequences. Shoot the Nodes as they appear next to the Spires in each of the puzzle rooms to advance throughout the mission. To call these out, either for your own memory or to help a teammate, we used Diamond, Square, and Triangle. These aren’t 100% perfect for everyone as they are 2D versions of the 3D objects, but they did the job.
If you shoot the wrong Node on the Spire or mess up the order, the puzzle will reset and generate a new order of Nodes to break. Take it slow and focus on doing it one at a time, there is no time limit on breaking the Nodes. Each puzzle will go through 3 rotations and the Node Stack itself will move around the arena every time it’s solved, so keep moving and watch out for the Node stacks.
While the first puzzle starts with 3 Nodes, each room with these puzzles will progressively add to them until you get up to 6 Nodes. Keep an eye out for sniping Hobgoblins and the orange bar Minotaurs as they will put a stop to a run if you’re not careful. Do this a few times and make your way to the Hydra Miniboss.
How To Beat The Data Nullifier Boss In The Avalon Exotic Mission
After a bit more jumping around, you will come across the Data Nullifier boss. This Hydra has a decent amount of health but isn’t itself too much of a problem. The real problem lies in the Deletion Protocol mechanic in this encounter.
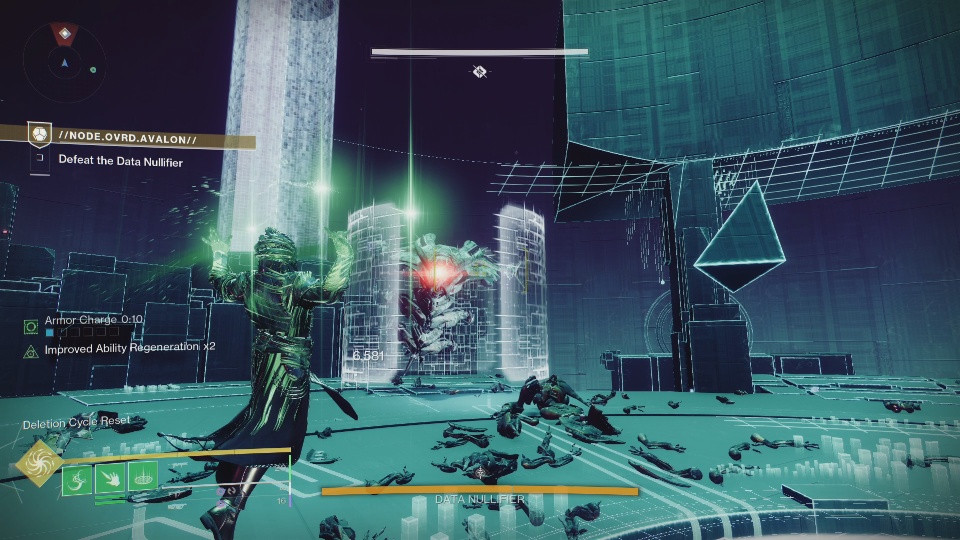
The Deletion Protocol will fire off after 45 seconds of being in the room where all of the Vex spawn in. Here, you have a tight time limit to kill Dataholders which will drop pink Motes. Collect these motes and deposit them in the Vex Spire in the middle of the map. Doing so will open up the floor and allow you to hop in. Go into this hole and wait out the timer. While here, you’ll see a “Protected Area!” line in your kill feed on the left of the screen letting you know you’re safe. Once the timer reaches zero, the Vex floor will reappear, shielding you from the Deletion and killing everything else in the room.
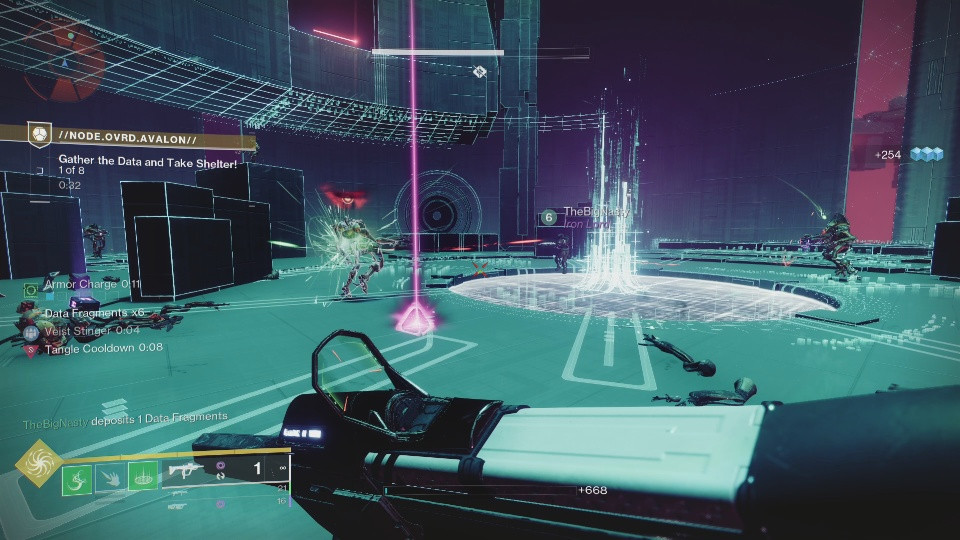
After this, a portal will open up below you, and you’ll rinse and repeat. Each round will add a few more motes to collect, but there are plenty of ads around that will drop them. Do this a few times, and you’ll wreck the boss.
You’re more than halfway there! Now just carefully hop through some more platforming and find your way to the final boss. On your way, keep your eye out for good ol’ Asher Mir. He’s still around and watching his faithful assistant as you advance deeper into the Vex Network.
How To Beat Brakion In The Avalon Exotic Mission
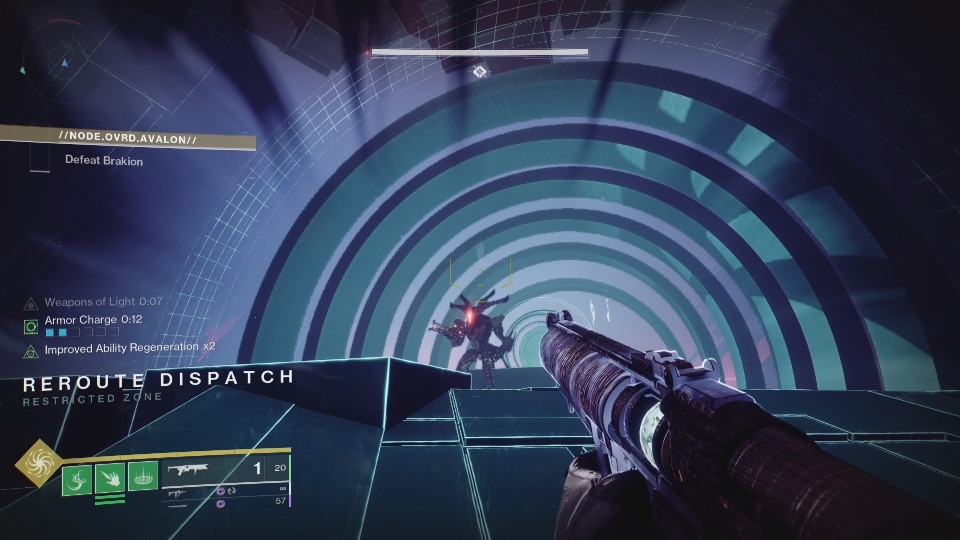
After all of that, you’ve made it to the final boss room. This fight is in 3 stages. It mostly works like a combination of the original Brakion fight with the new Vex Node Stacks and Spires thrown in. We recommend saving any massive damage supers for the final phase of the fight, as Brakion likes to teleport and end his damage phases quickly.
In the first damage phase, Brakion will teleport around the arena between 3 locations. He will only hang out in one spot for a few seconds at a time, so make sure you make your damage count here. Once you’ve knocked down a third of his health, he will leave this arena and head up to the next one. To follow him, hop through the portal at the front of the room where he spawned in at. This will take you up to his new zone.
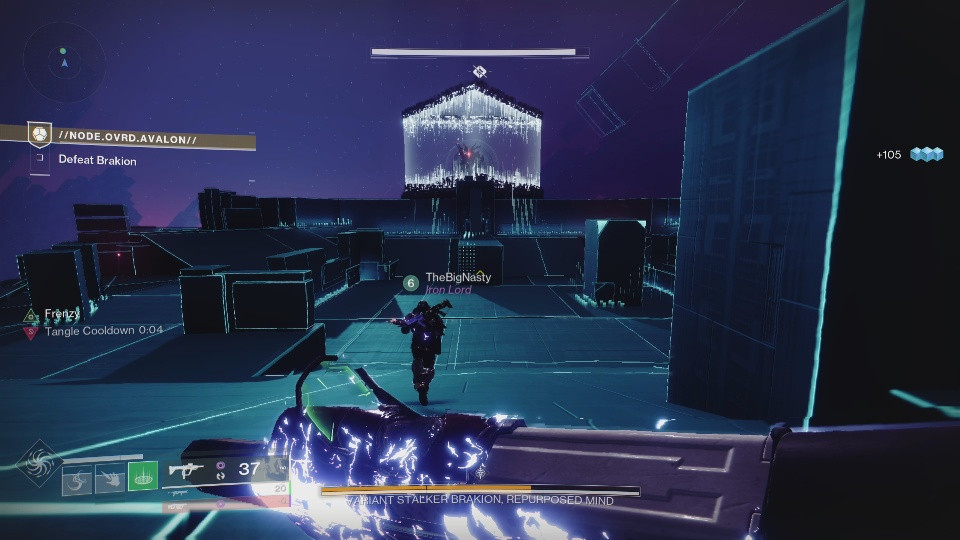
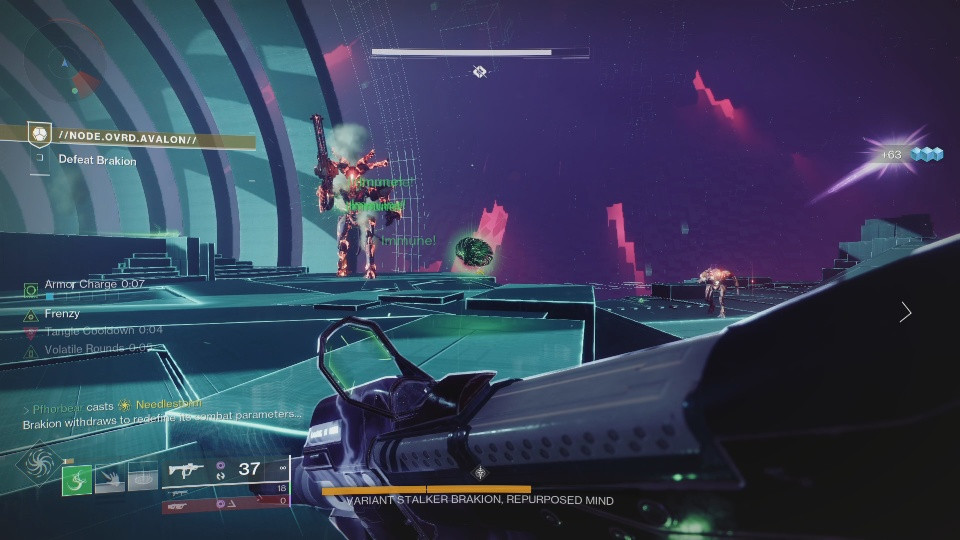
During the second phase of the fight, Brakion will be protected by this large triangular shield. To break it, you must find the Node Stacks in each of the windowed floors on either side of the arena. If you’re running in a group, have one player reach each Node out so that another player can take care of advancing the puzzle.
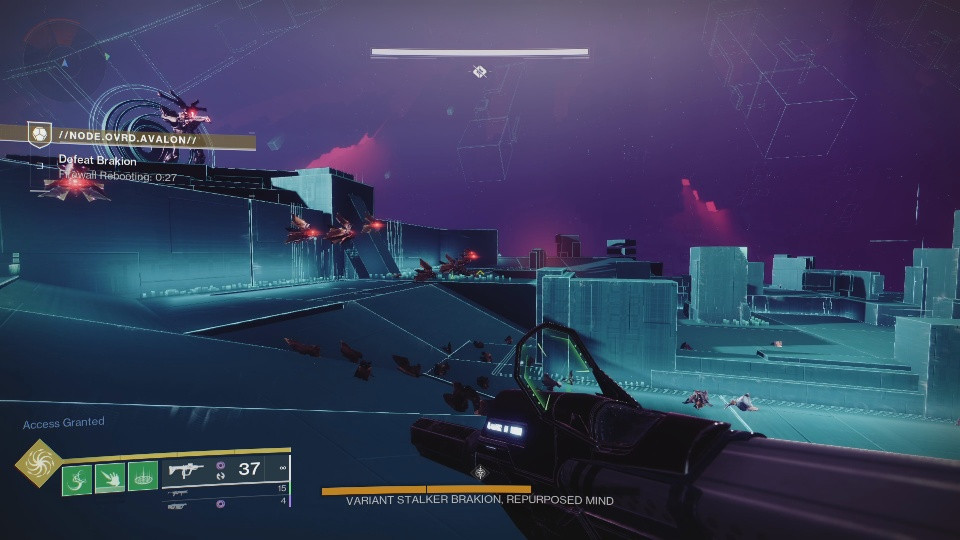
When the puzzle is solved, Brakion will be vulnerable for 30 seconds while his Firewall reboots. Try to burst him down as much as possible, as you’ll have to repeat this step until you’ve taken down the next third of his health.
The final phase of this fight will take you up to an even smaller arena, with Brakion in a bit of a sore mood. Now, instead of staying stationary, he will move freely around the battlefield stopping and blasting you as much as he can. Doing just a small amount of damage here will knock his head off and send him into a frenzy, so watch out as he will become even more relentless.
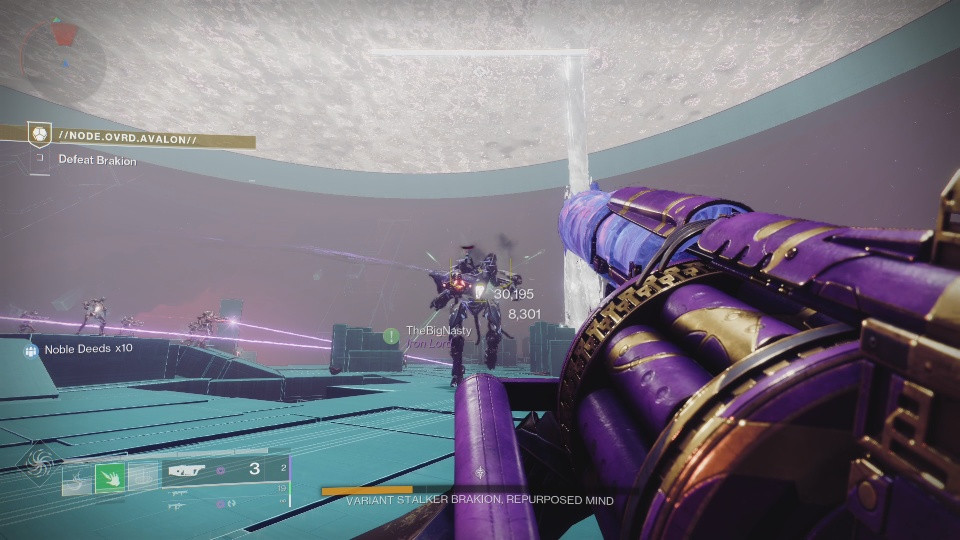
My friend and I found it easiest to pop a bubble near the inside hole in the platform. Brakion didn’t get too close, nor would his stomp attack affect us while we were in the bubble. You might try a Well of Radiance, but the stomp will likely displace you, so be careful here. Falling to your death is just as likely as getting shot to death.
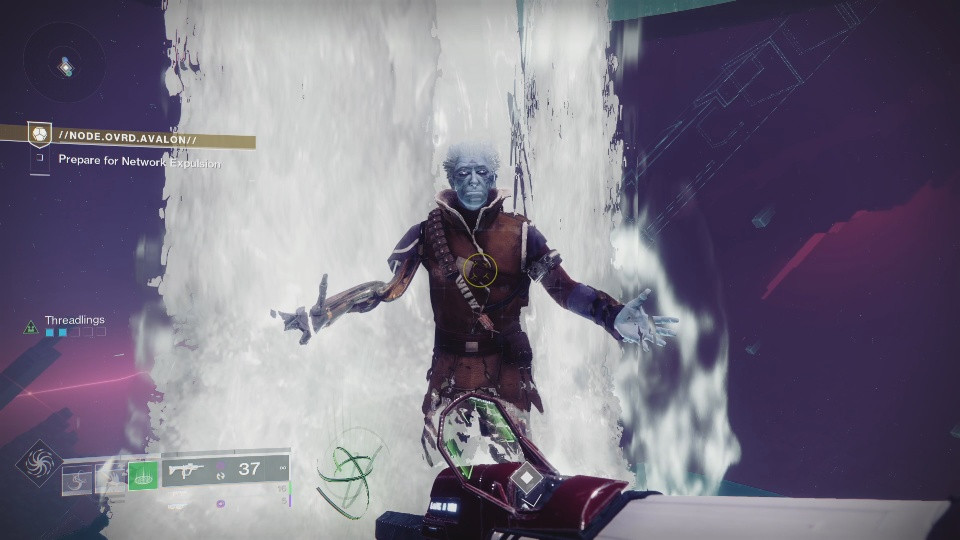
Once you’ve defeated the Repurposed Mind, you can go and collect a part of the Glaive from where Brakion spawns in and head to the H.E.L.M. to pick up the weapon! Don’t forget to say goodbye to Asher before you leave, though. He’s going to miss you.
Now that you have your Vexcalibur and you’ve picked up the Vexcalibur Authorization quest, make sure to go kill some Vex! The best place to do this is wherever the Vex Incursion Zone is currently on any given day. Doing this will grant you more crafting options for your Vex/Vanguard hybrid exotic Glaive!

That’s everything you need to know about how to get the Vexcalibur Exotic Glaive in Destiny 2!