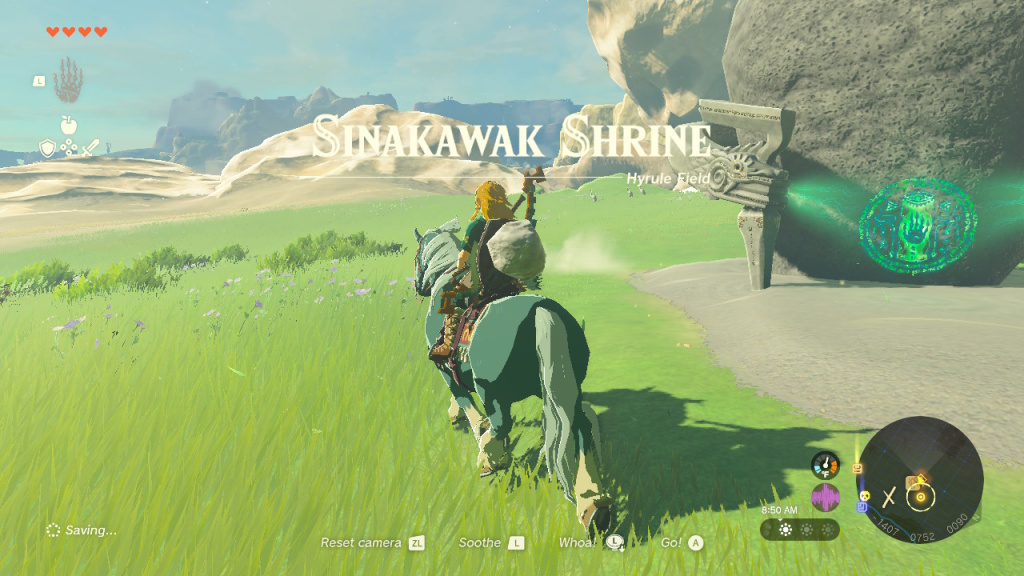
There are plenty of things to do and see in Zelda: Tears of the Kingdom. Shrine hunting is one of them, and you will probably spend a lot of time clearing these to increase Link’s health and stamina.
Sinakawak Shrine is one of the more challenging Shrines you might encounter early on in the game. If you’re struggling to clear it or just need directions to find it, you’re in the right place. Here’s our complete walkthrough of the Sinakawak Shrine in The Legend of Zelda: Tears of the Kingdom.
Table of Contents
How to Find the Sinakawak Shrine in Zelda: Tears of the Kingdom
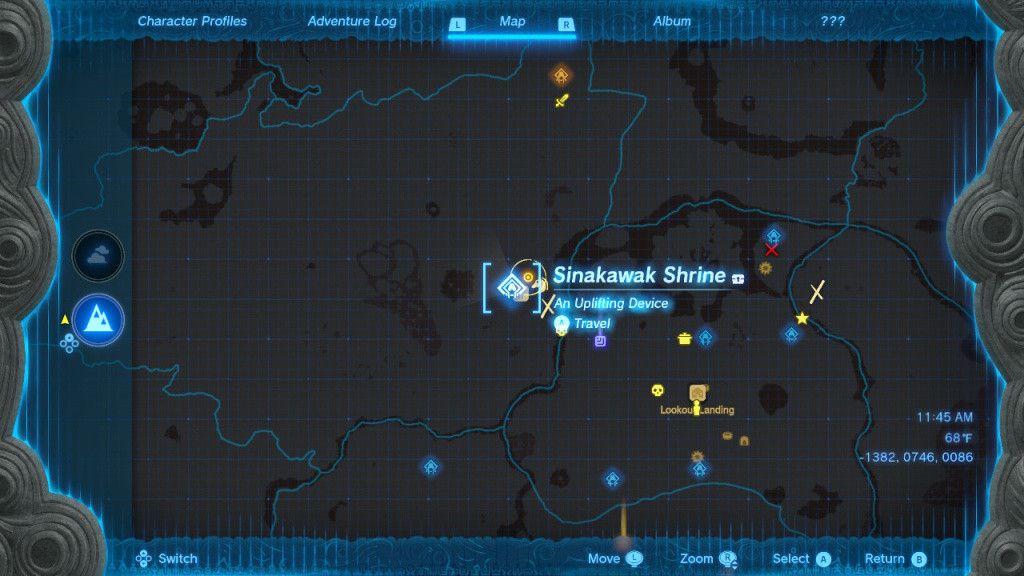
You can find the Sinakawak Shrine northwest of the Lookout Landing. It’s right next to the Sprinn Stable. The map coordinates are -1382, 0746, 0086.
All Sinakawak Shrine puzzle solutions in Zelda: Tears of the Kingdom
The puzzles in the Sinakawak Shrine focus primarily on building and using the Ultrahand ability. If you haven’t ridden a hot air balloon yet in your adventures, here’s where you will get to try it for the first time.
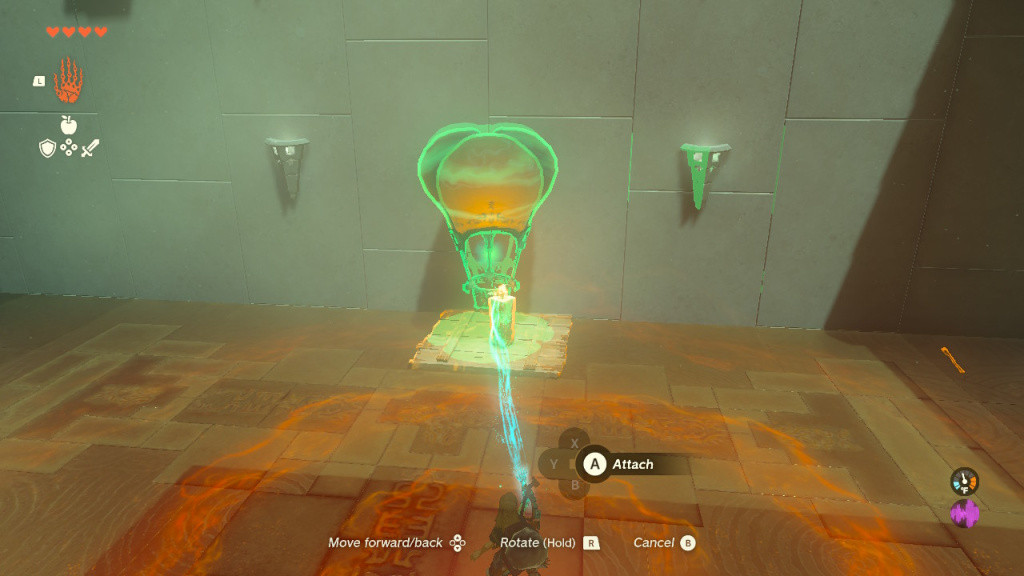
In the first room, you will notice several wooden boards, lit candle pillars, and balloons. Use the Ultrahand ability to attach one of the candle pillars to the wooden board. Next, use Ultrahand again to attach the balloon over the candle pillar. As soon as you do it, the hot air balloon will start to rise. Quickly jump on the wooden board to go up.
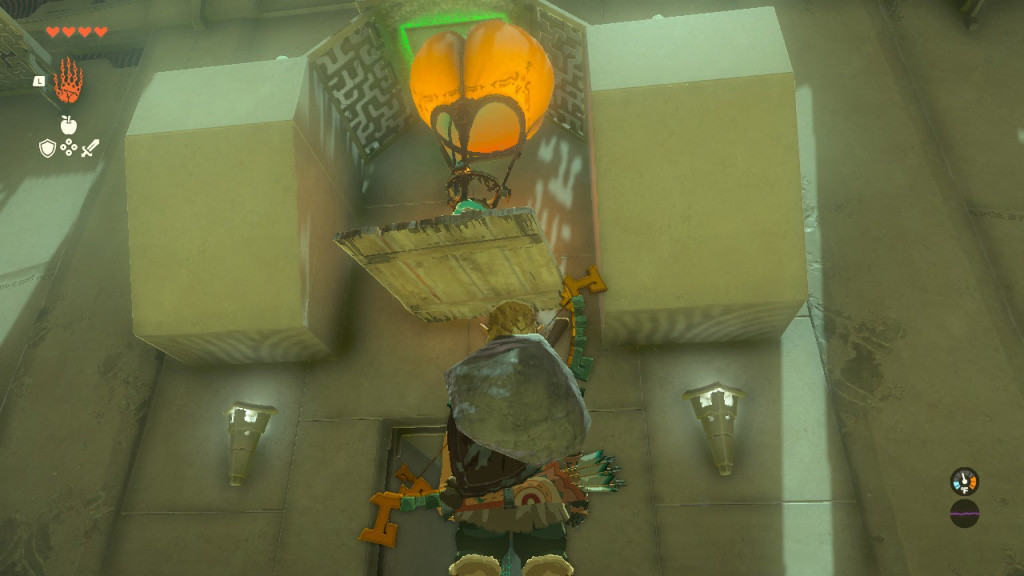
Now, the door to the next room is locked, and there’s a strange yellow symbol glowing right above it. There are also two hot balloons and a candle pillar here. Attach the balloon on top of the candle and position it right below that strange symbol. As soon as the balloon touches it, the door will open. Make your way to the next room and prepare yourself to activate more hot air balloons.
In the next room, jump down to the next room, and you will notice two holes in the ground on both sides of the room. Jump further down, and you will notice two balls surrounded by candle pillars and fire emitters. There are also two hot air balloons here.
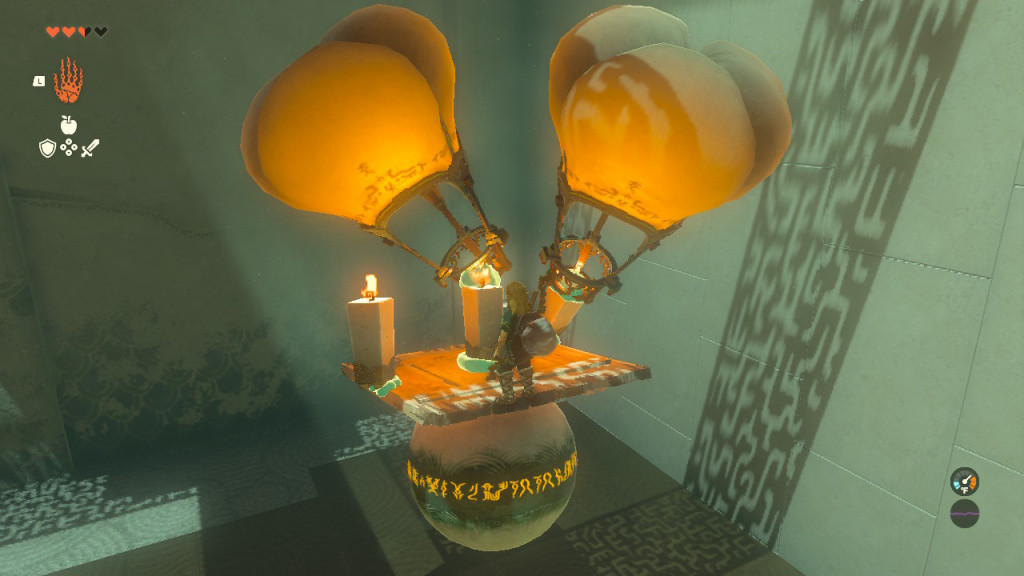
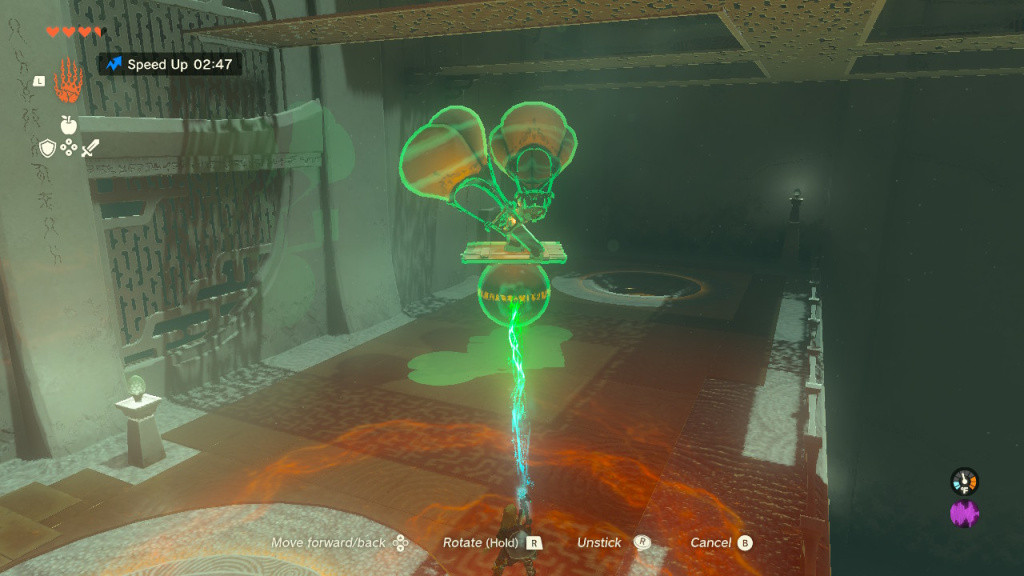
Now, use the Ultrahand ability to attach the smaller ball over the bigger one and then attach them over the wooden board. Since it’s heavy, you will need two balloons to power it up. Attach at least two candle pillars or flame emitters on the wooden board and put the balloons over them. You can either hop on the board or go to the small opening in the wall and use the Ascend ability to reach the upper floor.
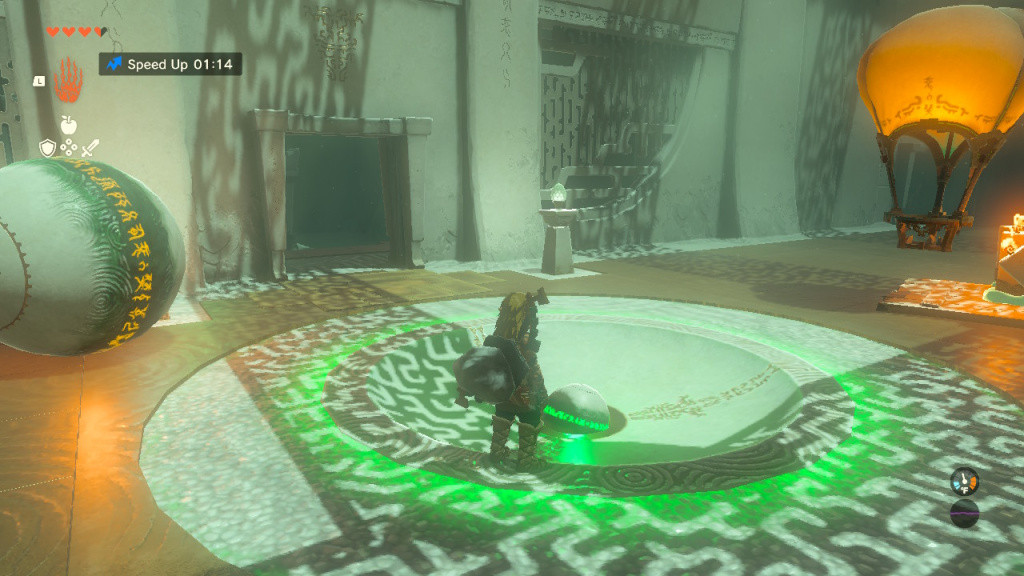
Once here, insert the bigger ball in the hole on the right. It would open a locked door with a chest inside. Loot it, and then come back to insert the smaller ball in the hole on the left. It will open up the locked door. Walk through it to reach the final room, get the Light of Blessing, and finish the Shrine.