
The Whisper Exotic Quest has returned to Destiny 2, and this time, you’ll have to locate and destroy Oracles in order to earn multiple rewards, such as Whisper of the Worm, Karve of the Worm, and more. Every week, new Oracles will become available for you to find.
A total of 7 Oracles will be released in the game, and currently, four of them are accessible by players, while the rest are time-gated. Below, we’ve listed the locations of all available Oracles in Destiny 2.
Where To Find All Orarcles In Destiny 2 Whisper Quest
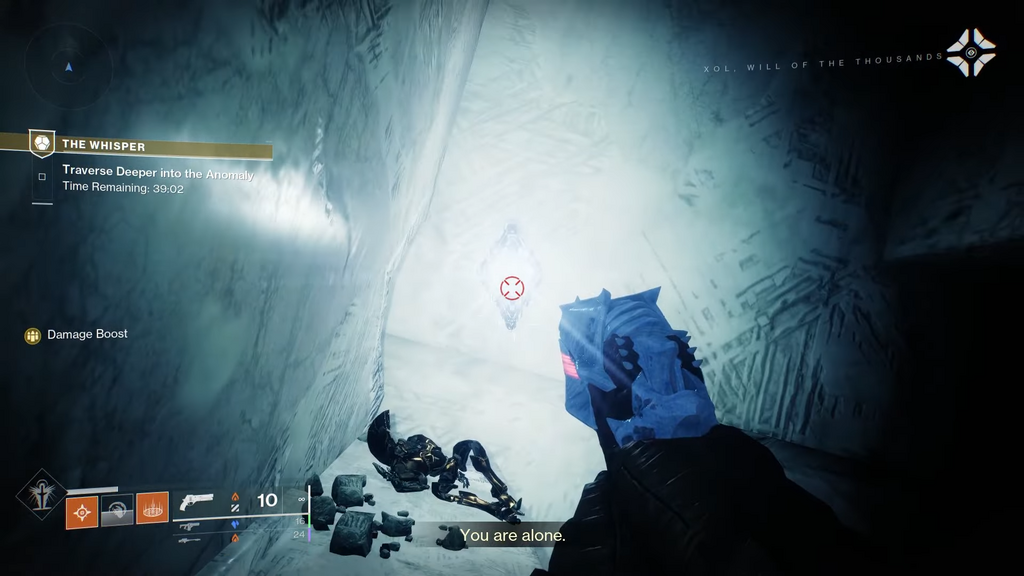
Oracle #1 Location
You will find the first Oracle in the initial section of the mission. After destroying the Taken Blight, jump down the hole that is revealed. Continue forward and take the first left. Keep following the edge of the platform and then take another left, and you will find your Oracle there.
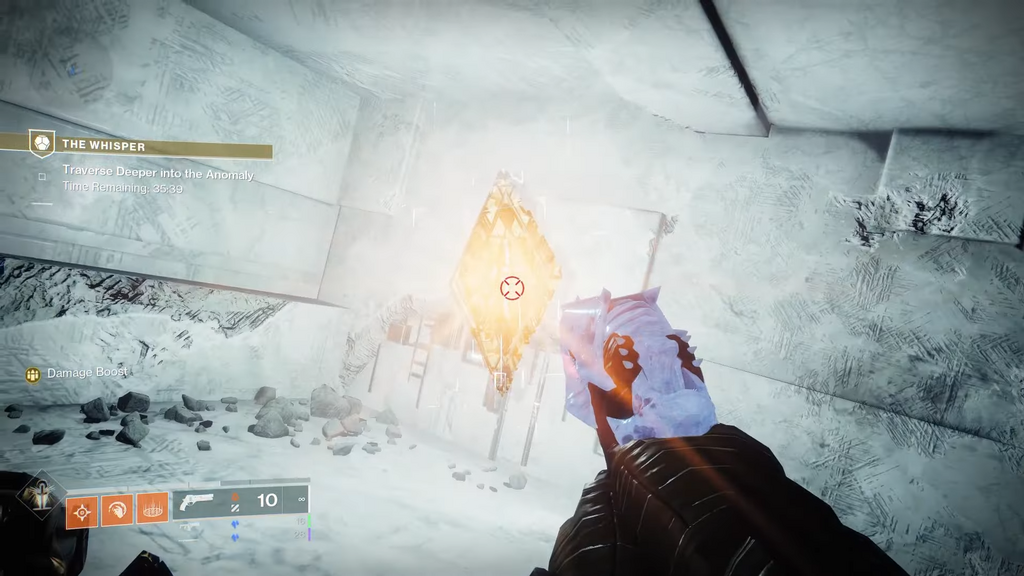
Oracle #2 Location
Head to the platform with the red light and keep moving forward. You will see some platforms on the left side. Jump on them and go to the extreme left platform by navigating through moving walls. Cross the spheres and jump on the platform going up and down. Step on it and keep moving.
Now, instead of entering the first opening in the wall, continue moving forward and after a bit, you will find another opening above your head. Enter there and you will find the second Oracle.
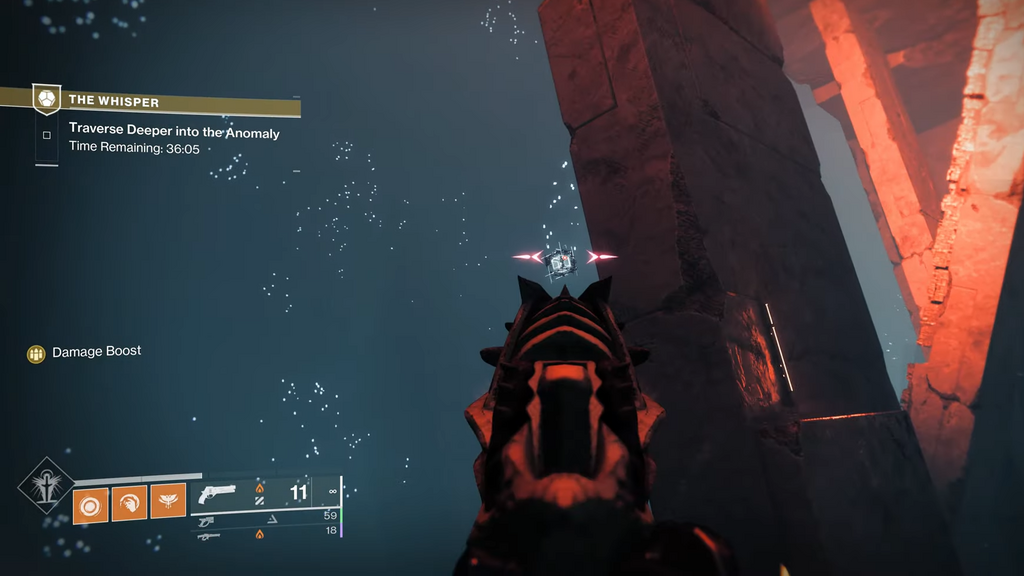
Oracle #3 Location
Now, leave the area where you found the second Oracle and head to the first opening in the wall that you found earlier. Keep going straight across the ledges and once you reach the end, you will find a tunnel with moving doors. Jump just outside the tunnel and then, look back to find the third Oracle right behind the platform.
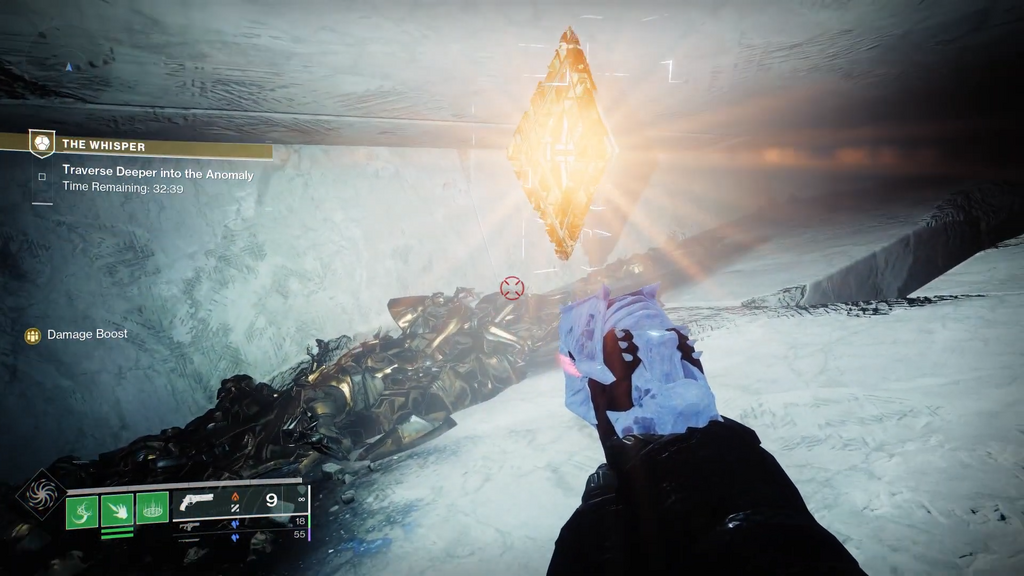
Oracle #4 Location
Next, enter the tunnel and keep going forward. Once you reach its end, you will see multiple portals leading to rooms on both sides. Jump on the right side and enter the last one. Once you reach the green room, you will have to start a parkour journey from the crack on the left side of the sphere.
- Read More: Destiny 2 Weekly Reset Changes
Move around the room by jumping with the aim of reaching a platform just above your starting point. Once you reach there, you will find a hole with the fourth Oracle inside it.
We will update this page as more Oracles are available in Destiny 2, so make sure to keep an eye on it.