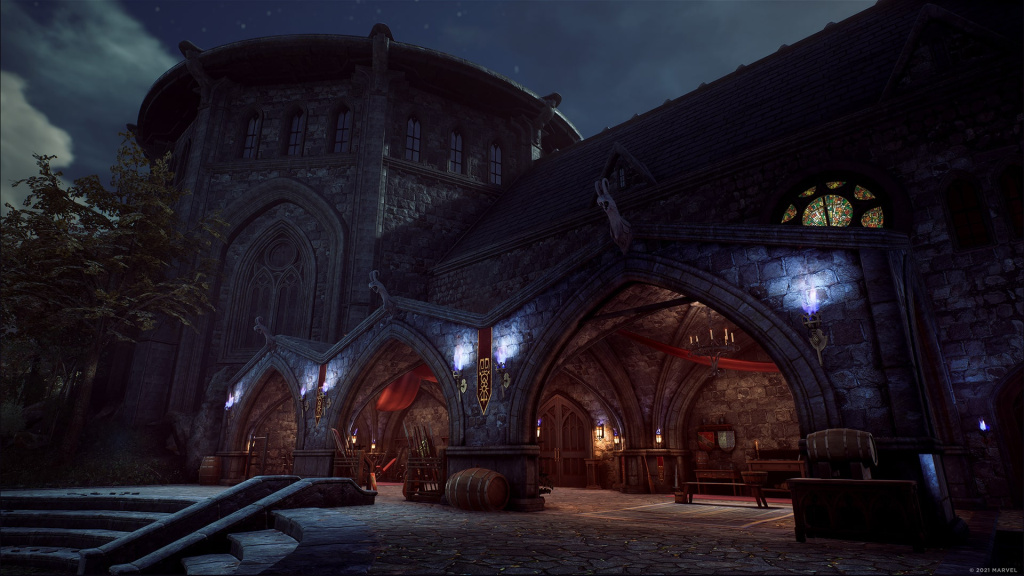
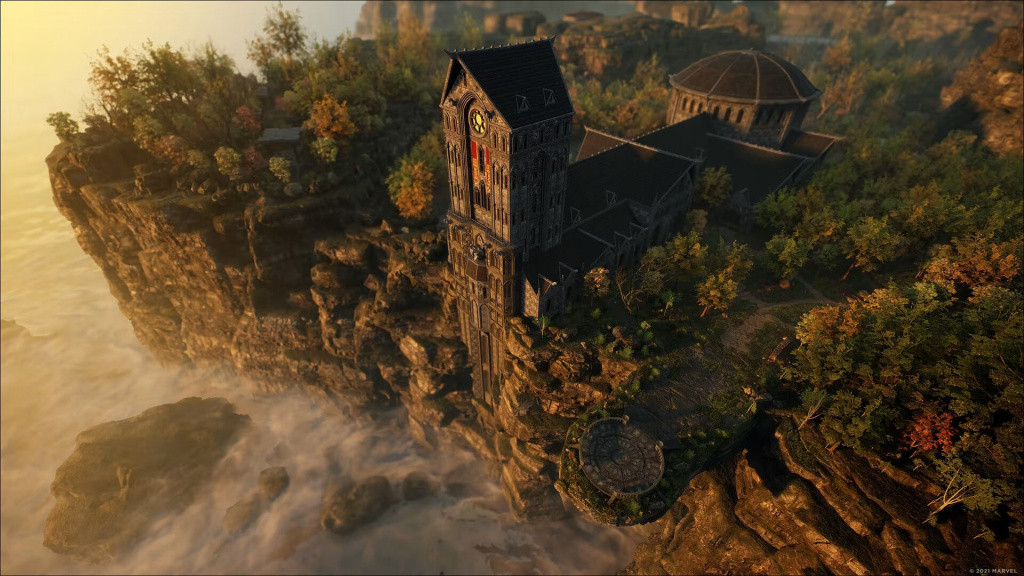
Marvel’s Midnight Suns let The Hunter roam the grounds of The Abbey in pursuit of hidden mysteries and trials to complete to receive a Word of Power. This will come in handy when locating Havens, where you can bring along a Hero to spend time with them and boost your friendship.
Havens are denoted by a blue aura circle which you can unlock, but there are limitations when using them in-game. Here’s where to find all 15 Havens and how to use them in Midnight Suns best.
How To Find All Havens In Midnight Suns?
Havens serves as a hangout spot for which The Hunter can invite a fellow member of the Midnight Suns or its allies to spend quality time. These unique locations are found throughout the Abbey grounds during your explorations of the area.
These Havens can only be utilized once before they can no longer be used, and one Hero can be brought to a Haven at any given time. While hanging out with a Hero at a Haven, you can engage in conversations with the guest and complete an activity available.
There are 15 Havens scattered throughout the Abbey grounds; we’ve provided their locations how to find them:
- The Peaceful Hill: Located left of the Elemental Altar by taking the left trail towards the area where you can find the Offering Bowl
- The Scenic Pillar: Head to the Elemental Altar location and wrap around the right side to locate a bridge on the right before crossing it, as this Haven is tucked away behind a bench.
- The Sunny Brook: Follow the brook that runs beside the Abbey when exiting from The Yard and take the left trail going down.
- The Dry Barrens: From the Abbey’s main entrance, take a left turn past Agatha Harkness’ memorial before making another left turn to find this Haven
- The Grassy Overlook: Exiting through the Abbey’s main entrance and head down the main trail before taking the left path into Dreamer’s Decent and hopping over by a tree before the stone archway to find the Haven.
- The Moist Glade: From the entrance to Dreamer’s Descent, take the main trail and go through the stone archway. Continue down the path before making a left turn up the stairs into Stone Terrace before taking the left path, and right of the Blood Gate is the next Haven location.
- The Serene Oaks: Using the same route for The Moist Glade Haven, by the bridge leading to the Blood gate, take a left turn before going right by the bridge. After crossing the bridge into Valley of the Winds, go left down the stairs before crossing the wooden bridge and making another left turn to spot this Haven hiding amongst the trees.
- The Eerie Clearing: Follow the route outlined for The Serene Oaks but instead, take the path before The Serene Oaks Haven on the left side across the bridge. Continue following the path before taking a left turn up the stairs and a quick right to find this Haven.
- The Ancient Passage: Once again, use the Serene Oaks Haven route, but this time, take the first right turn going down and making a left turn to find this Haven covered by some trees.
- The Shady Clearing: Using the route outlined for the Serene Oaks Haven, continue past it and take the second right turn into Agatha’s Cottage area with the Haven right in front.
- The Weathered Lodge: From Agatha’s Cottage, exit the area to the right down the path before making a right turn. Keep staying on this path until you’ve spotted the greenhouse at Lilith’s Garden, and go right by the entrance and cross the grassy area to spot the Haven.
- The Foggy Crags: Exit the Abbey through The Yard and go right by Magik’s portal and follow the trail leading to the cracked wall, which you need the “Break” Word of Power. Enter this area and continue following this trail going through another breakable wall until you see a greenhouse but head right and go down the trail and turn left and left at the fork. Travel under the left side of the bridge to be directed to this Haven.
- The Stony Valley: Again, head out from The Yard, past Magik’s portal, and through the cracked wall before taking the right path with the Haven sighted to your right.
- The Moist Hideaway: Head into Dreamer’s Descent and through the stone archway on the right before heading right by the “Unknown Grave,” which takes you to this isolated Haven spot.
- The Shady Hill: Travel to Dreamer’s Descent and past the stone archway before reaching the fork and heading down the left trial. Keep following this narrow path through the breakable wall past the large centerpiece, and you can find this Haven to your right.
How To Use Havens In Midnight Suns?
Inviting a Hero to a Haven is relatively straightforward as you’ll need to locate them and interact to receive a command promoting to invite them to a Haven. During the Haven activity, at least one dialogue option will be made available, and as such, you can get a maximum of six Friendship Points based on the options chosen.

You can prioritize which friendships you wish to progress further with or friendships that are lower level. In addition, you can give the invited Hero a Gift to boost further the Friendship XP received from completing a Haven activity.
Locating every Haven available on the Abbey grounds will unlock the “Hunter the Explorer” achievement. It’s worth mentioning that this achievement needs to be completed in one full walkthrough to earn it.
We want to thank the YouTube channel Akifini’s Gaming for the complete walkthrough on locating Havens in Marvel’s Midnight Suns. Please consider subscribing to the channel for more content.