
The Shrine of Ocean’s Fortune is one of six Siren Shrines introduced as part of the Season 4 content update for Sea of Thieves. This time around, players will be exploring the wrecks of pirate ships that were dragged by Sirens to the ocean floor; however, its circumstances are unknown yet.
In another puzzle-based quest, players have three floors of pirate shipwrecks to explore and traverse using wooden mechanisms while solving the puzzles and uncovering the secrets behind these unfortunate shipwrecks. There will be vengeful foes to defeat as they will deter you from uncovering their secrets or collecting treasure, so handle them first before advancing in the shrine.
The history and how to solve the Shrine of Ocean’s Fortune

A rather unfortunate turn of events occurred when several pirate ships met their fate when they encountered Sirens and caused their ships to be pulled to the bottom of the oceans. What did the pirates do to anger the Sirens? Not much has been detailed, but that will be up to players to discover by collecting journals found throughout the shrine.
Similarly, players will solve several puzzles within and around the three levels of the shrine, which also houses exquisite trinkets and plenty of treasures to loot. Any treasure you may find can be stored in the Sunken Merfolk statues you will come across in these shrines. Upon completion of the shrine, the Shrine of Ocean’s Fortune, Cartographer of the Sunken Kingdom and the Mystery of the Shrine of Ocean’s Fortune commendations and loads of treasure will be valiantly rewarded.

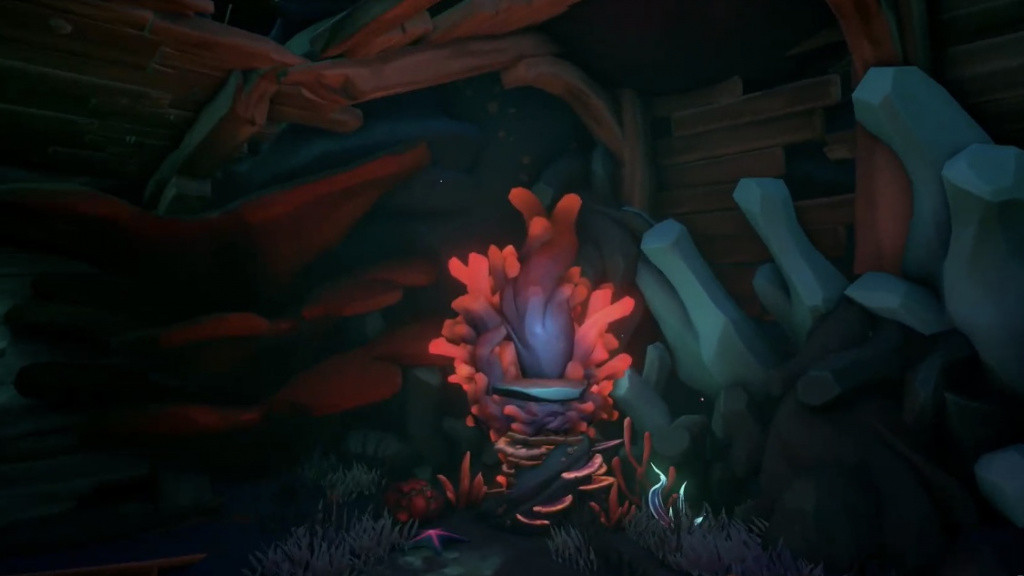
Locating the entrance of the Shrine of Ocean’s Fortune
Set sail for the Shores of Plenty, however this time, head southeast of Mermaid’s Hideaway. If you’re not sure, refer to the map table for coordinates D14 to locate the location.
Upon approach, the same purple and blue lights you had seen when locating the Shrine of the Coral Tomb will be visible to players as you will dock your ship near the lights before plunging into the waters below.

The entrance to the Shrine of Ocean’s Fortune is on the north side at the shrine’s base. Look out for a crack on a large wooden door near the bottom, which will serve as your way into the shrine.
Head to the first floor of the shrine
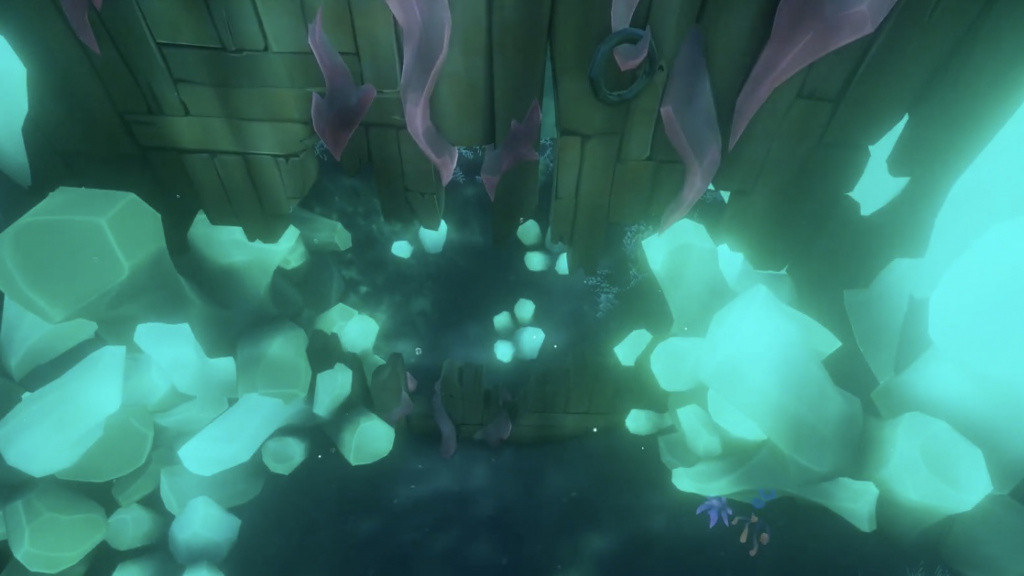
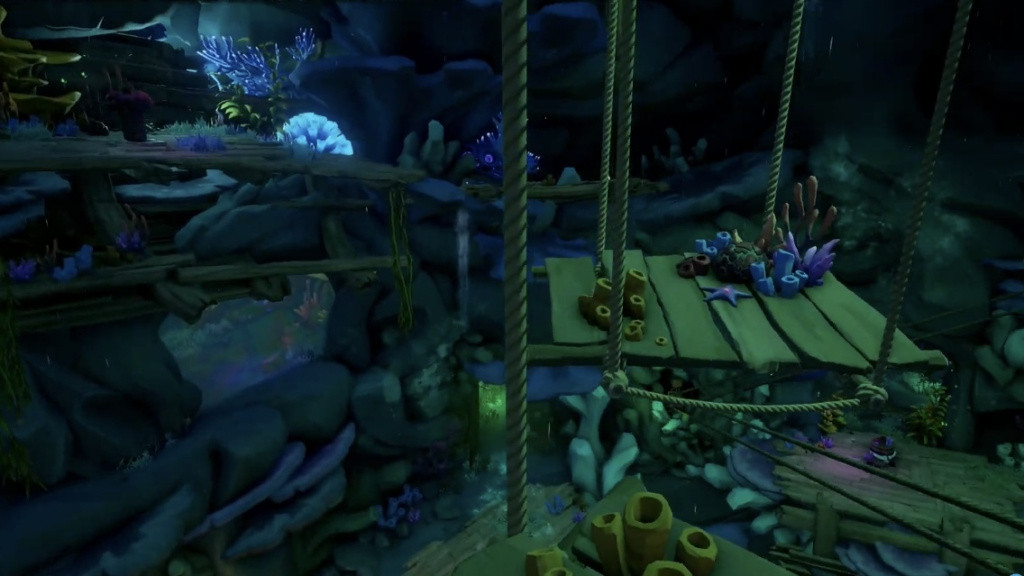
Players will notice that the entrance of the shrine is on the bottom floor and will be able to identify pulleys and old anchors used as mechanisms to traverse the shrine. When you have made your way through the entrance, much like the last shrine, you will enter a chamber where a large coral-covered pillar rests in the centre.
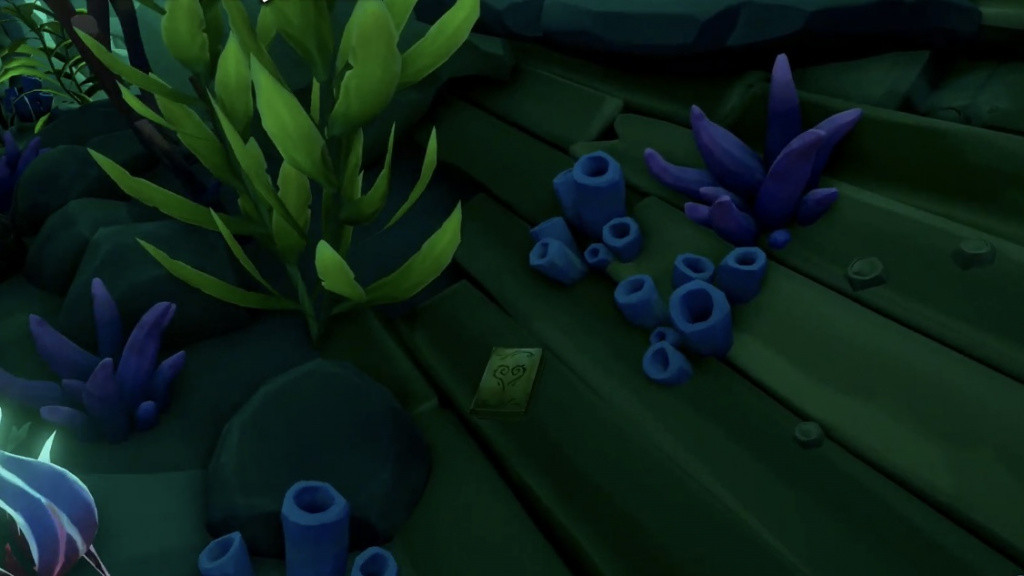
Head in the direction of this pillar, where you will manoeuvre yourself along the right side of the chamber. Players will find, near large coral reefs, a pile of wooden planks where your first journal can be found, 1. Your Beautiful World. Read to start uncovering more about the secrets of the shrine.
A pool of water to the left can be spotted as you will need to jump into the pool to make your way back to the pillar. There, using a wooden ladder to the left, ascend to the next platform where the shrine puzzles await you.
Lowering platforms, a lever and raising the anchor
Once players have reached the top of the ladder, a wooden bridge will be spotted, which will take you to a jail cell. Instead of heading into the jail cell, we’ll be making a left on the wooden path where a pulley can be found to the left.
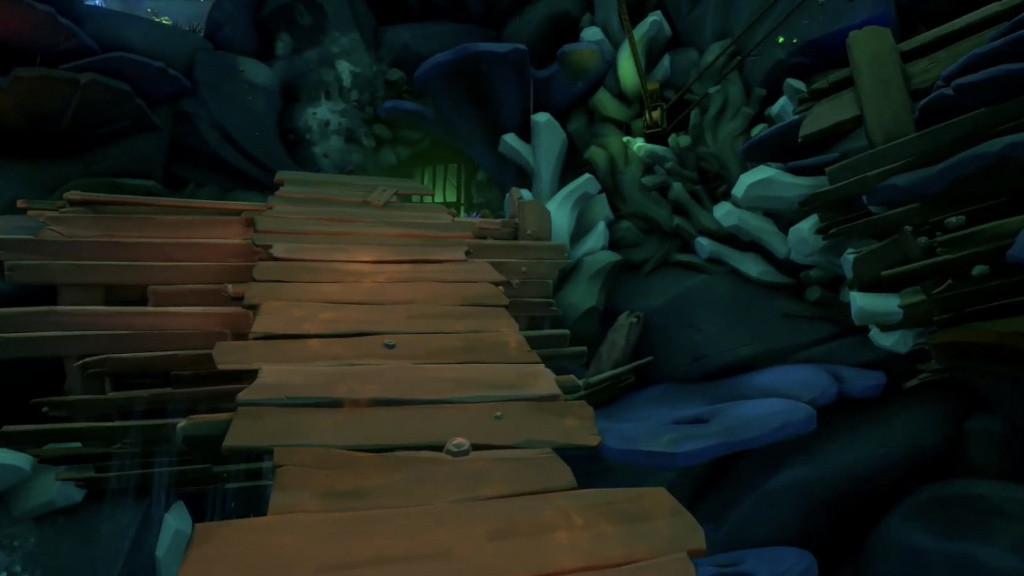
Use the pulley to bring the lower platform down where the jail cell is, as you will be making use of this platform. Using this platform, jump across where you’ll arrive at an anchor.
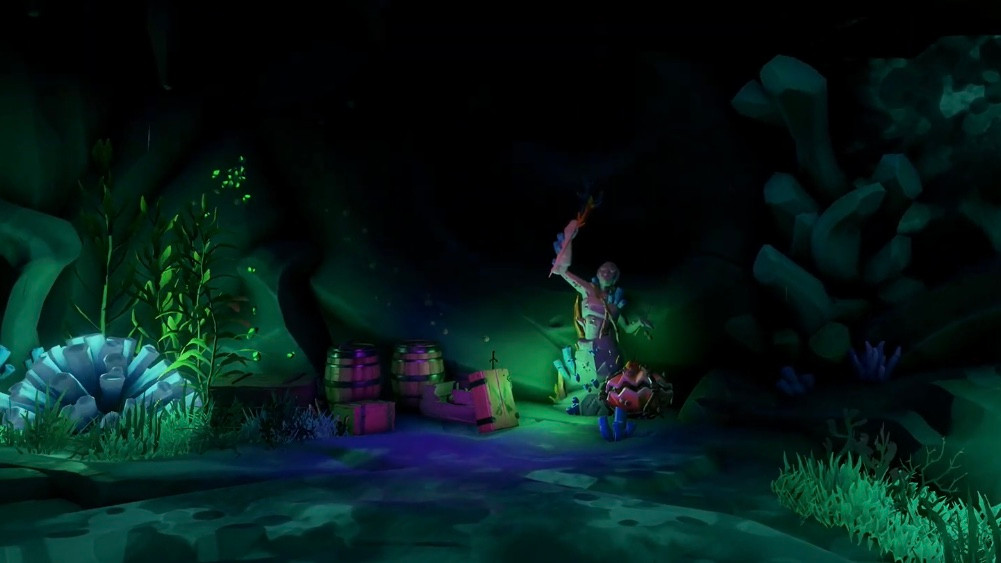
On the left side of the anchor, walk towards a small cave where you will find some treasure and a Sunken Merfolk statue to be used now and much later to store the treasure you have found.
If you had previously completed the Shrine of the Coral Tomb, the sighting of a coral lever should be familiar to you. A second journal will be in this vicinity to the left as you approach the lever. Read 2. I’m Close, I Can Feel It to uncover the next secret before moving on. You will have to pull the lever located on the southwest side of the cave, unlocking the jail cell door.
Head back to the anchor, where you will create a new path to further navigate your way around the shrine by rotating the two wooden platforms before jumping across both platforms.

Once you have reached the opposite side of the rotating platforms, players will pace themselves on the east side of the shrine. There a path will lead you to another ladder on the right where another room filled with treasure can be found. Continue down this room where a pulley can also be found, which lowers the mast in the main chamber.
From here, backtrack your way back to the anchor by jumping back across the rotating platforms and head back into the small cave where players had found the treasure, the Sunken Merfolk statue and lever. Opposite the lever, on your right, is yet another ladder that takes players to another pulley. When used, this raises the platform outside the jail cell back to its original place. However, raise the platform by a wooden beam which you will be making use of.
Walk the (plank) beam and drop to the raised platform to reach the lowered mast, which takes players into a room where you will have to fend off some skeletons. Once they have been defeated, make your path along the path as you will spot a wooden bridge near an anchor up ahead. Before you cross this bridge, there will be another journal to collect. Read 3. Love is Stronger than Hate before interacting with the anchor.
After uncovering another secret, move over to the anchor where you will need to lower it, which raises a platform beside it. Be fast as you will need to jump onto this platform, which will rotate towards you as the anchor is being lowered. While this platform rotates, another platform will move past you to jump onto.
At some point, the platforms will eventually stop moving, and from there, another wooden beam can be seen close by. Walk across this beam to more treasure on the south end of the chamber. Another beam will be in the same area as you will need to walk across it to a chamber on the northwest end of the chamber. Use the ladder here to ascend to the next floor.
Head up to the Shrine’s middle floor
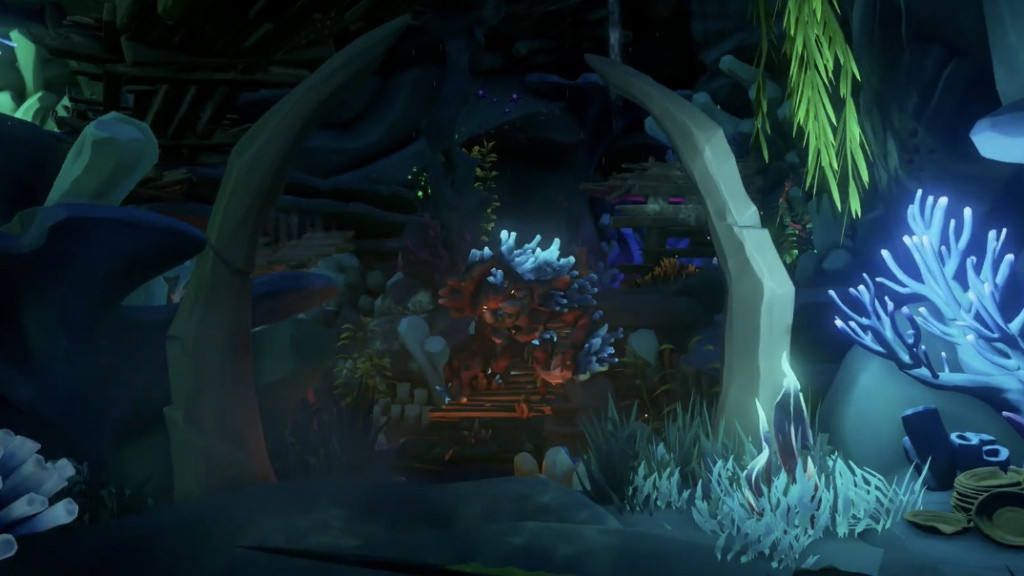
By now, if players take the ladder up, they will reach the middle floor of the shrine. Here, sounds of the Sirens and the Ocean Crawler’s cache of treasure can be found. However, prepare to do more battle as more skeletons, and Ocean Crawlers will need to be defeated before advancing on the floor.
Once defeated, a series of wooden and coral platforms are to be used to climb onto to reach the northwest of the room with an exit door. Before exiting the room, another journal can be found here, as it can be located north by northwest of the room near shipwreck parts with some plants.
It’s a little tricky to spot; however, the trick to this is to face the coral plinth located on the bottom floor and turn left. Near a wall, the journal, 4. I Have Failed You can be spotted. Once read, exit the room for the final floor.
The Shrine’s final floor
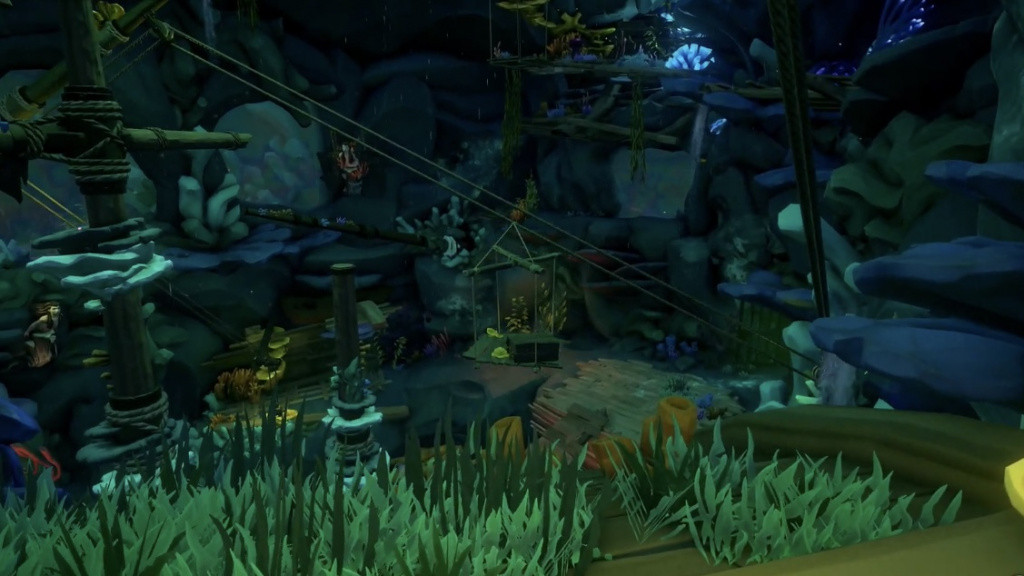
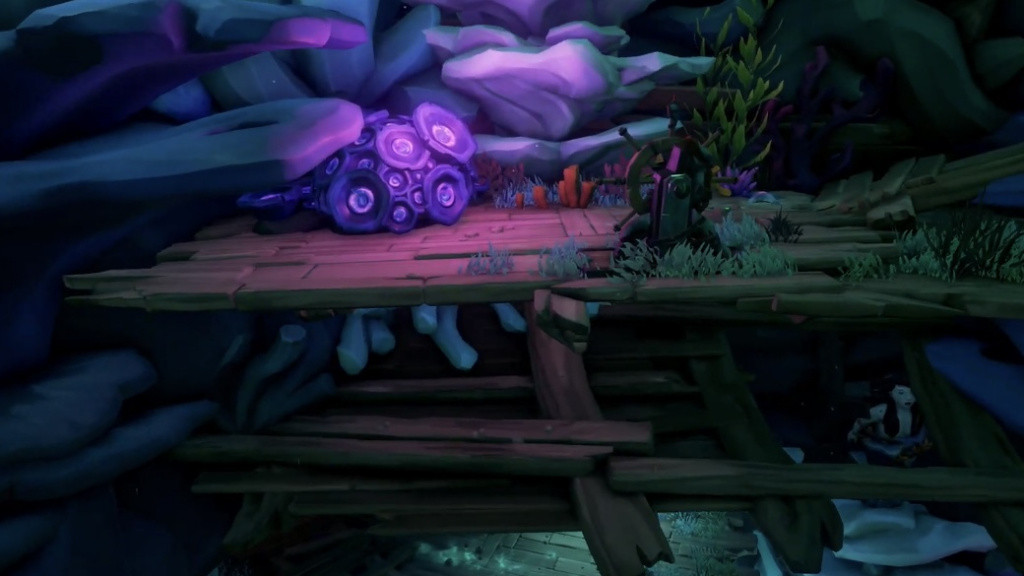
The mast, which you had first lowered, takes up most of this floor which can be controlled by a series of pulleys (or ship wheel) located throughout the floor. Here, players will be making their way up and by doing this, use the path found south by southwest of the room.
After a corner, you come across the first ship wheel, which can be used to rotate the mast in the middle of the room. Rotate it into its first position; however, the mast will appear to be stuck. Jump on the beam near the mast to continue using the path leading to another ship wheel.

Rotate the mast into its second position by having the beam line up with a platform near the wheel. Jump across and walk to the other side to reach a ladder that will take you up. Important to note that another Sunken Merfolk statue can be seen behind this ladder.
After taking the ladder up, players will reach a platform with a third ship wheel. Rotate the mast until the beam meets the platform beside you. Go across the beam where a fourth ship wheel can be found.
Use the wheel to rotate the beam above meets the ramp on your left. Jump across once again, and it is at this point that players have full access to all levels of the shrine. Another Sunken Merfolk statue should be facing players once they have reached the other side of the beam.
Additionally, the last journal can be found on this level which is on the right of the statue on some shipwreck parts. After reading the 5. Do Not Give Up Hope journal, players have uncovered all five secrets of the shrine plus collect all the treasure discovered in the shrine. Use the statue to drop your treasure before exiting the shrine.
BONUS: Breath of the Sea location
Similarly, if players have an ongoing Coral Message in a Battle voyage, they will be able to collect another Breath of the Sea bottle. To collect it, players would need to be on the middle floor of the shrine near the coral plinth to find it.
For more Sea of Thieves guides, check out the Season 4 Plunder Pass content.
Feature image courtesy of Rare.