
The Shrine of the Coral Tomb is one among six Siren Shrines introduced in the brand new Sea of Thieves Season 4. These Shrines will force players to leave the safety of their ship to dive into the stunning open waters below and explore the beautiful remains and mysteries of the Sunken Kingdom.
If you’re in the mood for underwater adventures or looking to learn more about the game’s lore, there are six total Shrines for players to investigate, and the best part is they are marked on your map for convenience. Some of the Shrines will ask players to do some puzzle-solving or navigate the underwater terrain, and others will have you engage in underwater battle.
The history and how to solve the Shrine of the Coral Tomb

The Shrine of the Coral Tomb was previously an ancient tomb converted into a chamber where the Sirens presented offerings for their kingdom. Amongst these offerings, players will find pirate remains as well as treasure.
This Shrine will be puzzle-based as you will need to locate three sets of levers to complete the Shrine objectives. Levers must be done in a specific order to gain access to undiscovered areas containing treasure. Some won’t be easy to find as the Sirens aren’t too privy to pirates, as you will learn through journals scattered throughout the Shrines.
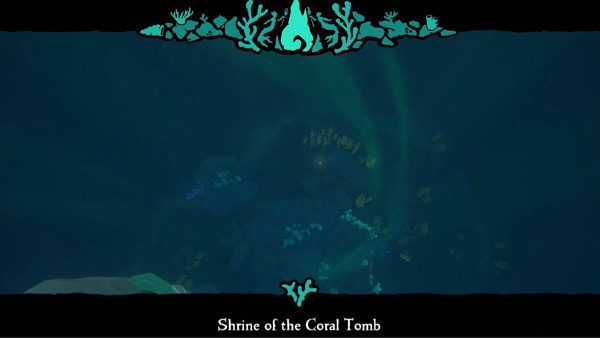
This guide will help players navigate around the Shrine, locate all three sets of levers and solve the puzzle, learn all about each secret and detail the locations of all the journals to be found within the Shrine. Keep all the treasure you find along your adventure, and upon completion, you will unlock the Shrine of the Coral Tomb and Mystery of the Shrine of the Coral Tomb commendations for your efforts.
Locating the entrance of the Shrine of the Coral Tomb
Starting above water and cruise to the Shores of the Plenty, north of Lone Cove. Players can refer to the Map Table, and lookup coordinates H5. Once you have arrived closer to the destination, players can visibly see a light display of purple and blue, indicating the location of the Shrine. Dock your ship and dive into the blue waters below to start the quest.
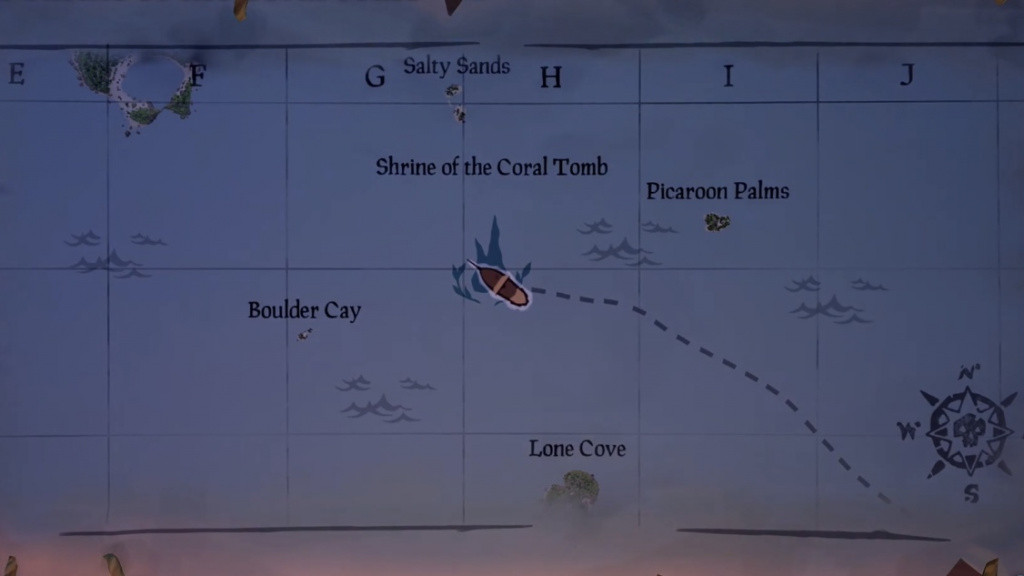
Swim down, and using your compass, head northwest of the Shrine to find the entrance to the Shrine of the Coral Tomb. Once there, players will notice a barrier that will prevent you from entering. This can be deactivated by finding the Coral Orb and, by damaging it, opens the portal to enter the Shrine.
After passing through the barrier, drop down into the cave where you will slide down the waterslide, splashing into a large pool and reach the centre of the Shrine. This is where most of the quest will be spent solving the lever puzzles, finding the journals and restocking with Ammo Chests below.
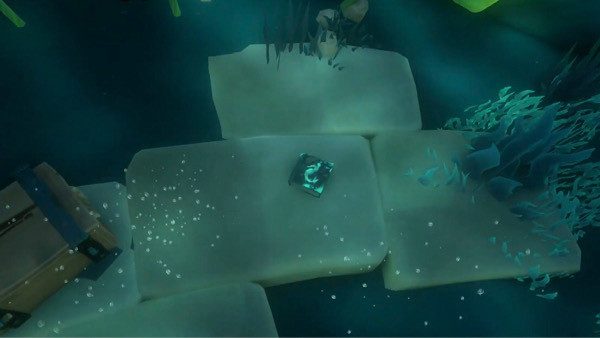
1. Seashell Earring journal is the first thing to look out for and is located at the bottom of the Shrine chamber. There will be an Ammo Chest nearby which should help locate the first journal resting near the stone blocks. Read the journal to uncover the first secret.
After uncovering the first secret, it’s time to solve the lever puzzle. Swim to the surface for some air and to spot a sculpture of the Siren Queen. Above her head is the order of levers, from left to right, needed to complete. Remember this order before locating your first set of levers, which there are three in each, which is Gem, Coral and Chain.
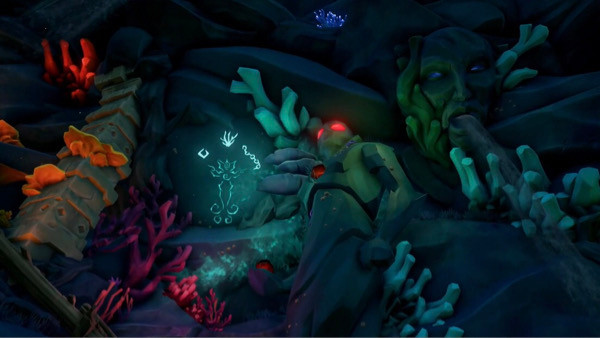
With this order, players can solve the lever puzzles to complete the Shrine, namely blue, yellow and red coral levers. Interact with these levers in the right order to gain access to undiscovered areas that contain treasure. If players need to exit the Shrine safely, a route is available for a quick escape to the surface if needed.
Locate and pull the Blue Coral Levers
Head back to the surface of the water and look around the chamber to notice alcoves that are covered in coloured corals; these are to match the lever puzzles you will solve; however, the blue alcove contains a chain that should leave for last.
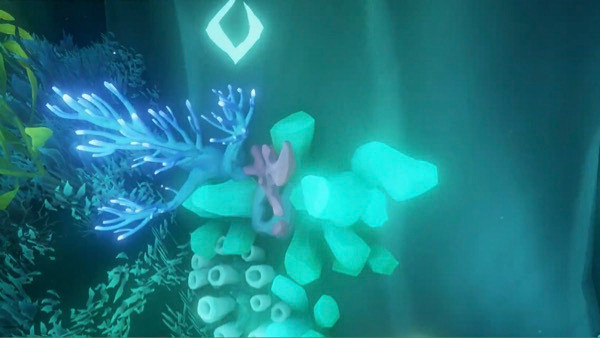
Dive back underwater for the blue gem lever, which can be located east of the chamber. The lever can be found on the side of the wall that has a gem symbol above it. Pull the lever and face west to locate the blue coral lever by swimming past a large column. Pull the blue coral lever before heading back to the surface.
Head back to the blue alcove to find the blue chain lever and pull on it, which will cause the Siren sculpture to glow and sing the Siren song. This causes two new areas to open up inside the chamber that will have levers to pull for the following sets.
Locate and pull the Yellow Coral Levers
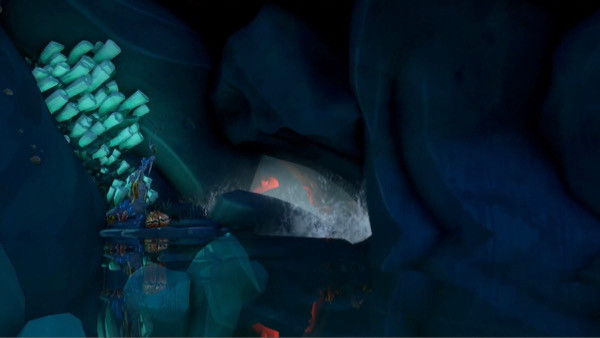
Jump back into the water feign off some Sirens before moving on to the next set of levers. The yellow levers are up next, and the yellow gem lever can be located by starting at the blue alcove. Swim north to the northwest side of the chamber where a tunnel can be spotted, swim through to find the yellow gem lever and pull on it.
You will find the next journal not far off from your current location. Read the journal, 2. A Hidden Kingdom to uncover the next secret before diving back into the water to find the next lever.
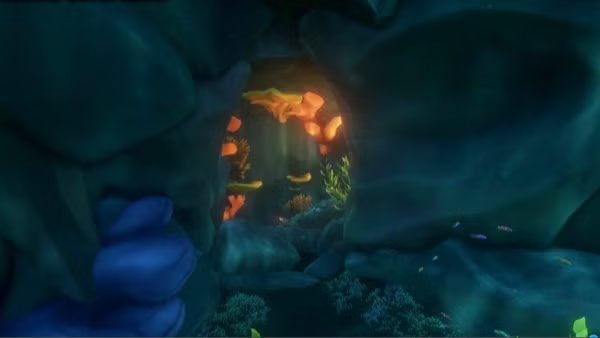
Players will see an underwater tunnel dotted with yellow and red coral. This is where you’ll find your next lever at the end to pull before ascending to the surface.
Once at the surface, face north to pull the yellow chain lever in the corresponding alcove. There, you have completed the second set of levers with more areas unlocked and more Sirens to defeat before moving onto the third set of levers.
Locate and pull the Red Coral Levers
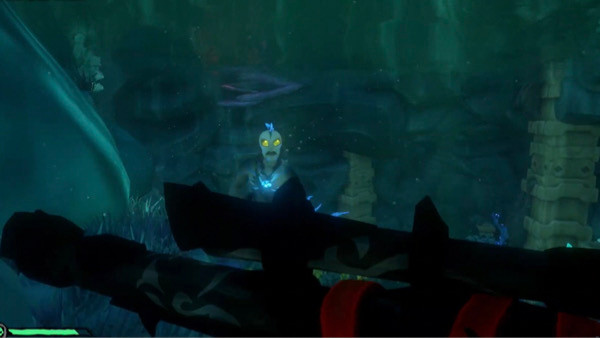
Head south-west underwater to find the red gem lever hidden within a small cave. Pull on the lever and move northeast toward a large tunnel. Head inside to find the red coral lever and pull on it.
Once you have pulled this lever, the next journal can be found beyond the tunnel’s entrance. Uncover the third secret reading the 3. The Sea Queen and her Warrior journal.
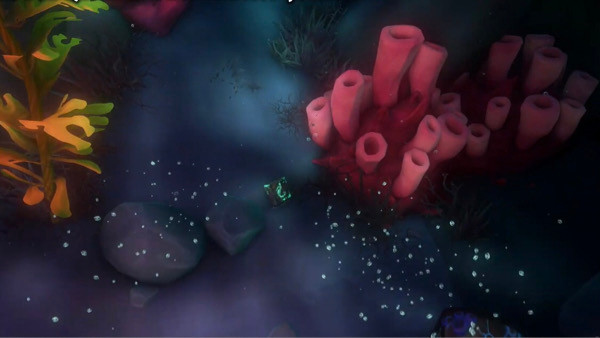
Head back to the surface once again to the red alcove for the final red lever, the red chain lever to solve the Shrine puzzle and raise the water level within the chamber. You will have to fight the last wave of Sirens before having free access to the Shrine and its treasures.
Locate and collect the treasure
There is treasure across the chamber once the water level has been raised. Start with the newly accessed room west of the chamber. A journal, 4. The Whispering Plague can be found by a wall beside the remains of pirates. Read it to uncover the next secret before embarking on the wooden path northeast of this room.
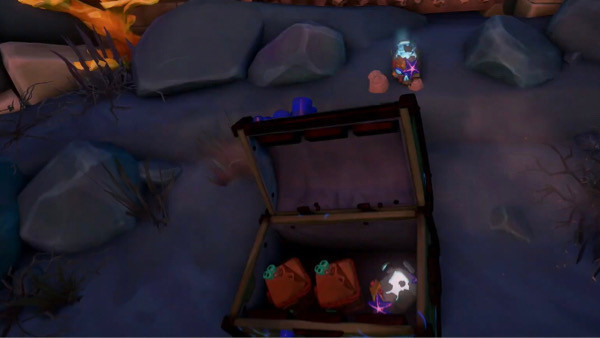
A platform is where this path will lead you to, and there is more treasure to be found as well as the fifth and final journal, 5. The Sunken Kingdom. This journal can be found beneath the Resource Barrel right of a statue of merfolk.
Bonus: Locating the Breath of the Sea
If you are active on a Coral Message in a Bottle voyage, players can easily find the Breath of the Sea once completing the Shrine of the Coral Tomb. This can be found on the upper level of the Shrine and if you have completed the lever puzzle in the correct order and have raised the water level on the Coral Plinth where it stands.
For more Sea of Thieves guides, check out the Season 4 Plunder Pass content.
Feature image courtesy of Rare.