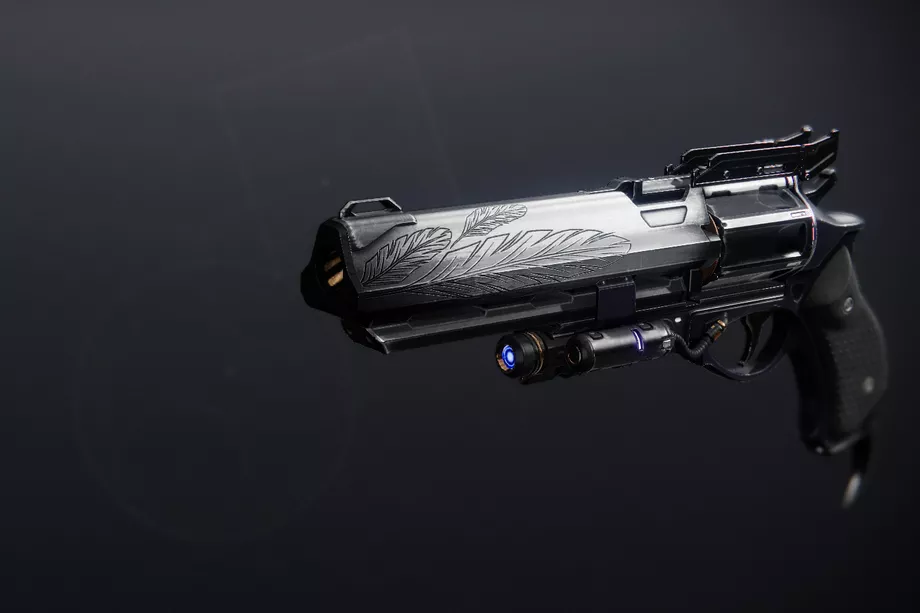
With a new update dropping this 19th January, Bungie has quietly introduced the Harbinger mission, one that will grant players the ability to upgrade their Hawkmoon exotic hand cannon.
If you’re unfamiliar with the weapon that made its return from Destiny 1 not so long ago, this is the only exotic gun in the game which has random rolls. The first version available (you can check out our full detailed guides for getting the feathers and finishing the quest), has a question mark in one of the perk slots, making players wonder when would they be able to unlock Hawkmoon’s full potential.
Fret not, we’re here to guide you through the Harbinger mission so you can unlock an upgraded Hawkmoon and even get its Catalyst in the process.
How to complete Harbinger secret mission
(Image: Bungie)
To start the quest, head out to The Tangled Shore and talk to The Crow, he’ll have the Bird of Prey quest ready for you to tackle.
Once you pick it up, it’ll tell you to go to the European Dead Zone (EDZ), but it won’t point at any specific location. Drop using the Trostland Landing Zone, the one where Devrim Kay is located.
Make your way to this area seen in the image down below.
In this area, you’ll find a small hole in one of the walls, make your way in, and as soon as you enter there will be a prompt for you to properly start the mission.
(Image: Bungie)
Once you power through the claustrophobic corridor section, you’ll see a Taken enemy right in this area, kill him and jump over there.

You can spot a rather large tree branch down below you, this one, to be more specific.
(Image: Bungie)
Jump towards it and land on it, as we need that extra distance to get to our next destination.
(Image: Bungie)
Next up, we’re going to do a bit of platforming, see those little sections at the bottom of the dam? Jump straight into the first one.
From there, move until you go past the third one and jump straight up, you’ll be able to stand on a little structure.
While you’re there, if you look up once more, you can see a metal construction, jump right below it and you’ll reach the entrance to the next area, where you’ll need to kill the Emissaries.
Each Emissary has a different type of elemental shield, Void, Arc, and Solar, plus you’ll face Unstoppable enemies, so be sure to bring modded weapons to help you with this.
Once you reach the room pictured below, you can start taking on these Emissaries.
(Image: Bungie)
The way the encounter works is simple, each Emmisary will transport to a different room after taking a certain amount of damage. These are easy to spot and are scattered throughout the entire room.
Once you beat all three Emissaries, look for a new door in the room where they spawned, this new path will lead you to the pit where you fight one of the first bosses in the original Hawkmoon quest.
After you beat the ads that spawn and open the chest, traverse until you reach a door sealed by Taken blight at the top of the room, once you enter you’ll find a portal that will transport you to the location where you fight the last boss of the Hawkmoon quest.
You’ll need to do a bit of traversal, but from here on out everything is pretty much straightforward. The final encounter is the exact same as the first time you encountered this boss.
It’s a doozy, but completing all these steps will grant you two Hawkmoon drops as well as the Catalyst. If you need visual help, check out the video guide made by KackisHD.


