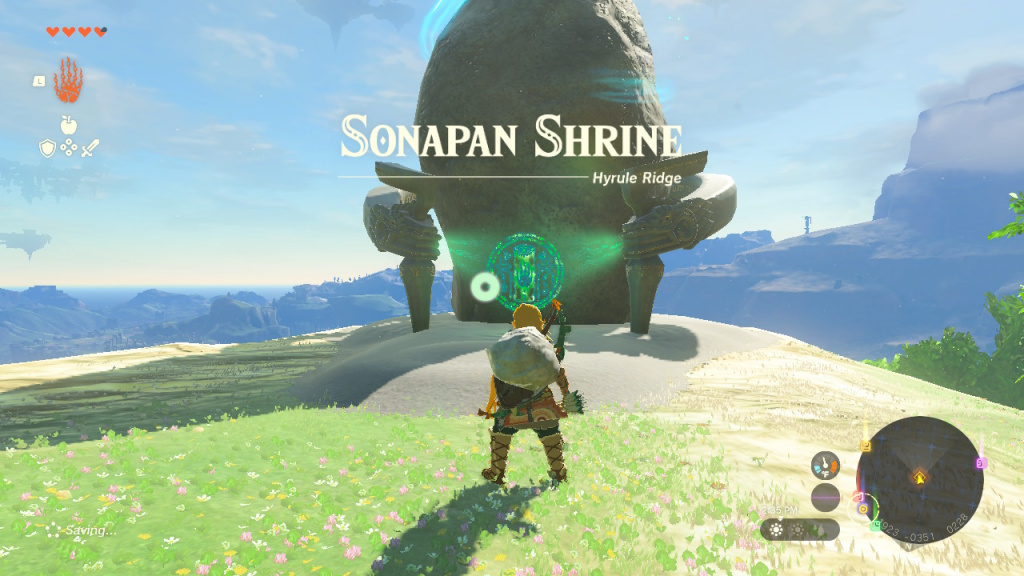
The Sonapan Shrine is one of the many Shrines you may encounter while exploring the early regions of Hyrule in Zelda: Tears of the Kingdom. It’s situated on top of a mountain, so it may take some time to reach.
If you’re struggling to clear this Shrine or just need directions on where to find it, you’re in the right place. Below is our walkthrough of the Sonapan Shrine in The Legend of Zelda: Tears of the Kingdom, which includes its location and all the puzzle solutions.
Table of Contents
How to Find the Sonapan Shrine in Zelda: Tears of the Kingdom
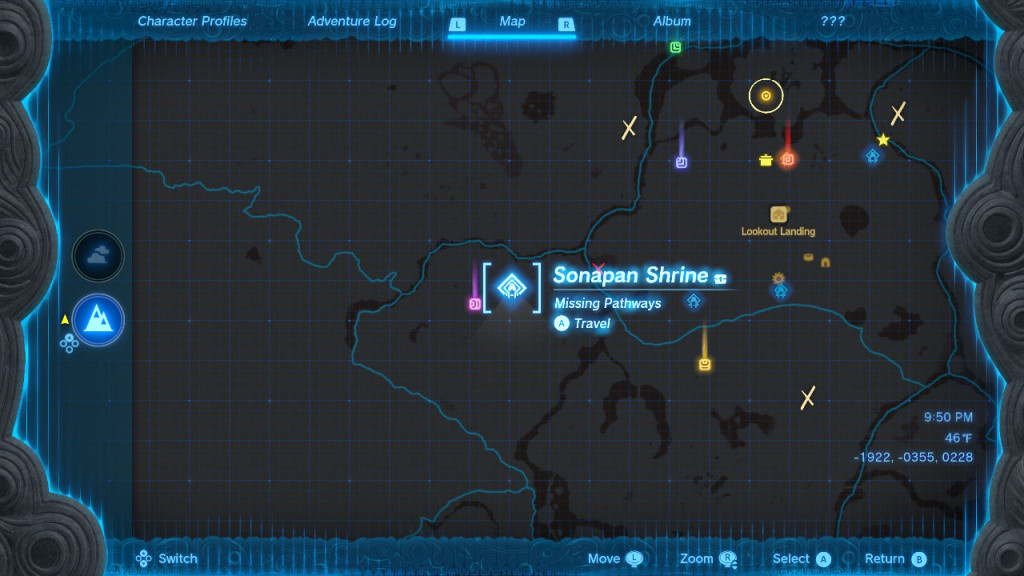
You can find the Sonapan Shrine west of the Lookout Landing. As mentioned previously, it’s on top of a mountain, and its map coordinates are -1992, -0355, 0228.
All Sonapan Shrine Puzzle Solutions in Zelda: Tears of the Kingdom
The puzzles in the Sonapan Shrine primarily involve the Ascend ability though you will also need to use the Ultrahand in a few instances. The first area is super easy to navigate. Just run up to the wall and use the Ascend ability to reach the upper floor.
On the left, there’s a chest and a movable cube. However, it’s not of any use on its own, and you can only move it in a limited space. Leave it be, and go to the right side of the room. You will find another cube here which you can actually move to the left side with the Ultrahand ability.
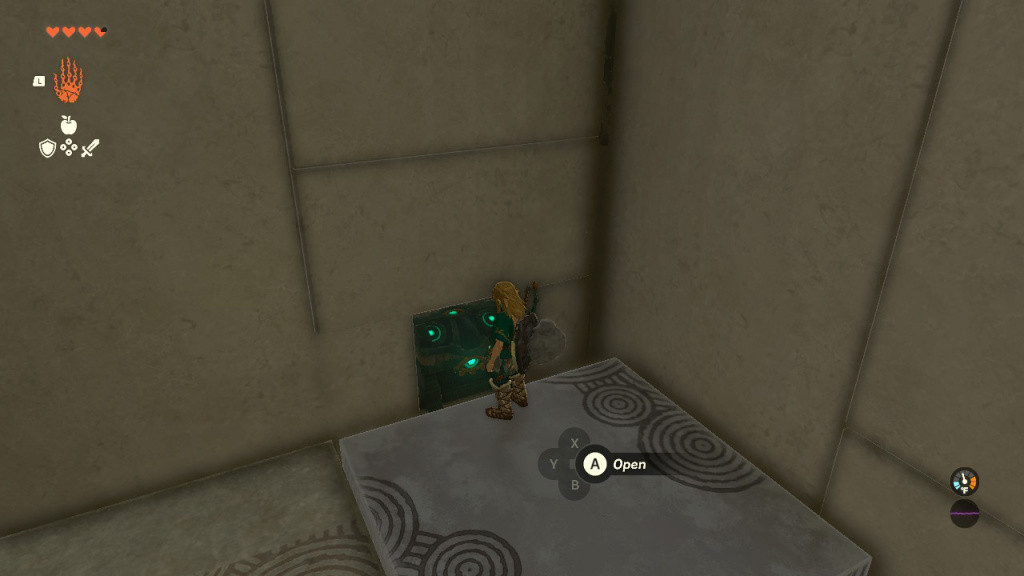
Now, partially place the second cube over the first one so that you can use the Ascend ability to climb over it. After that, use Ultrahand on the second cube again to place it down on the surface in a way that lets you climb over it and reach the chest.
After looting the chest, use Ultrahand again to bring the cube to the center of the room and place it over the platform above. Now you can use the Ascend ability to reach the next floor.
It’s here where things get tricky if you don’t have the Paraglider. But that’s okay because there’s still a way to clear this Shrine without it.
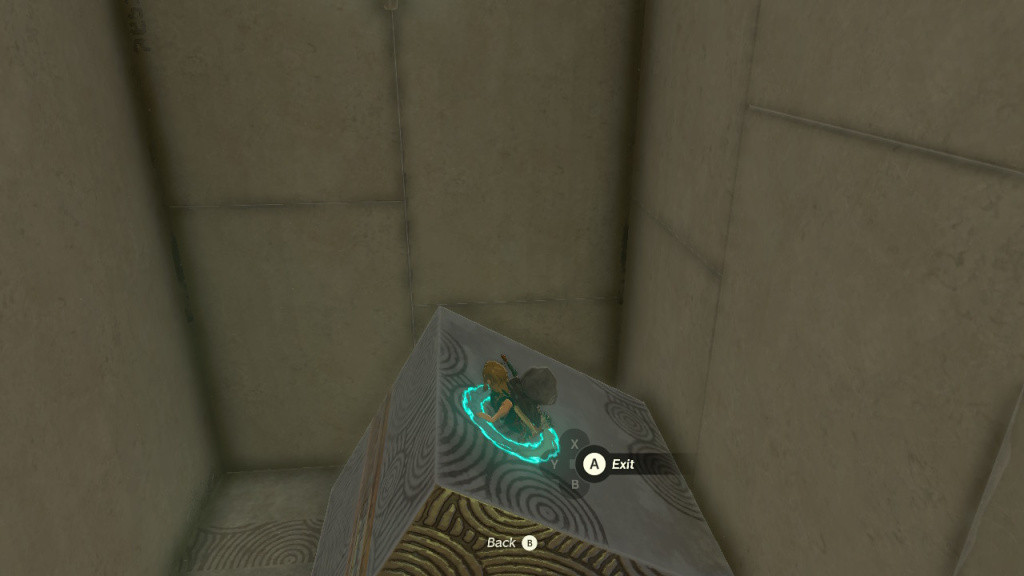
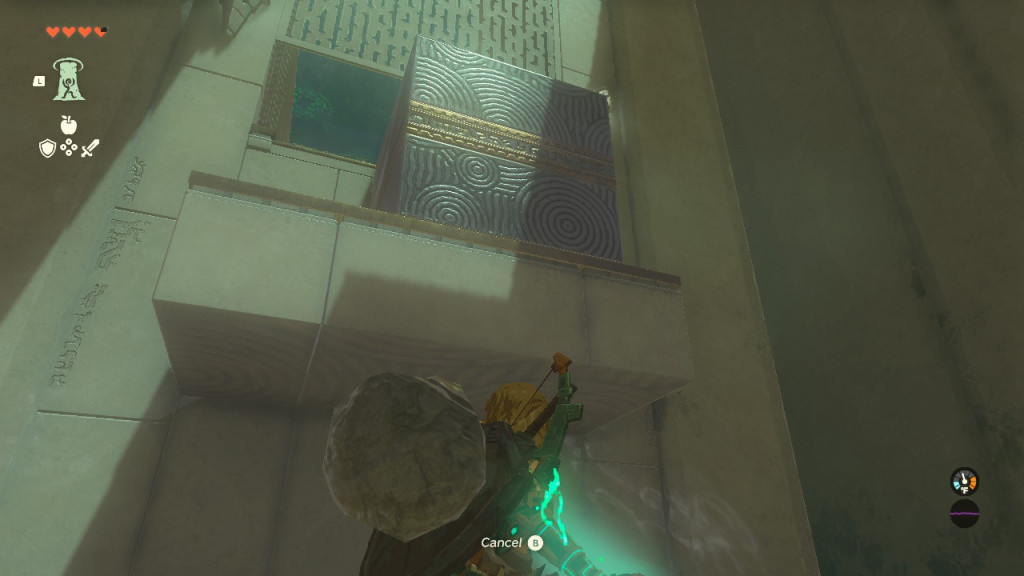
In the final room, there’s a pool of water, above which is a platform that you need to reach. There’s also a movable cube on the left. Use the Ultrahand ability to move the cube and place it in the pool right below the platform. If you don’t have the Paraglider, tilt it a little and place it slightly on the left. Have a look at the screenshot below to get a better idea.
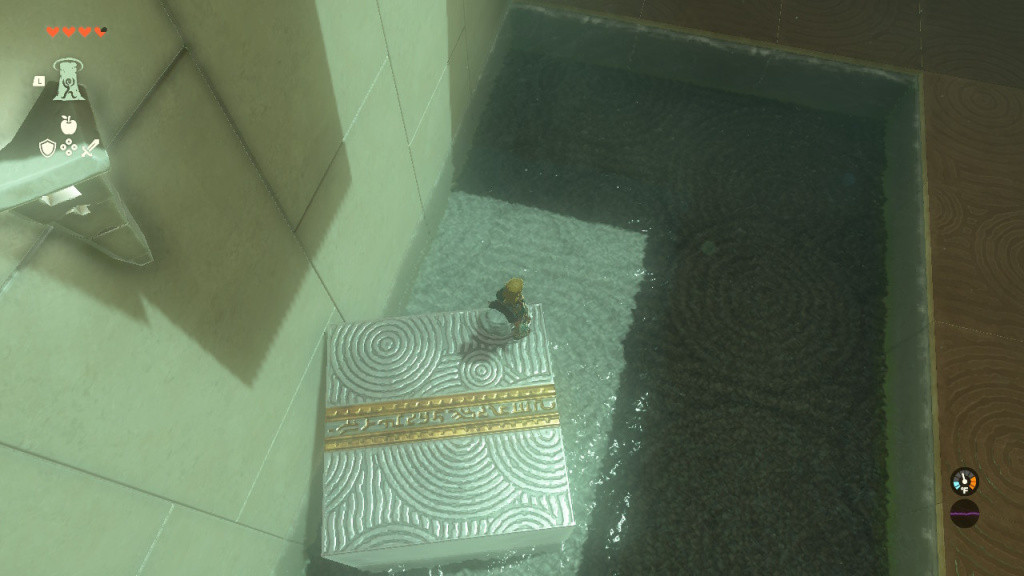
Now, go back to where the cube was and use the Ascend ability to reach the top of that surface. Now, you have to jump and somehow reach the top of the cube, so that you can use the Ascend ability to reach the platform above.
It’s relatively easy if you have the Paraglider, as you can easily glide over it. It’s more challenging if you don’t have it, which is why I suggested tilting it so you can make the jump. It may take a few tries without the Paraglider, so don’t lose hope. Once you’re there, use Ascend to reach the final floor and complete the Shrine.