The World of Warcraft Dragonflight expansion added new dungeons, giving players a ton of bosses to face off against and loot to hunt down as they explore the Dragon Isles. The Uldaman: Legacy of Tyr is one of these dungeons, and if you’re planning a quest to defeat its bosses and take its treasure, then we’ve got you covered.
In this guide, we’ll explain how to take down each boss in the Uldaman: Legacy of Tyr dungeon, as well as their attack patterns and moves and, of course, the awesome loot they’ll leave behind for you.
WoW Dragonflight Uldaman: Legacy of Tyr Dungeon Guide: All Bosses
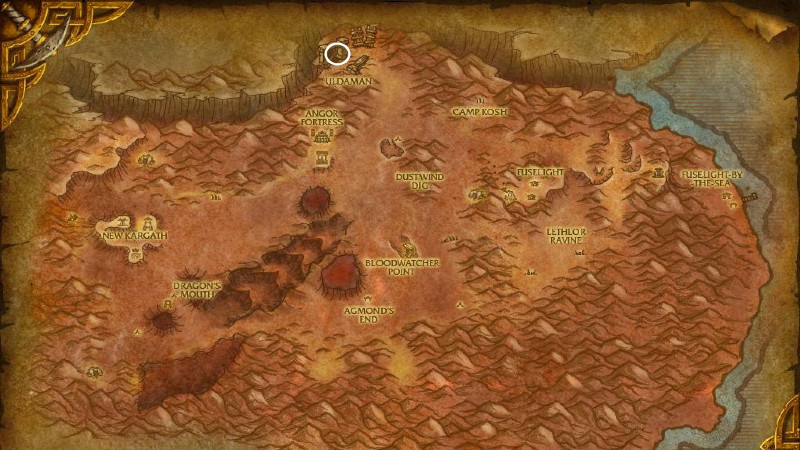
The Uldaman: Legacy of Tyr is a level 60 dungeon located on the Eastern Kingdoms’ continent, north of the Badlands zone, just after the Angor Fortress. It is available to all players on Normal, Heroic, and Mythic difficulty, though it is not part of the Season 1 Mythic+ rotation.
This dungeon contains five bosses, which are listed below in the order in which they are encountered as you progress through it. We’ll also go over each boss’s moves and give you some pointers on how to counter them.
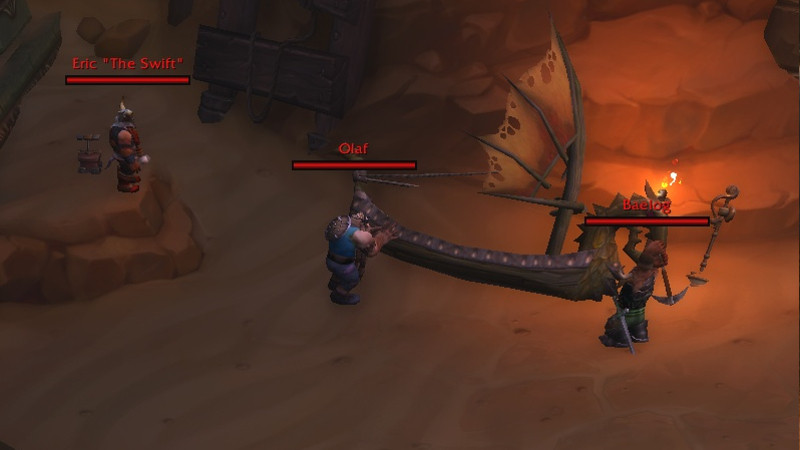
Uldaman: Legacy of Tyr Dungeon Boss – The Lost Dwarves
Throughout the whole encounter, you will deal with the 3 Dwarves simultaneously; Eric “The Swift”, Olaf and Baelog. Each of them has unique abilities and methods for defeating which we’ll cover below.
First, you’ll need to keep an eye out for Olaf’s Ricocheting Shield as it deals physical damage to random players and will ricochet to up to 5 players within 5 yards, so stay spread out. Eric “The Swift” will cast Skullcracker on occasion, dealing physical damage to players within 5 yards, and be sure to avoid ground animation at all costs.
You also need to interrupt Olaf’s Defensive Bulwark, which provides a 75% damage reduction to the remaining Dwarves. It is important to note that Olaf does not cast any other spells or auto-attacks during the duration of the Defensive Bulwark.
Baelog will be casting Wild Cleave, which “cleaves” any players within 10 yards of him, so it is critical to face him away from your party to avoid casualties. When the Dwarves reach low health, they will begin the Longboat Raid! and fire Searing Cannonfire at every member of your team who is still alive in their current location.
At this point, you must be stacked and move slowly together to “save” space, as the Searing Cannonfire will continue until the boss is defeated. On Mythic difficulty, the boss will gain an additional mechanic: after each blast of Searing Cannon fire, it will leave a 30-second trail of Burning Pitch behind it.1
Overall, concentrating on one boss at a time with your tanks will be advantageous, as Hasty Rearming will increase the rate at which Searing Cannon fire is fired; the more Dwarves there are, the more frequently it will cast. This effect has the potential to snowball, especially on Mythic difficulty, where Fiery Surge and Burning Pitch must be considered, so focus your healers on support and take them down quickly.
The Lost Dwarves – Loot
- Off-Hand – Stout Shield
- Stat – STR-INT Crit/Mast
- Plate Head – Old Seafarer’s Headpiece
- Stat – STR-INT Crit/Haste
- Mail Wrist – Fierce Boreal Armguards
- Stat – INT-AGI Haste/Mast
- Cloth Waist – Lost Hero’s Waist Wrap
- Stat – INT Haste/Mast
- Leather Feet – Treads of the Swift
- Stat – AGI-INT Crit/Mast
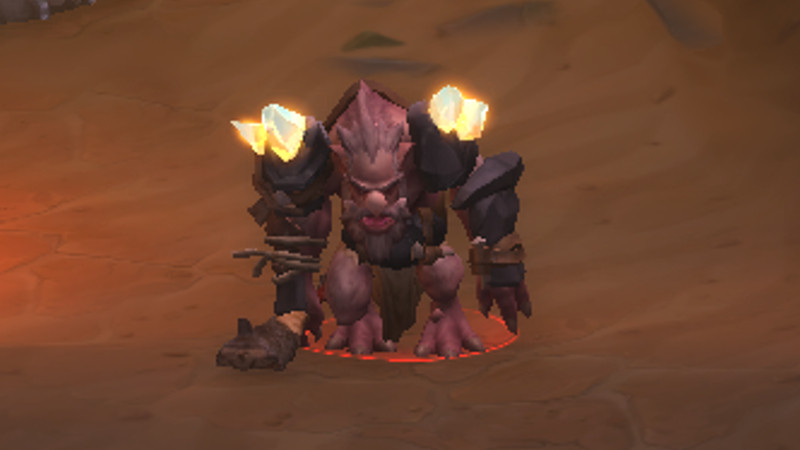
Uldaman: Legacy of Tyr Dungeon Boss – Bromach
Once the fight with Bromach begins, it will cast Call of the Deep, summoning Stonevault Geomancer and Stonevault Ambusher (the same mobs that you have previously fought to get to the boss). It is important to note that because Stonevault Geomancer is a caster, they will keep a safe distance from you while casting spells on you.
The best way to deal with them is to block their line of sight so they can approach the tank, or to use interrupt/knockback abilities to “lock” them on the cast and force them to move closer to you. When the boss casts Thundering Slam, be sure to get out of the ground effect as quickly as possible as it deals massive damage.
When Bromach casts Quaking Totem, you must immediately focus on it and kill it. The entire party will take Shocking Quake damage while the Quaking Totem is active, so it is critical to nuke it as soon as possible.
When the Quaking Totem is destroyed, it causes Tremor, which stuns all nearby Stonevault Troggs and increases their damage taken by 200% for 10 seconds. This effect is only limited to 8 yards on Mythic difficulty, as opposed to Normal and Heroic, so make sure you kill the totem on top of Bromach and the Troggs.
When he casts Bloodlust, you won’t be able to stop it, but you can Enrage Dispel it as soon as you see it. Stunning him with the Tremor during the cast will also stop the effect.
Overall, tanks should collect aggro from the nearby Stonevault Ambusher and Stonevault Geomancer, and lead them to the Quaking Totem, as well as the Bromach itself, so that when they are destroyed, the Tremor will all creatures in its radius. Healers should prop up their teammates and support them once the Quaking Totem is spawned, and keep the tanks alive until the boss falls.
Bromach – Loot
- One-Hand – Unearthed Trogglodicer
- Stat – AGI Haste/Vers
- Neck – Bromach’s Disentombed Locket
- Stat – STA Haste/Mast
- Plate Wrist – Excavated Earthen Wristslabs
- Stat – STR-INT Crit/Haste
- Mail Hands – Rock Shovelers
- Stat – AGI-INT Haste/Vers
- Leather Waist – Troggskin Waistband
- Stat – AGI-INT Crit/Vers
- Cloth Legs – Miner’s Sturdy Trousers
- Stat – INT Crit/Mast
Uldaman: Legacy of Tyr Dungeon Boss – Sentinel Talondras
When you defeat Bromach, you will notice the very first checkpoint, which will allow you to teleport to this area if you die. Continue straight towards the Hall of the Keepers to face the dungeon’s next boss, Sentinel Talondras.
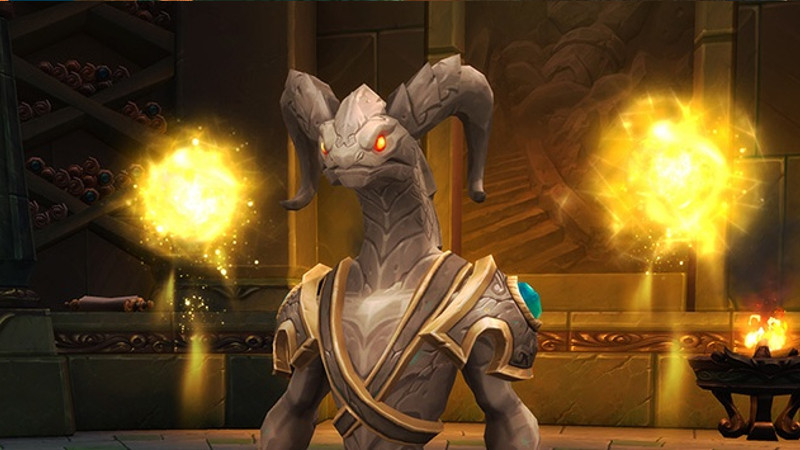
When the fight begins, Sentinel Talondras will have two stacks of Inexonerable, which gives her immunity to stun effects, and will first use Crushing Stomp to knock players away, interrupt their casts, and deal physical damage to everyone. Stop your spellcasting at the end to avoid being spell locked. Also, be sure to avoid touching any Resonating Orbs; this will make the fight much more difficult.
The boss gains Unrelenting on Mythic difficulty, which stacks, giving this boss a “soft” enrage. So you’ll want to save your cooldowns and get rid of them as soon as possible.
When the boss reaches 100 energy, she will cast Titanic Empowerment. The tanks must clear her remaining stacks of Inexorable with the Resonating Orb so that you can stun her with the last Resonating Orb on the Titanic Empowerment cast, preventing her from empowering until she is taken out.
Healers must be prepared to quickly replenish your party and use healer cooldowns when the Earthen Shards bleed effect is active, but your teammates must also use their defenses to survive. As an added side note, two spells that can completely mitigate the Crushing Stomp effect are Stoneform racial and Paladin’s Blessing of Protection.
Sentinel Talondras – Loot
- Two-Hand – Sentinel’s Battle Lance
- Stat – AGI Vers/Mastery
- Leather Shoulders – Shoulders of Animated Stone
- Stat – AGI-INT Crit/Mast
- Cloth Feet – Ancient Crosswrapped Sandals
- Stat – INT Crit/Haste
- Finger – Eternal Sentry’s Ring
- Stat – STA Crit/Haste
Uldaman: Legacy of Tyr Dungeon Boss – Emberon
At the beginning of the Emberon fight, he will cast Unstable Embers on a random player (on Mythic difficulty, it targets all players), so it is critical to spread out and never overlap with the surrounding circle, and to ensure your survival, you should employ personal defenses.
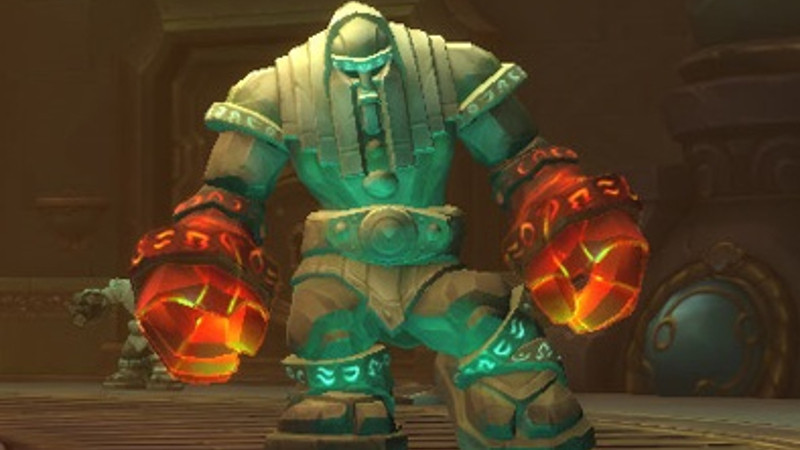
When the boss reaches maximum energy, he enters his main “phase” where he will then have a Sacred Barrier aura, which will prevent you from harming him (be careful not to stay in the middle, because you risk being hit by Heat Engine). The phase will end once you defeat the four Keepers, but the tricky part is that the boss will cast Fire Wave every 3 seconds during the “phase.”
You can assign each Keeper to a different party member to help you defeat them faster and stay alive. To deal with the boss’s Searing Clap, your tanks should draw fire towards them by aggroing the boss. Additionally, healers must be prepared to immediately reverse the Burning Heat damage-over-time effect. As your team will be taking Fire Wave damage throughout the battle, they should also use their healing cooldowns to replenish their health.
Overall, the healers should concentrate on keeping everyone alive until the boss is defeated, while tanks should lead attacks away and deal damage during the bosses’ cooldowns.
Emberon – Loot
- One-Hand – Bouldersplitter
- Stat – AGI Vers/Mastery
- Ranged – Vault Piercer
- Stat – AGI Haste/Mastery
- Cloth Wrist – Animated Shackles
- Stat – INT Crit/Haste
- Plate Hands – Keeper’s Iron Grips
- Stat – STR-INT Crit/Mast
- Mail Waist – Gatekeeper’s Girdle
- Stat – AGI-INT Crit/Vers
- Leather Legs – Annora’s Punctured Leggings
- Stat – AGI-INT Haste/Vers
Uldaman: Legacy of Tyr Dungeon Boss – Chronos-Lord Deios
Chrono-Lord Deios is a simple boss battle with an “intermission.” phase. First, his energy will gradually decay from 100 to 80-60-40-20-0 (5 ticks, 20 per tick), at which point the Rewind Timeflow and “intermission” will begin. Stay in all Temporal Zones before they vanish to gain 30% Haste for the remainder of the duration when the boss reaches 100 energy, the Rewind Timeflow, and the “intermission” end.
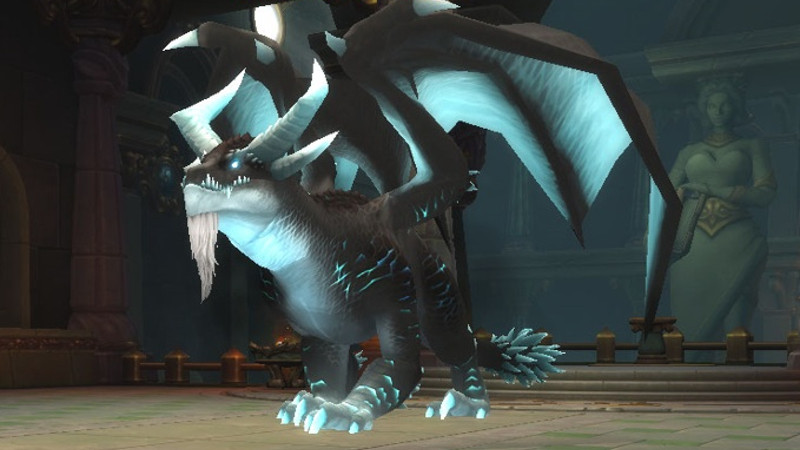
Once the fight begins, Chrono-Lord Deios will periodically cast Eternity Orb, so try to avoid the ground animation and the pool of Eternity Zone that follows. Then it will cast Wing Buffet, which will not only interrupt your cast but will also knock you back, causing physical damage.
To avoid further damage, make sure there is no Eternity Zone left behind you, and because Sand Breath is a frontal-cone ability that targets only you until the cast is complete, it must be baited away from the group by your tanks. On Mythic difficulty, the boss will cast Time Sink, which will place a debuff on a random member of your party and, when removed, will cause Time Eruption, so it is preferable to wait until the target is free and clear of the rest of the group before dispelling it.
So overall, just avoid these time-related mechanics and use any of them to your advantage if possible, such as dispelling Time Sink when near the boss to cause it damage. This is a fairly simple boss, so just keep your wits about you and you’re sure to defeat it in no time.
Chronos-Lord Deios – Loot
- Two-Hand – Infinite Dragonspire
- Stat – INT Crit/Haste
- Leather Head – Vision of Foreshadowed Ends
- Stat – AGI Haste/Mast
- Plate Shoulders – Pauldrons of Immutable Truth
- Stat – STR-INT Crit/Haste
- Mail Chest – Fatebound Chainmail
- Stat – AGI-INT Crit/Vers
- Cloth Legs – Crazed Traveler’s Legwraps
- Stat – INT Haste/Vers